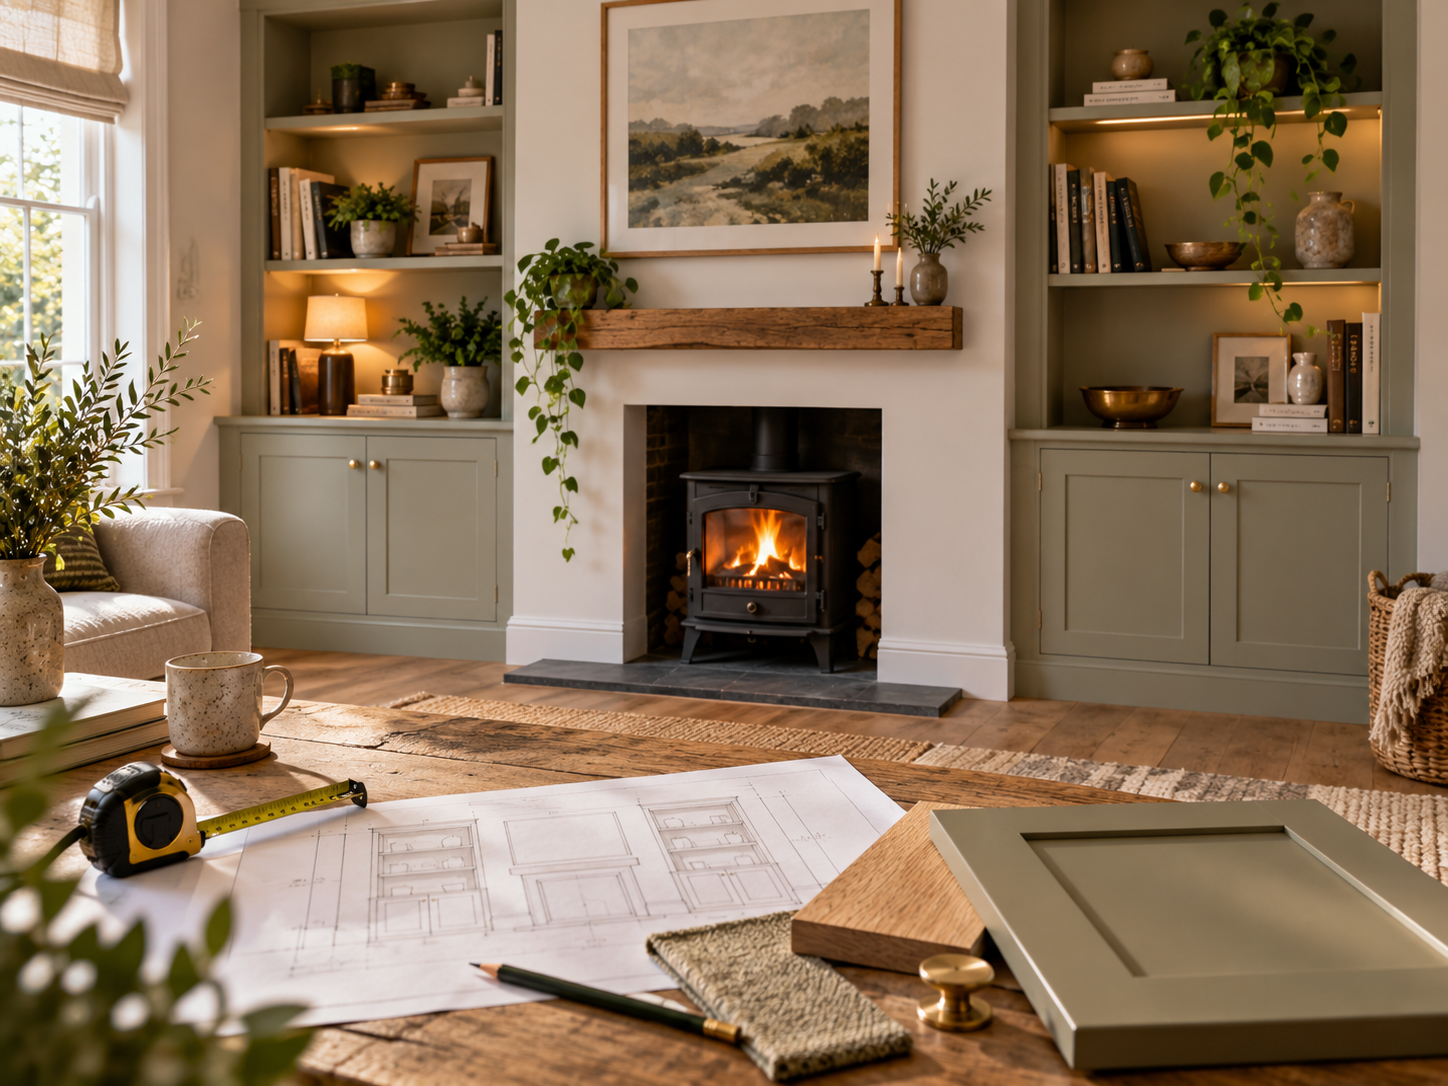
Alcoves look simple until you measure them. The width can change from front to back, the walls may lean and the floor may be out of level.
The most reliable approach is to build square where you can, then use fillers, scribes and a level plinth to absorb the room's imperfections.
This is also the project closest to the current WIW Planner logic, so dimensions, services and clearances are worth recording before you buy sheet material.
Tools
What you’ll need to do the job.
- Tape measure
- Long spirit level or laser
- Square
- Pipe and cable detector
- Drill/driver
- Suitable saw or cutting service
- Clamps
- Scribing tool or compass
Materials
What you’ll need to build it.
- Sheet material appropriate to the design
- Timber or sheet material for the plinth/base
- Fixings suited to the wall and carcass
- Hinges and door hardware
- Filler strips and trim
- Primer/paint or chosen finish
Step by step
Do it in this order.
Measure the alcove as a volume
Record width at several heights and depths, plus height and usable depth at more than one point. Note skirting, sockets, radiators, vents and other constraints rather than measuring around them later.
Decide what the cupboard needs to store
Set shelf spacing, door arrangement and internal depth around real items. A fitted cupboard is only useful if its internal dimensions suit what will live there.
Check services before fixing
Use a suitable detector and consider likely cable and pipe routes before drilling or screwing into any wall. If services clash with the design, change the design or get the route checked before you cover anything up.
Create a level base
Build or fit a plinth that is level and adequately supported. Correcting the room here makes the square carcass and doors much easier to fit.
Build the carcass square
Cut accurately, pre drill where appropriate and assemble on a flat surface. Check diagonals and squareness before the unit is trapped inside the alcove.
Position, pack and secure
Offer the carcass into the opening, pack it level and plumb, then secure only into suitable known substrates with fixings appropriate to the load.
Use fillers to meet the room
Scribe fillers or face frames to uneven walls rather than distorting the carcass. Keep door gaps and front lines visually consistent.
Fit doors, shelves and finish
Adjust hinges after the carcass is fixed, then fill, sand, prime and paint or apply the chosen finish. Leave access to any service point that must remain accessible.
Things we’d do
Small choices that make the job better.
- Record the narrowest width, lowest height and shallowest usable depth rather than one optimistic measurement.
- A removable shelf can preserve access to a service point better than permanently boxing it in.
- Build and test a single door before producing several if you are new to inset or overlay joinery.
- Use the Planner for the measurable carcass logic, then use this guide for the real room fitting sequence.
Things we wouldn’t
Common shortcuts that usually cost you later.
- Assuming both side walls are parallel.
- Building directly from one front edge width.
- Fixing through a wall before checking hidden services and substrate.
- Trapping sockets, valves or other required access points behind permanent joinery.
Before you start
Know where DIY stops.
- Locate hidden electrical cables and pipes before drilling, nailing or screwing into walls.
- Secure tall/heavy fitted work to suitable structure using fixings appropriate to the substrate and load.
- Do not obstruct required ventilation, heat sources or service access.