 01
01Free DIY guide / 01Read now
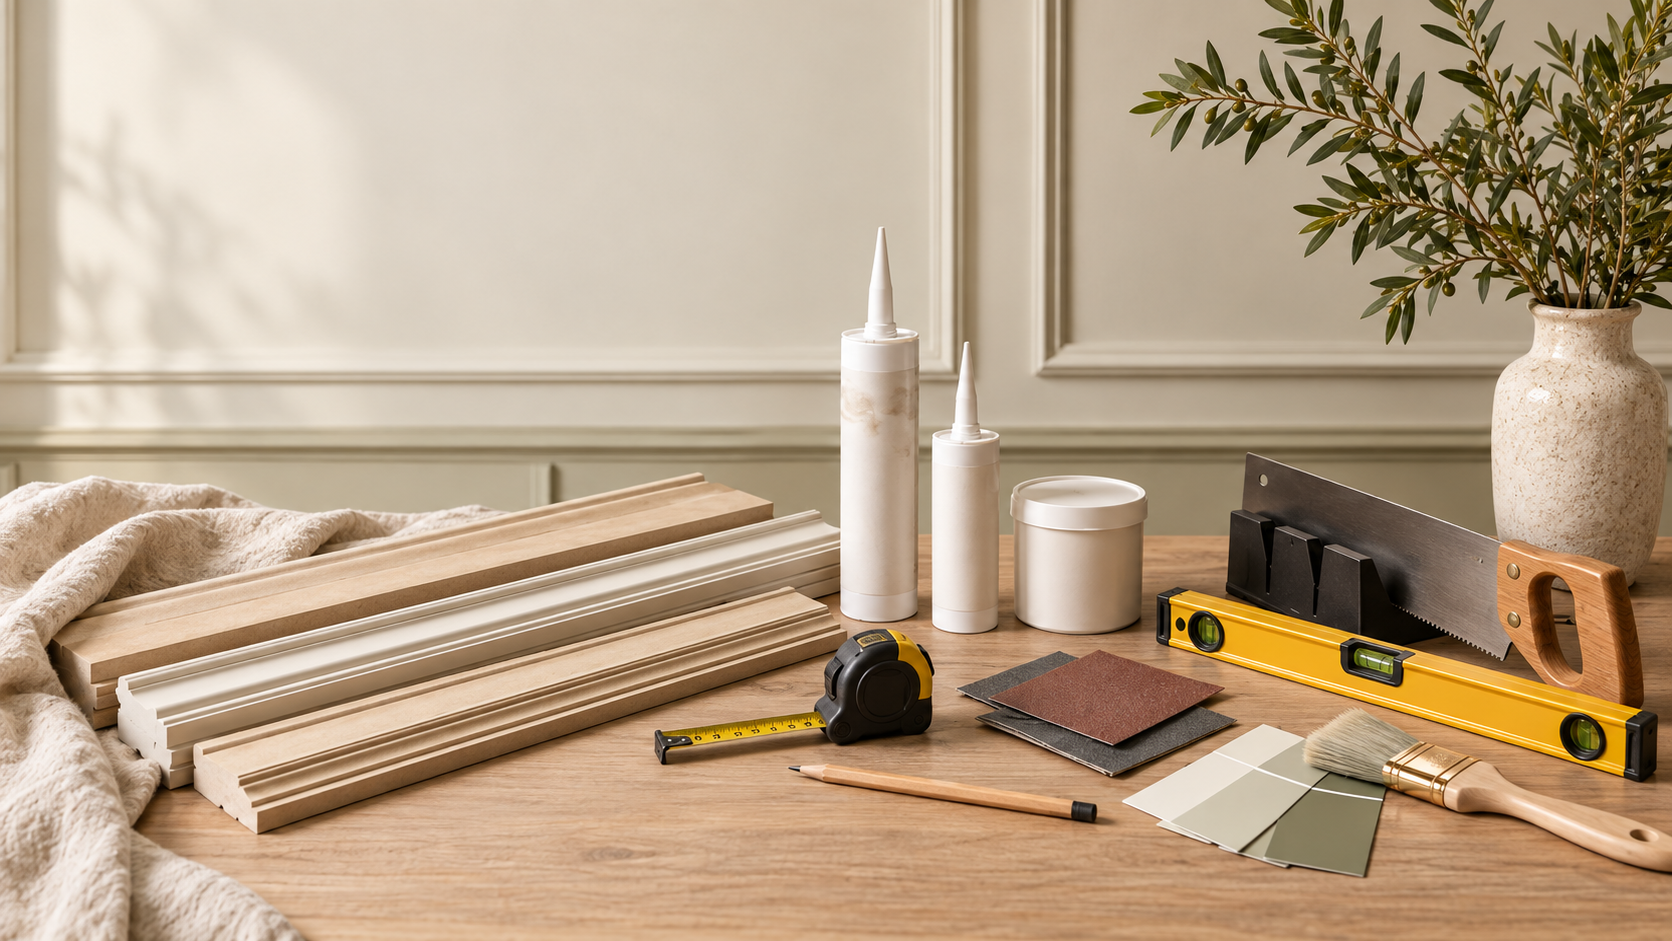
Wall Panelling for Beginners
Plan the proportions, cut the strips, fix them cleanly and finish the wall so it looks built in rather than stuck on.
Beginner friendly1 to 2 days plus drying
Read guide Build it with fewer surprises
Each guide comes from a project we've actually tackled, with the checks, measurements and lessons we wish we'd had at the start.

Project toolkits
We take what helped on the real build and turn it into checks, measurements and worksheets you can use on your own project.
01Plan the proportions, cut the strips, fix them cleanly and finish the wall so it looks built in rather than stuck on.
 02
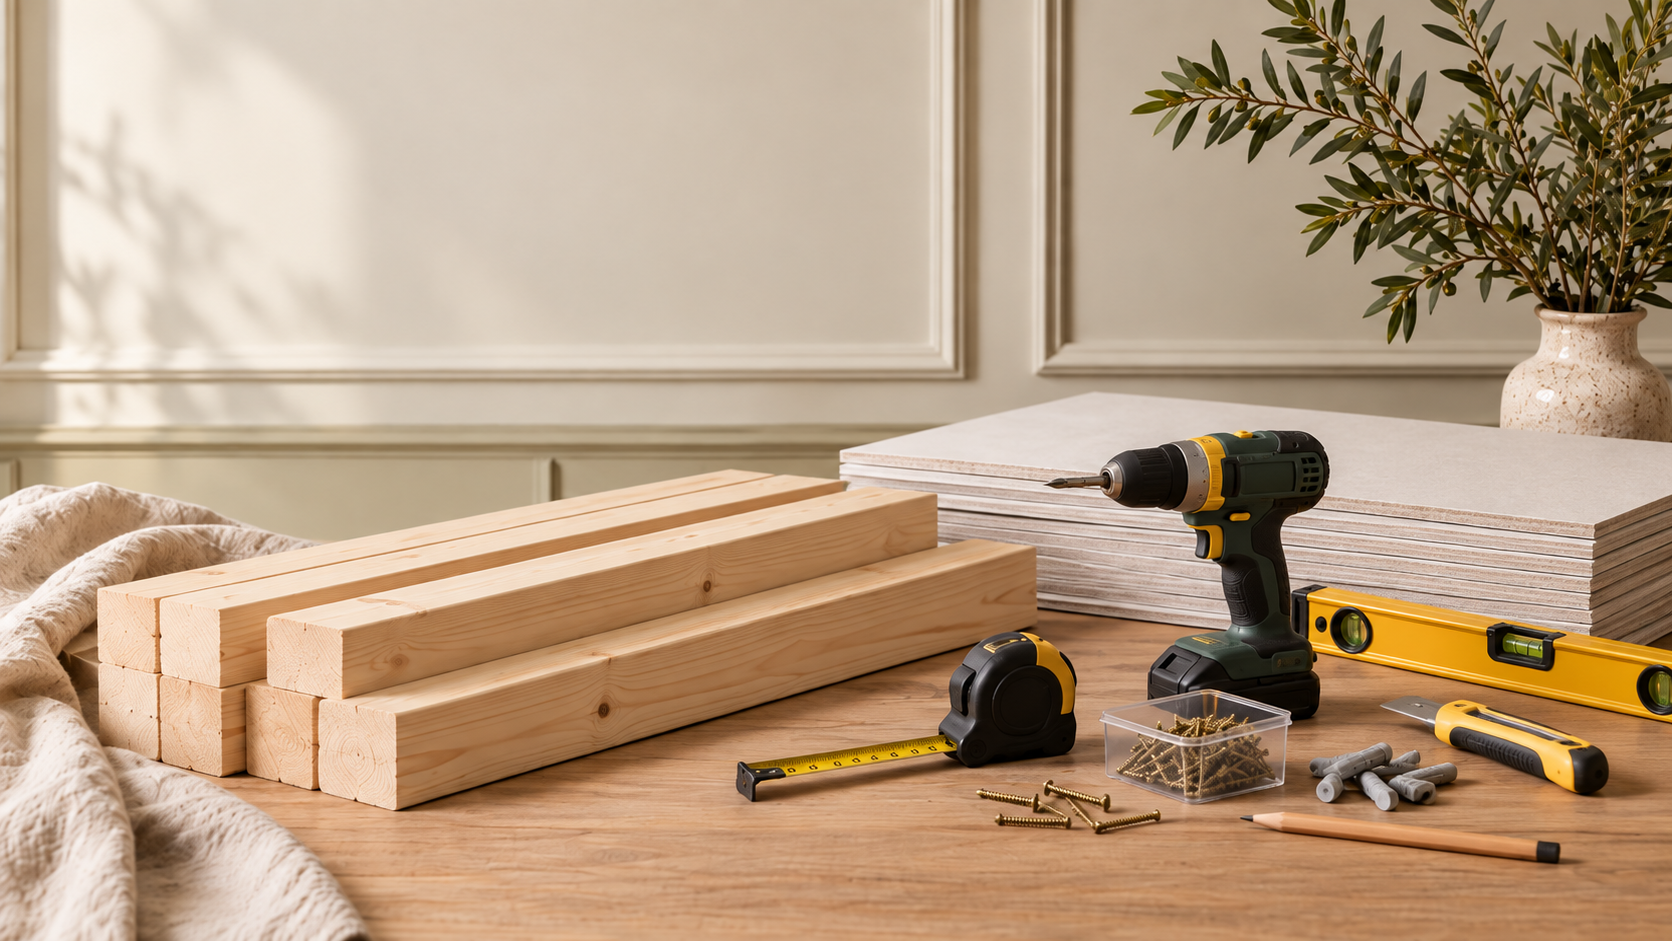
02A beginner's guide to planning and building a simple non load bearing internal timber partition, from floor plate to plasterboard.
 03
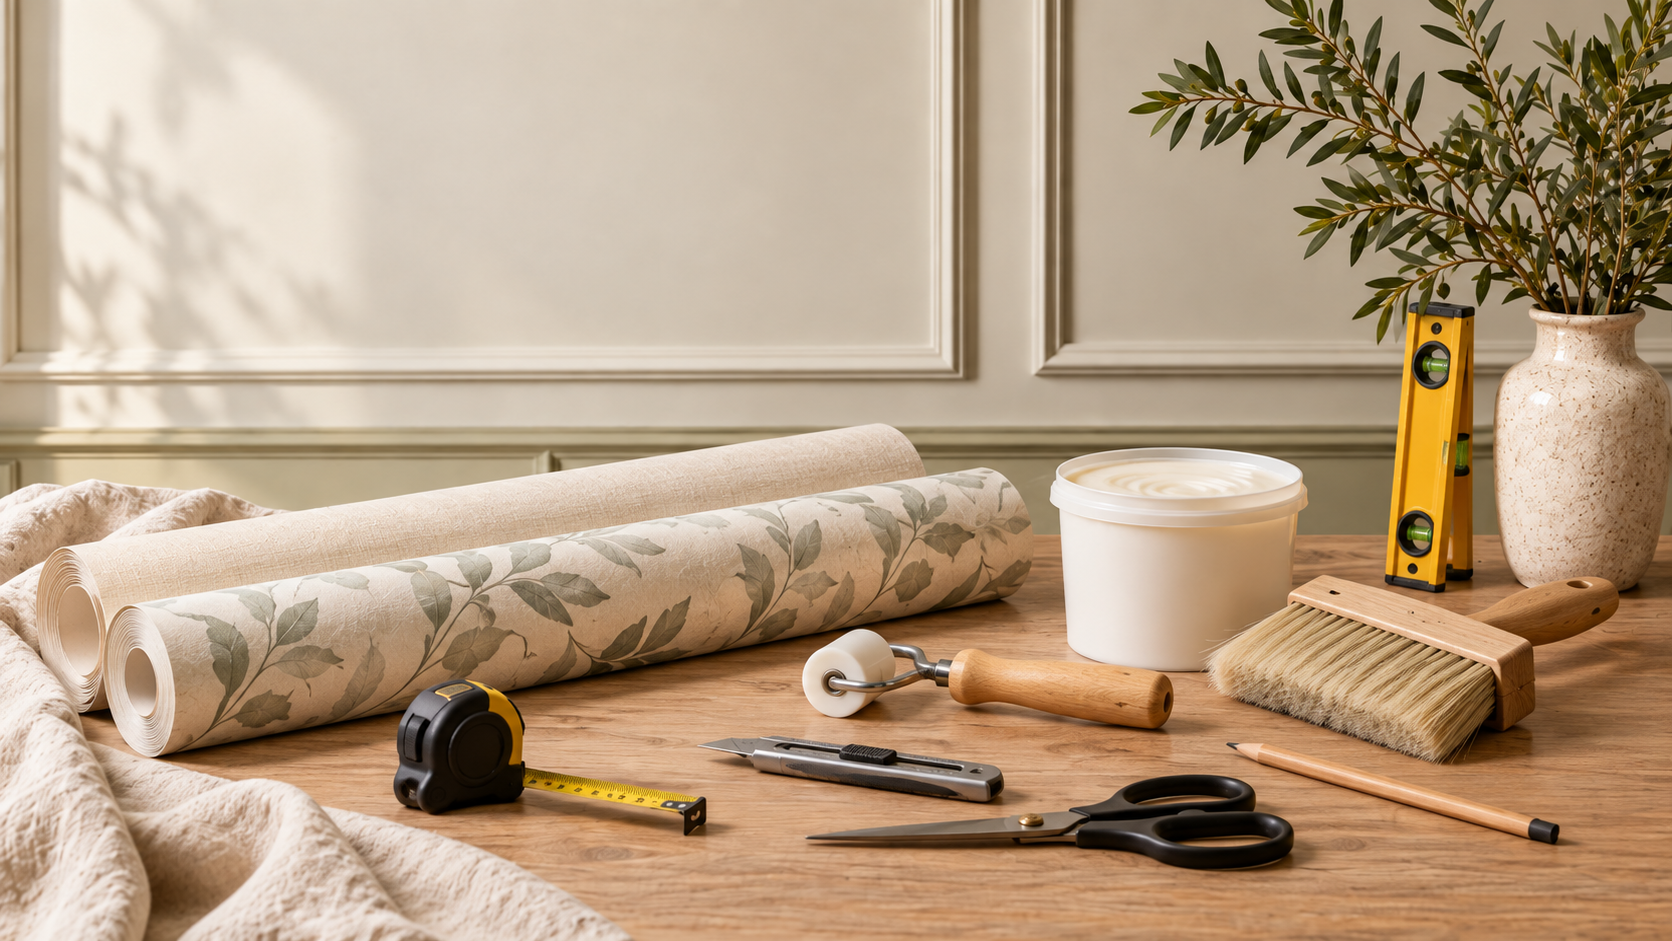
03Prepare the wall, understand the pattern, start plumb and hang each length without turning a good wallpaper into an expensive lesson.
 04
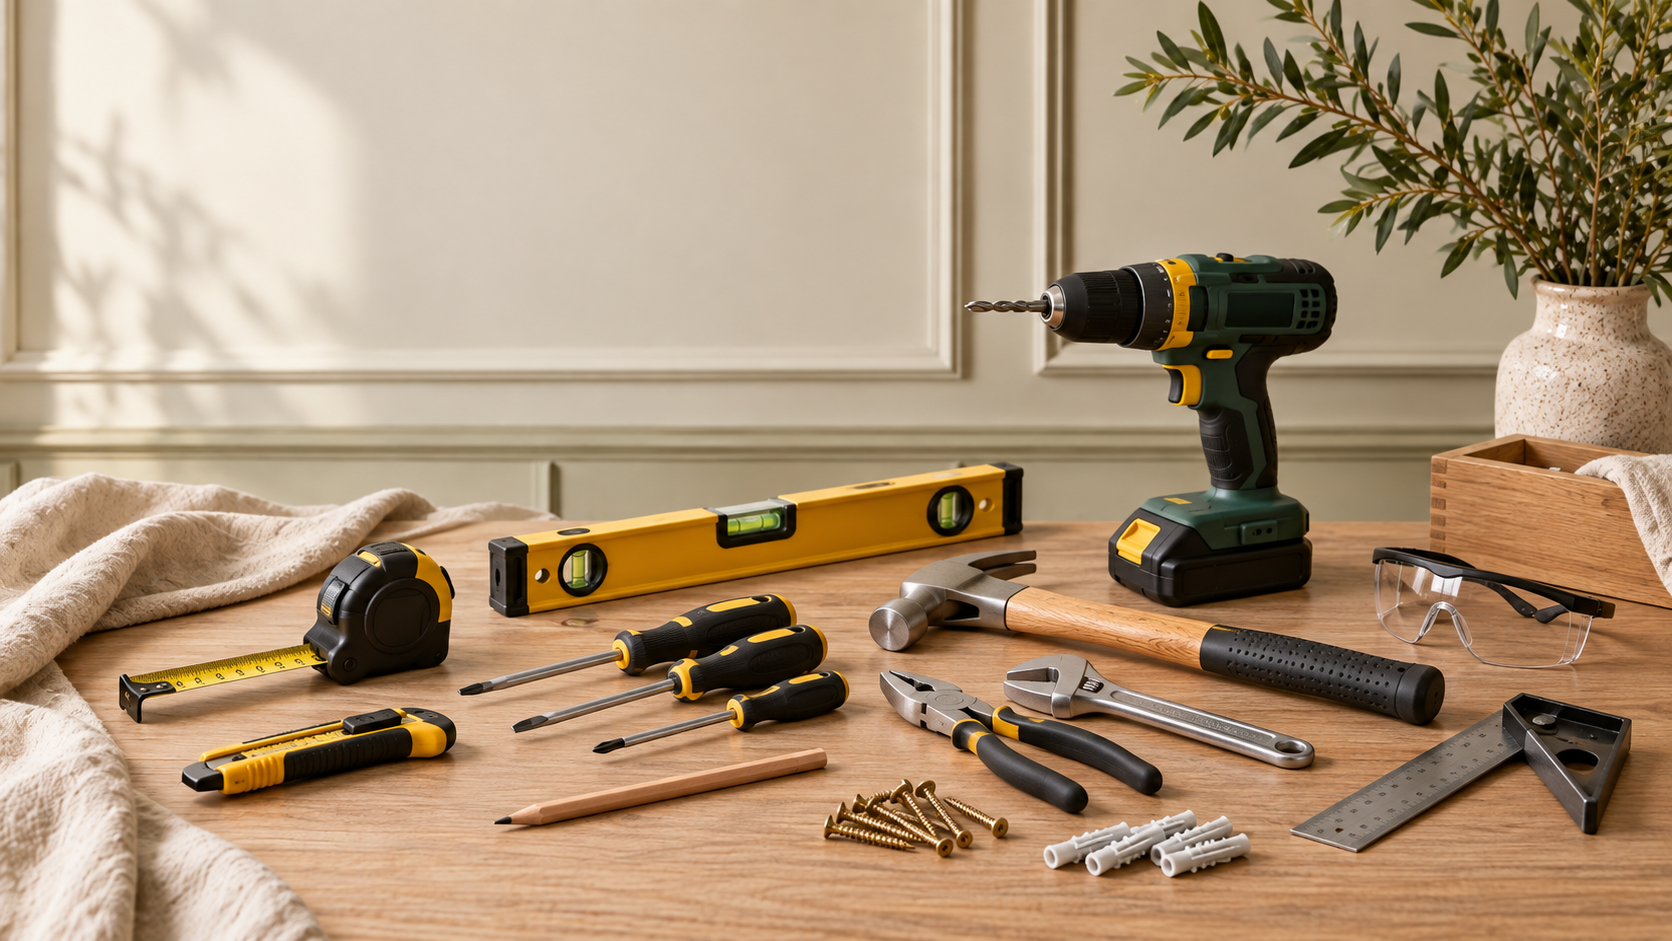
04The tools worth buying first, the ones you can wait for, and how to avoid filling a garage with kit you never use.
 05
05The difference between 'painted' and 'finished properly' is mostly prep, order of work and not rushing the second coat.
 06
06Get the subfloor right, let the boards acclimatise, protect the expansion gap and the click system does most of the clever work.
 07
07Work out what the wall is made from first, then choose the bracket and fixing around the load instead of hoping one wall plug fits everything.
 08
08Plan the layout before mixing anything, use the right adhesive for the tile and substrate, and make the cuts land where they look intentional.
09Fill, sand, clean and stabilise the wall before you ask expensive paint or wallpaper to hide problems it was never designed to fix.
 10
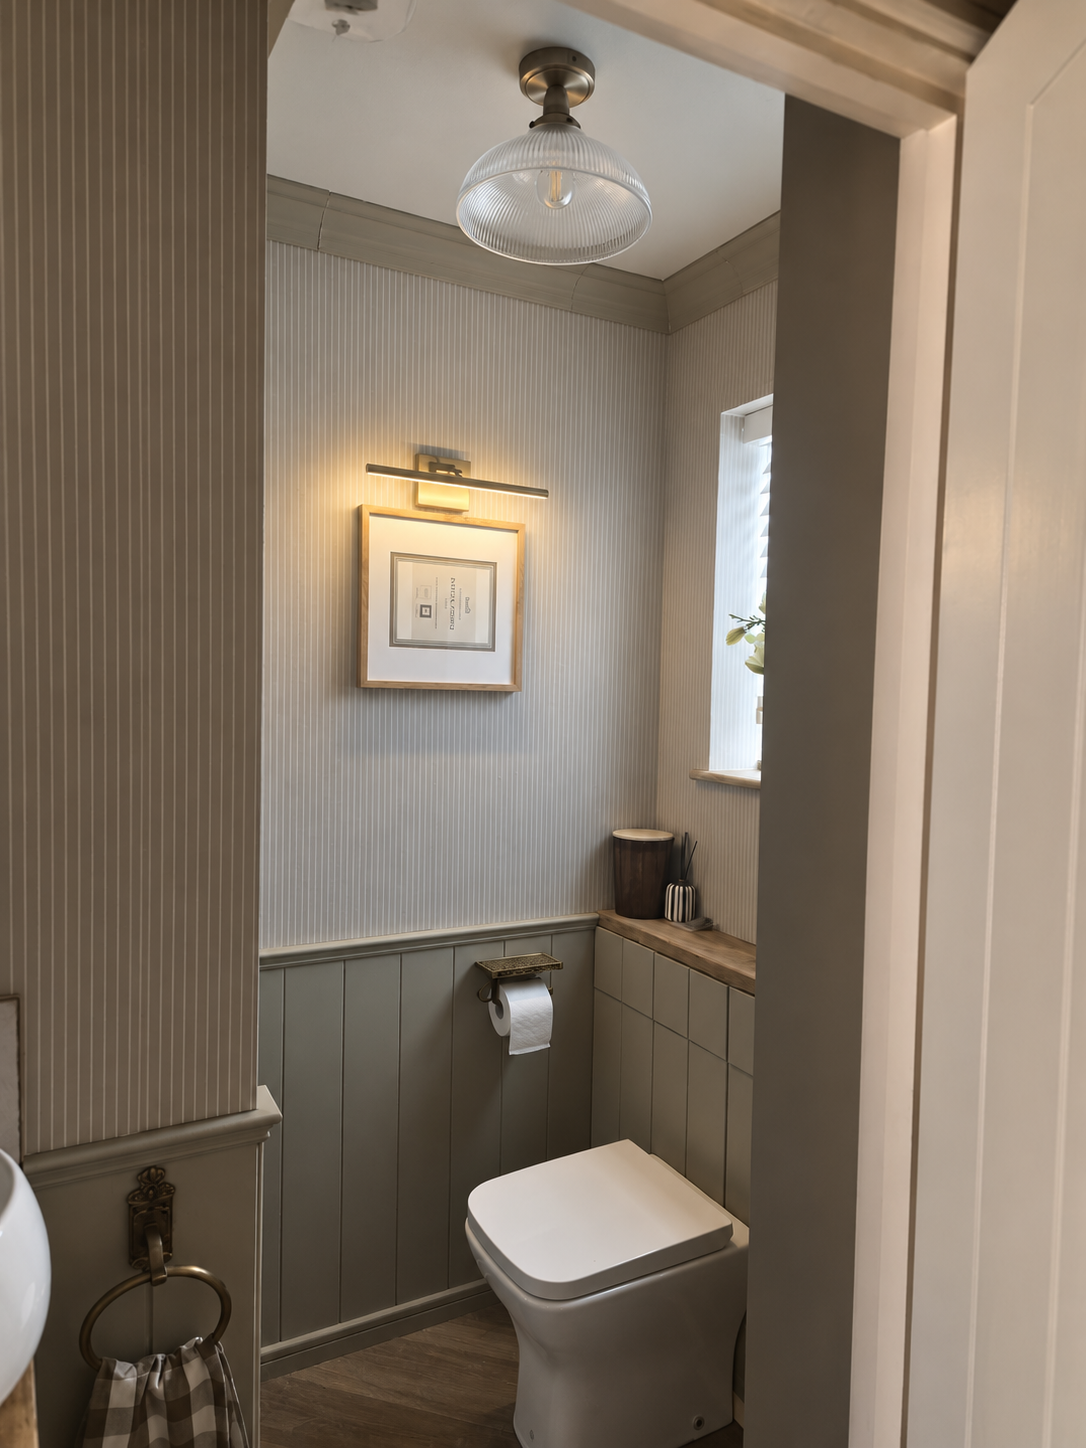
10The clean finish comes from preparation, the right coating system and thin controlled coats, not from loading the brush and hoping gloss will hide everything.
 11
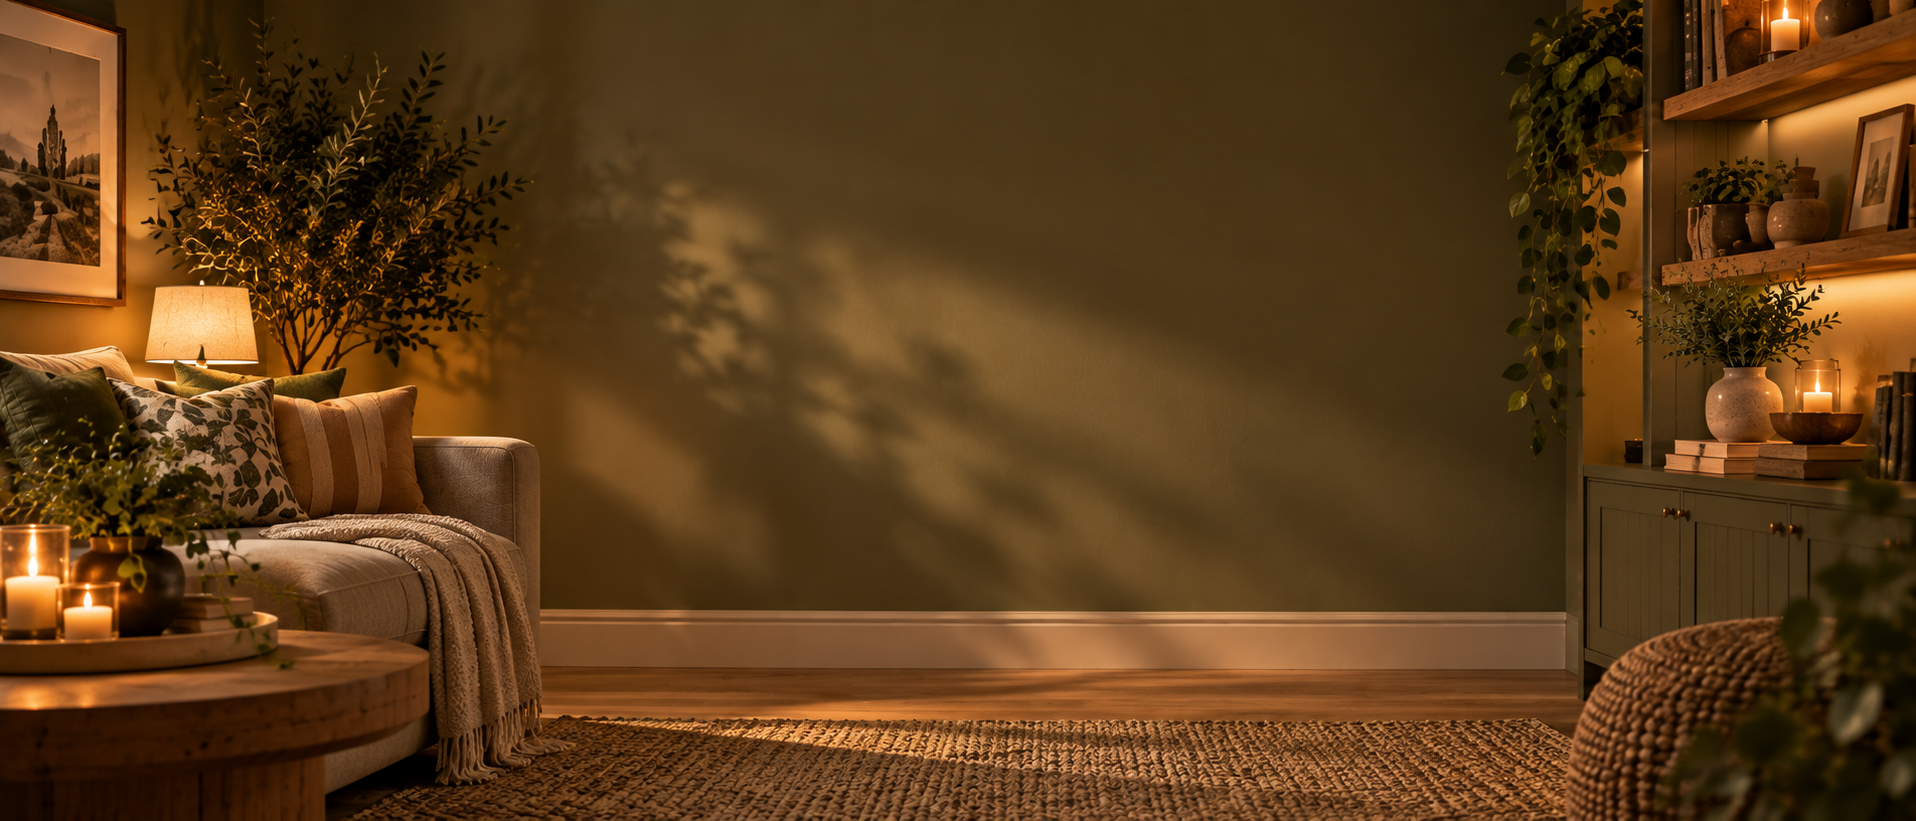
11Use colour to create a focal point or zone with proper proportions, crisp lines and a plan that works with the whole room rather than fighting it.
 12
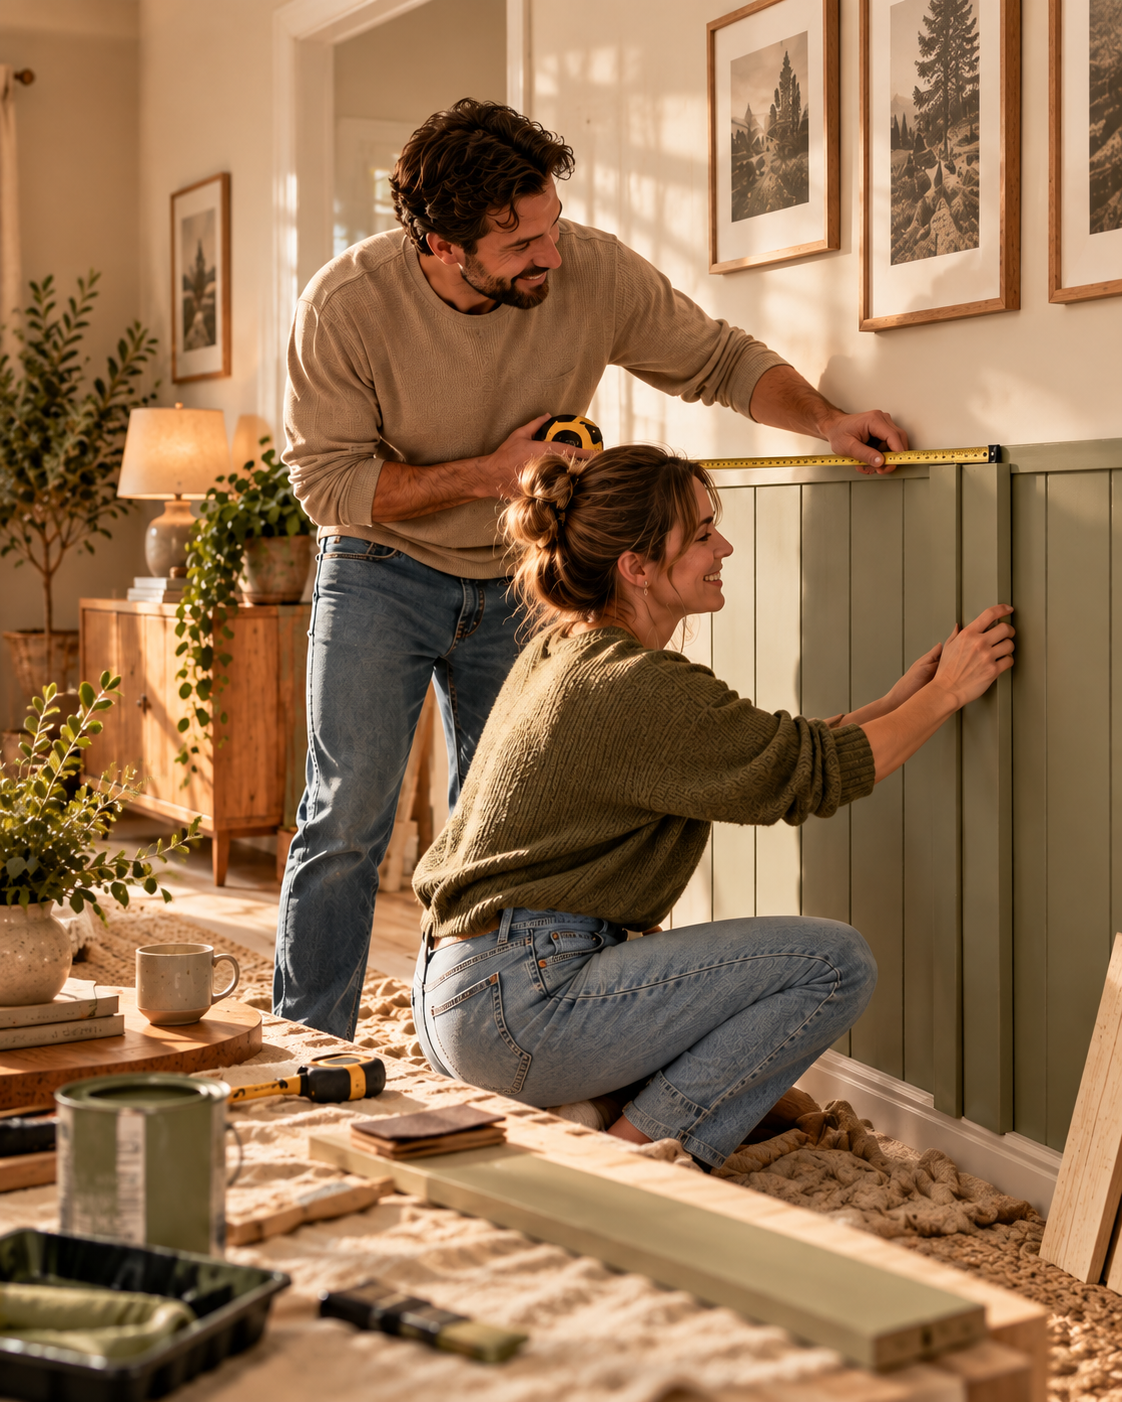
12Measure the room as it really is, plan the joints, cut deliberately and finish the small gaps properly so the trim reads as part of the room.
 13
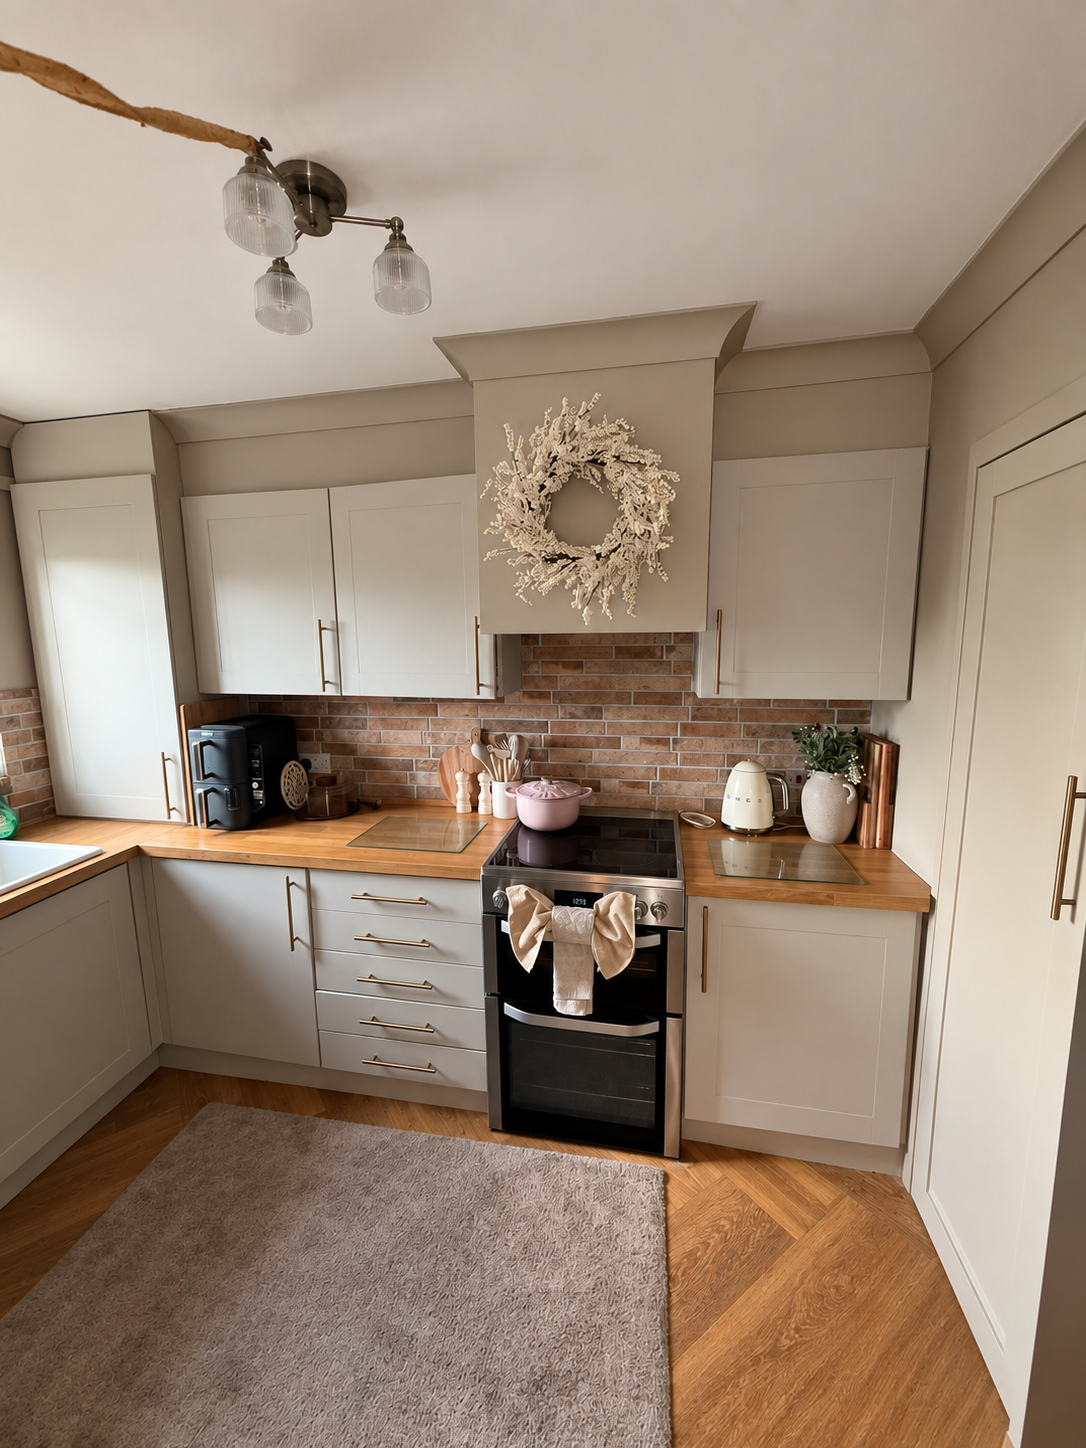
13Keep a useful piece, change its finish and make it belong in the new room without turning a quick makeover into peeling paint and visible brush marks.
 14
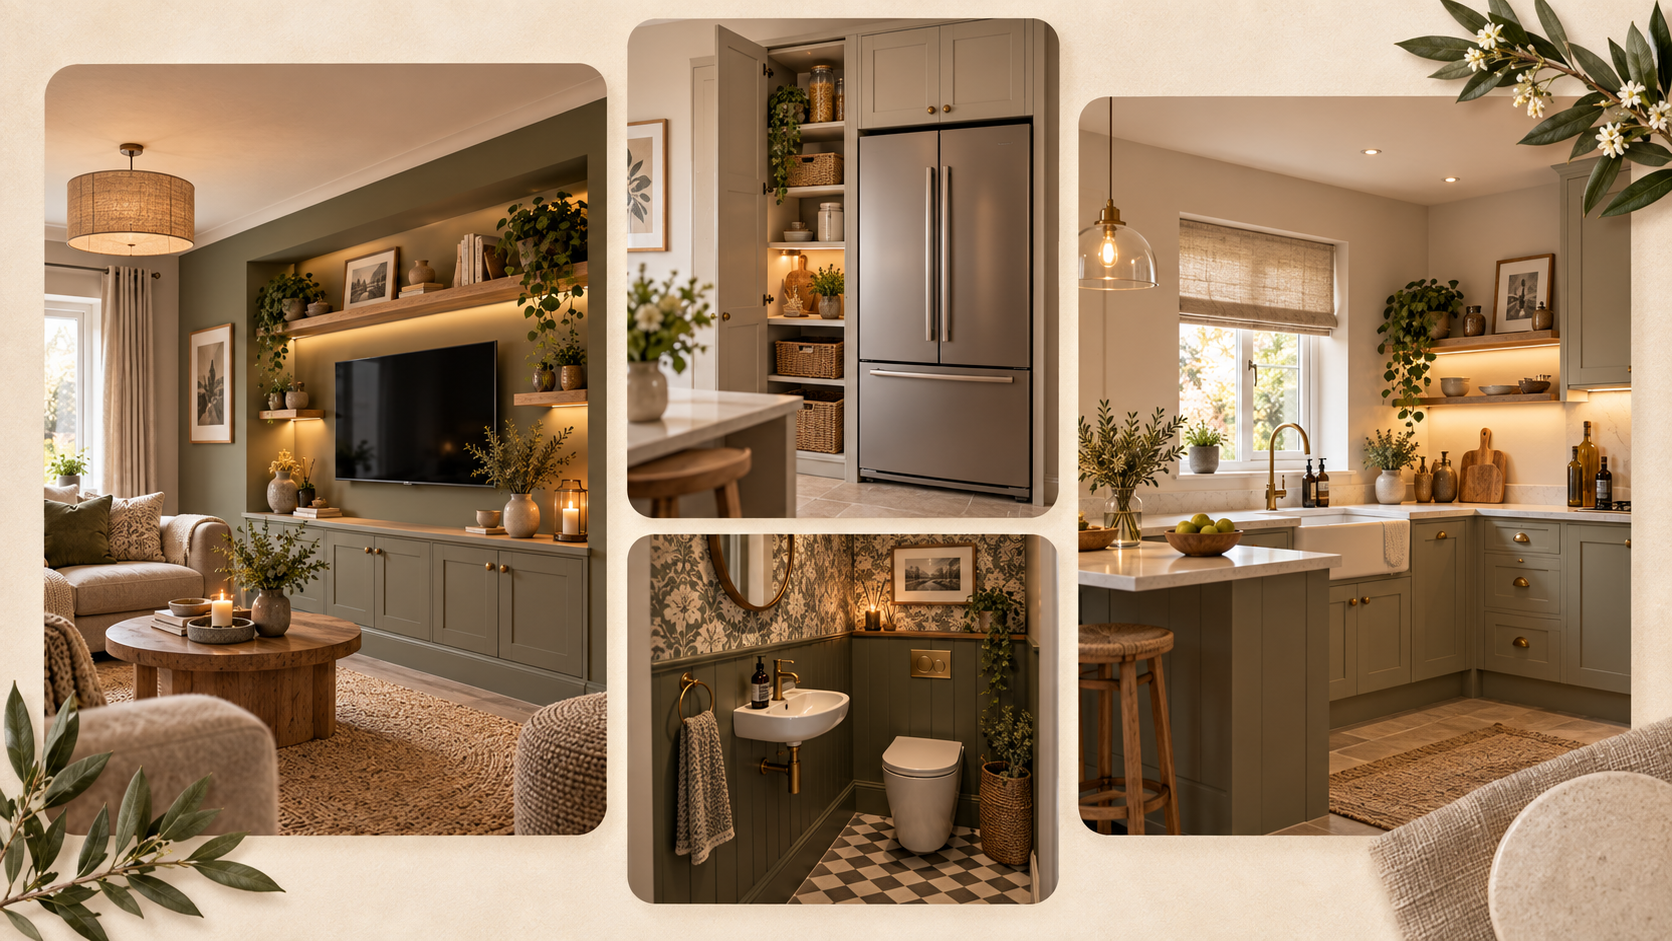
14Build the composition on the floor first, transfer it to the wall with repeatable spacing, then use fixings that actually suit the frame and wall.
 15
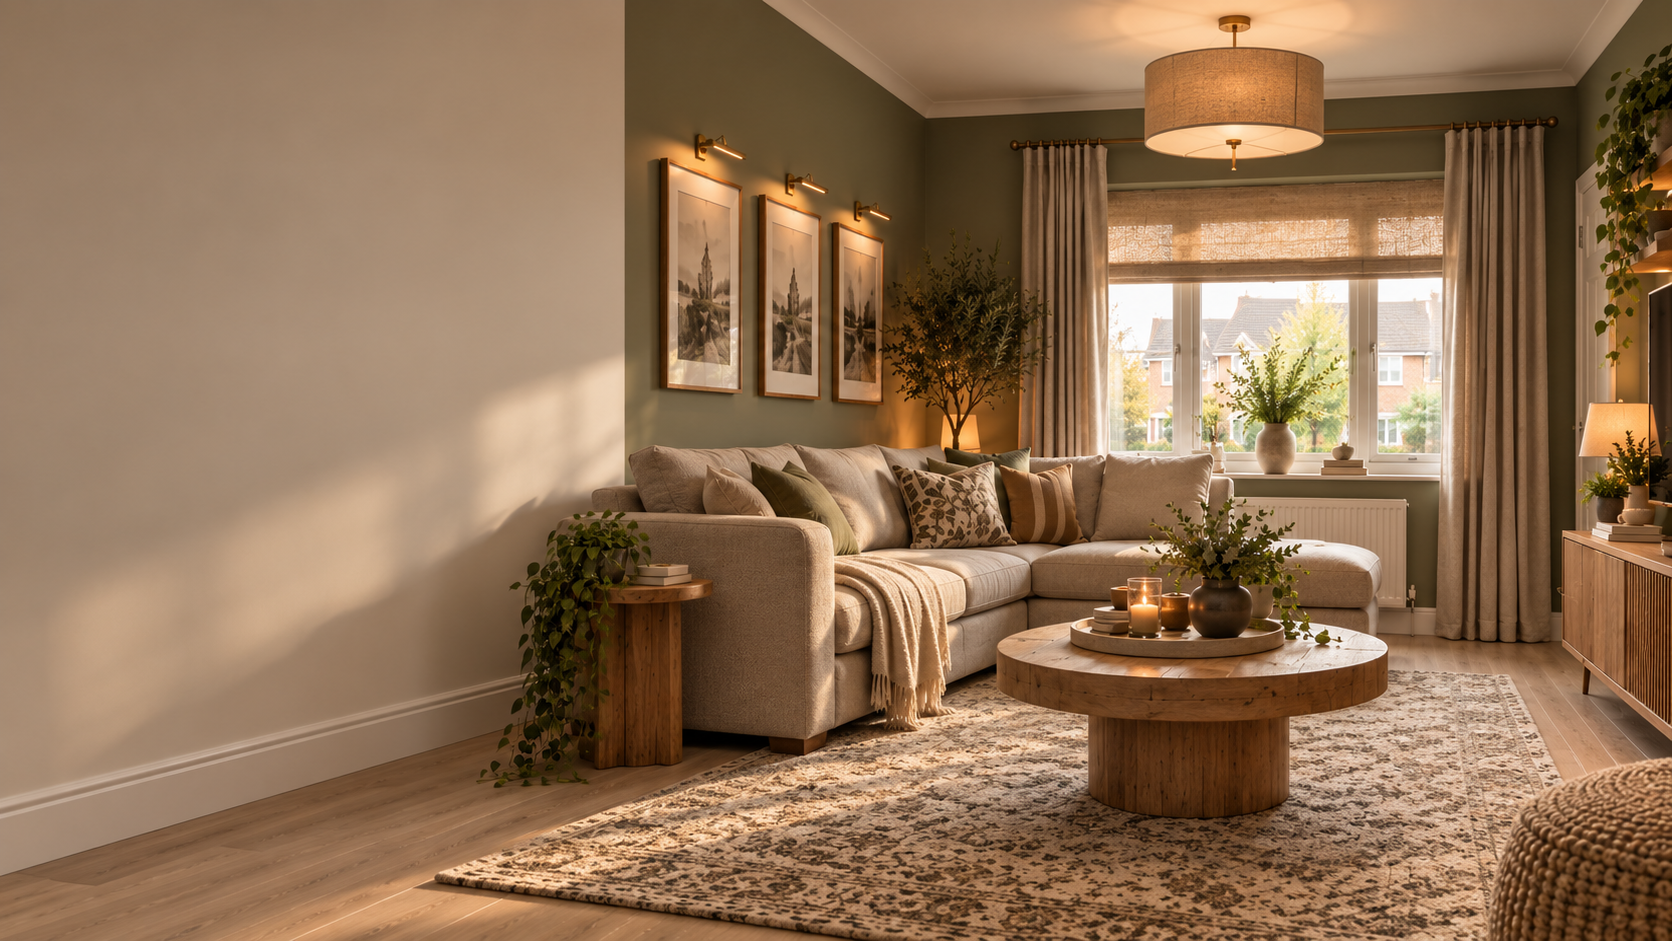
15Set the pole around the window rather than the old holes, choose fixings for the wall and curtain weight, then hang the fabric where it frames the room properly.
 16
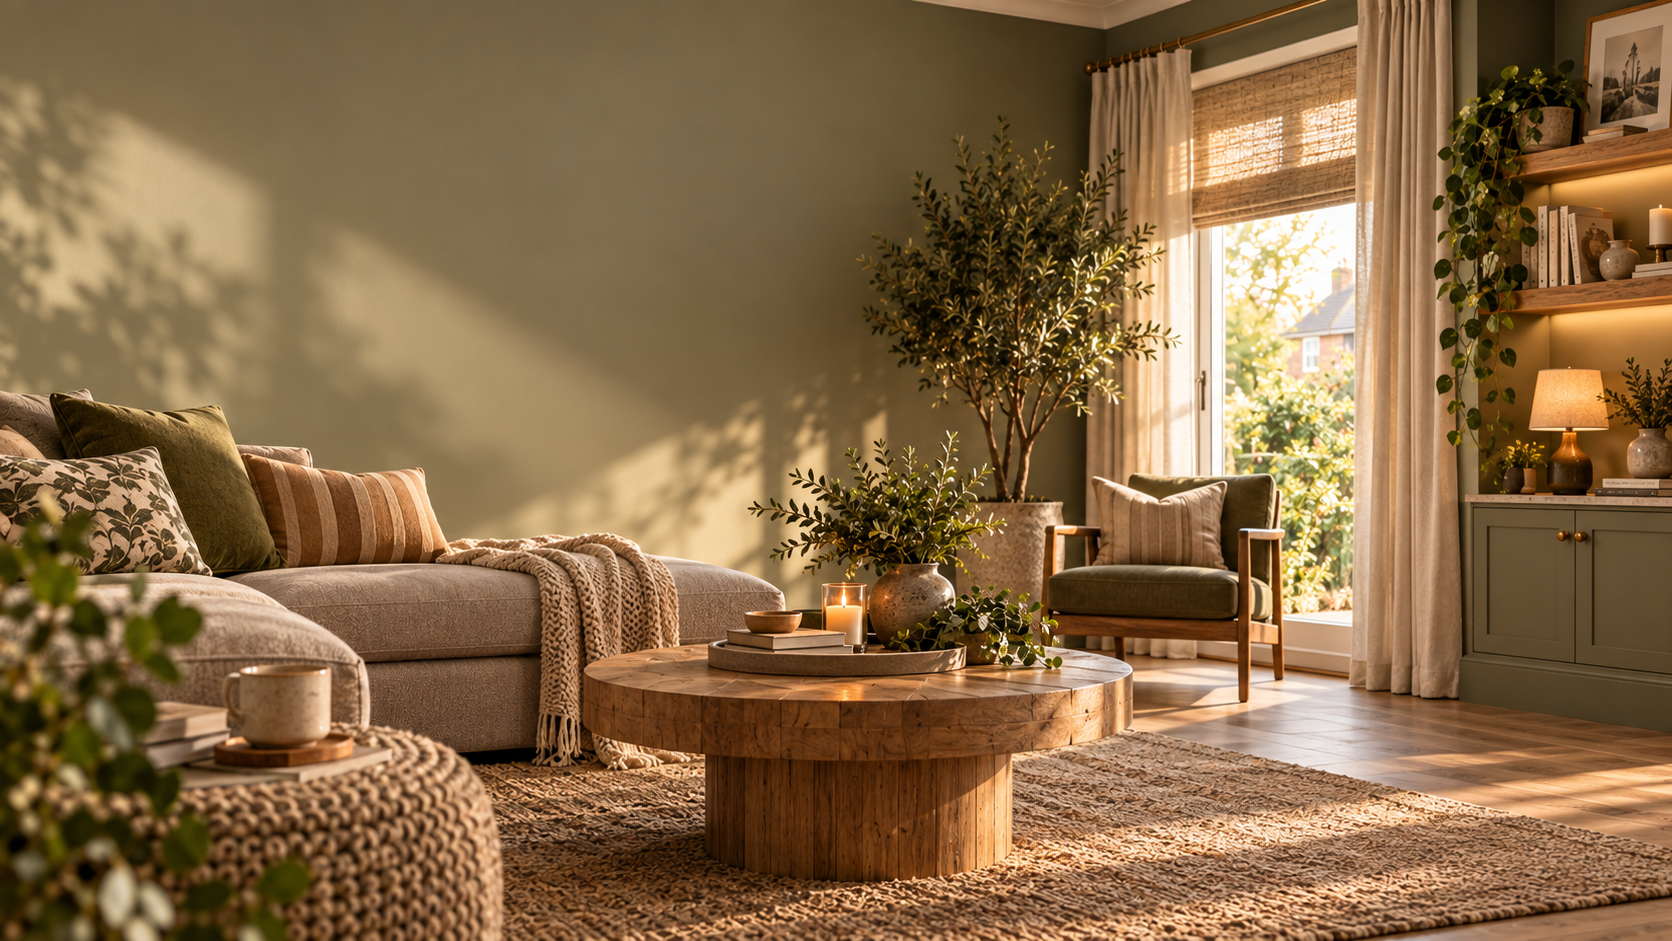
16Decide inside or outside the recess, measure in several places, fix into a sound substrate and treat blind cord safety as part of the installation, not an optional extra.
 17
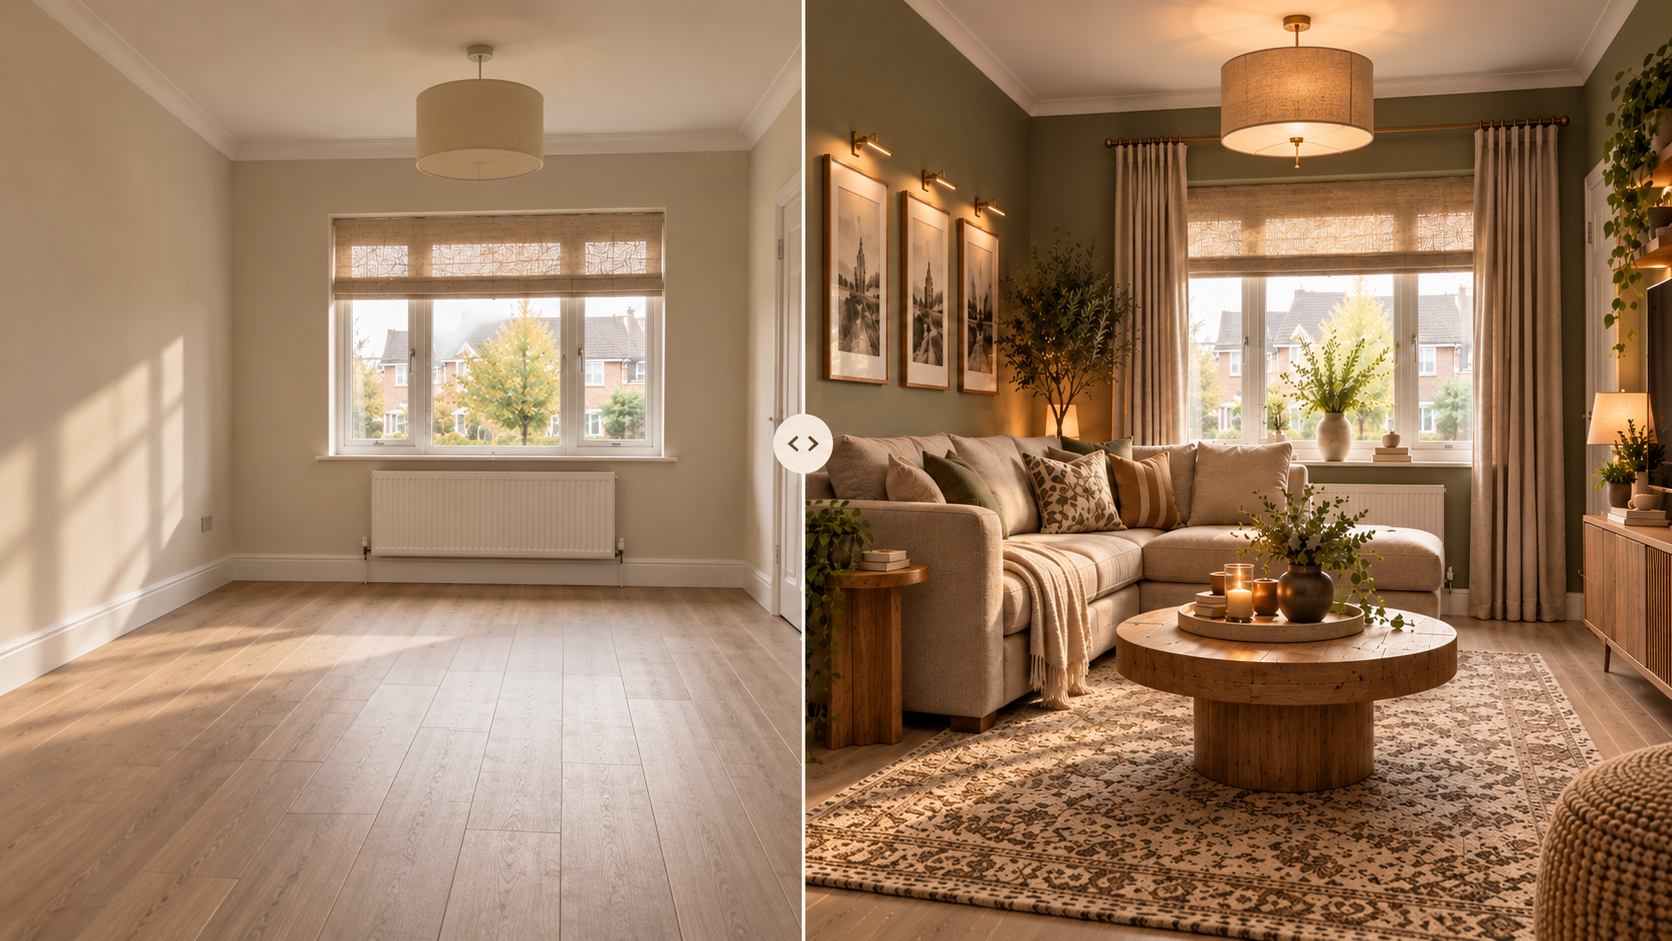
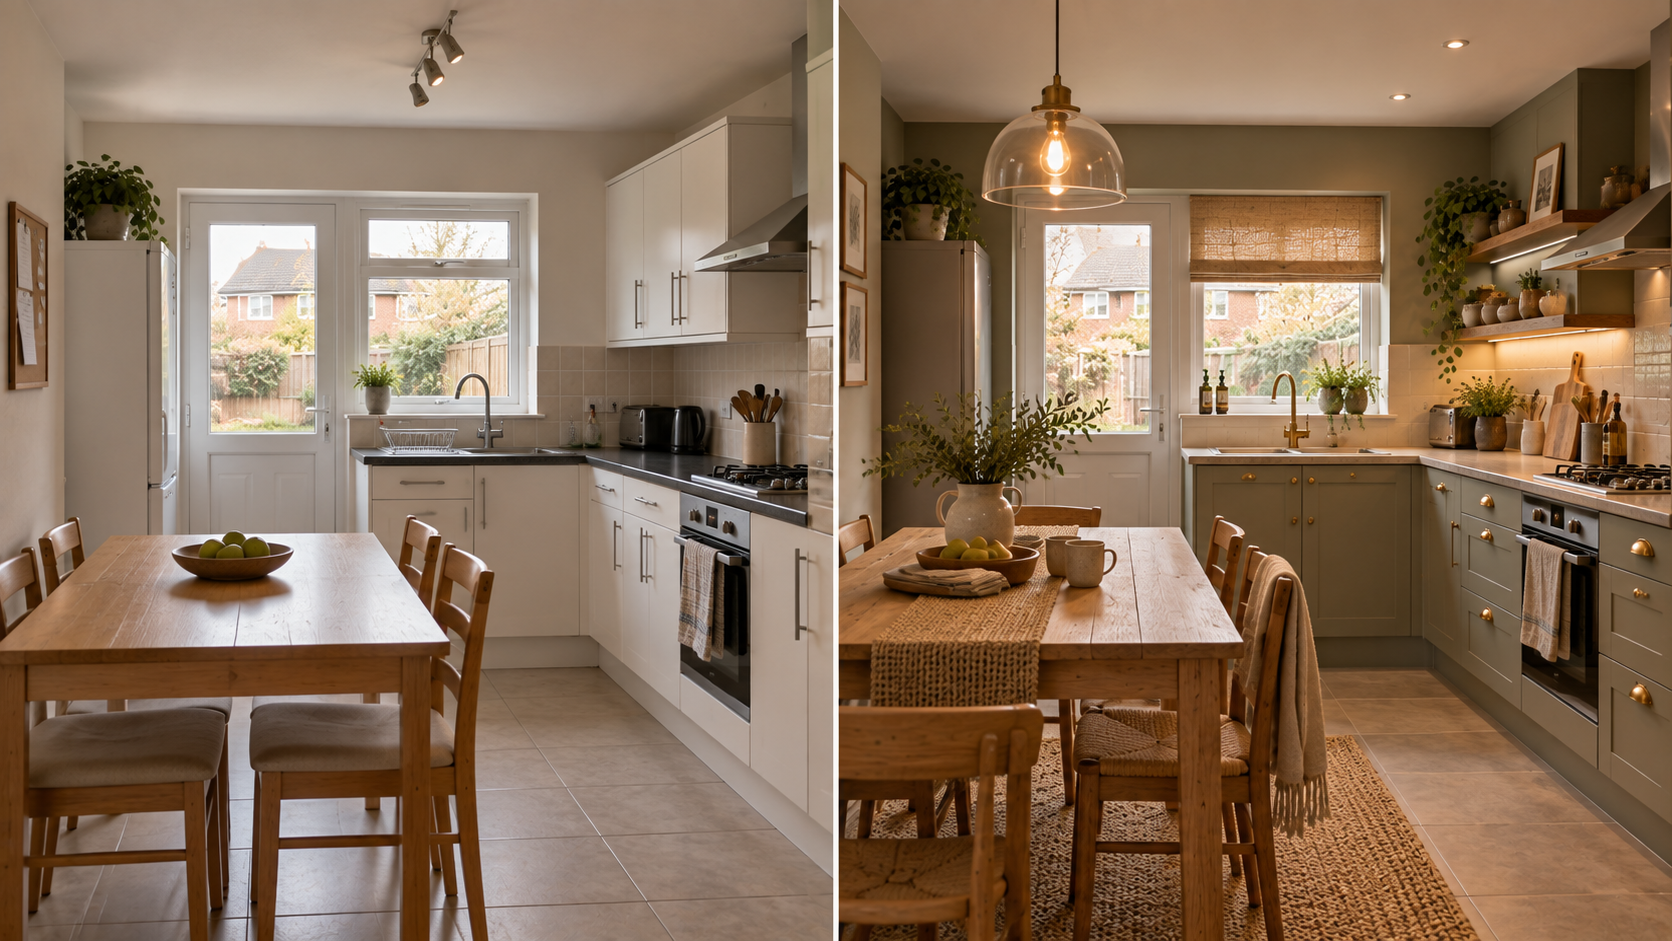
17Start with doors, routes and focal points, then place the biggest pieces around how the room needs to work instead of copying the old layout by default.
 18
18Create clearer living, dining and work zones with furniture, rugs, lighting and finish changes before you reach for a partition wall.
 19
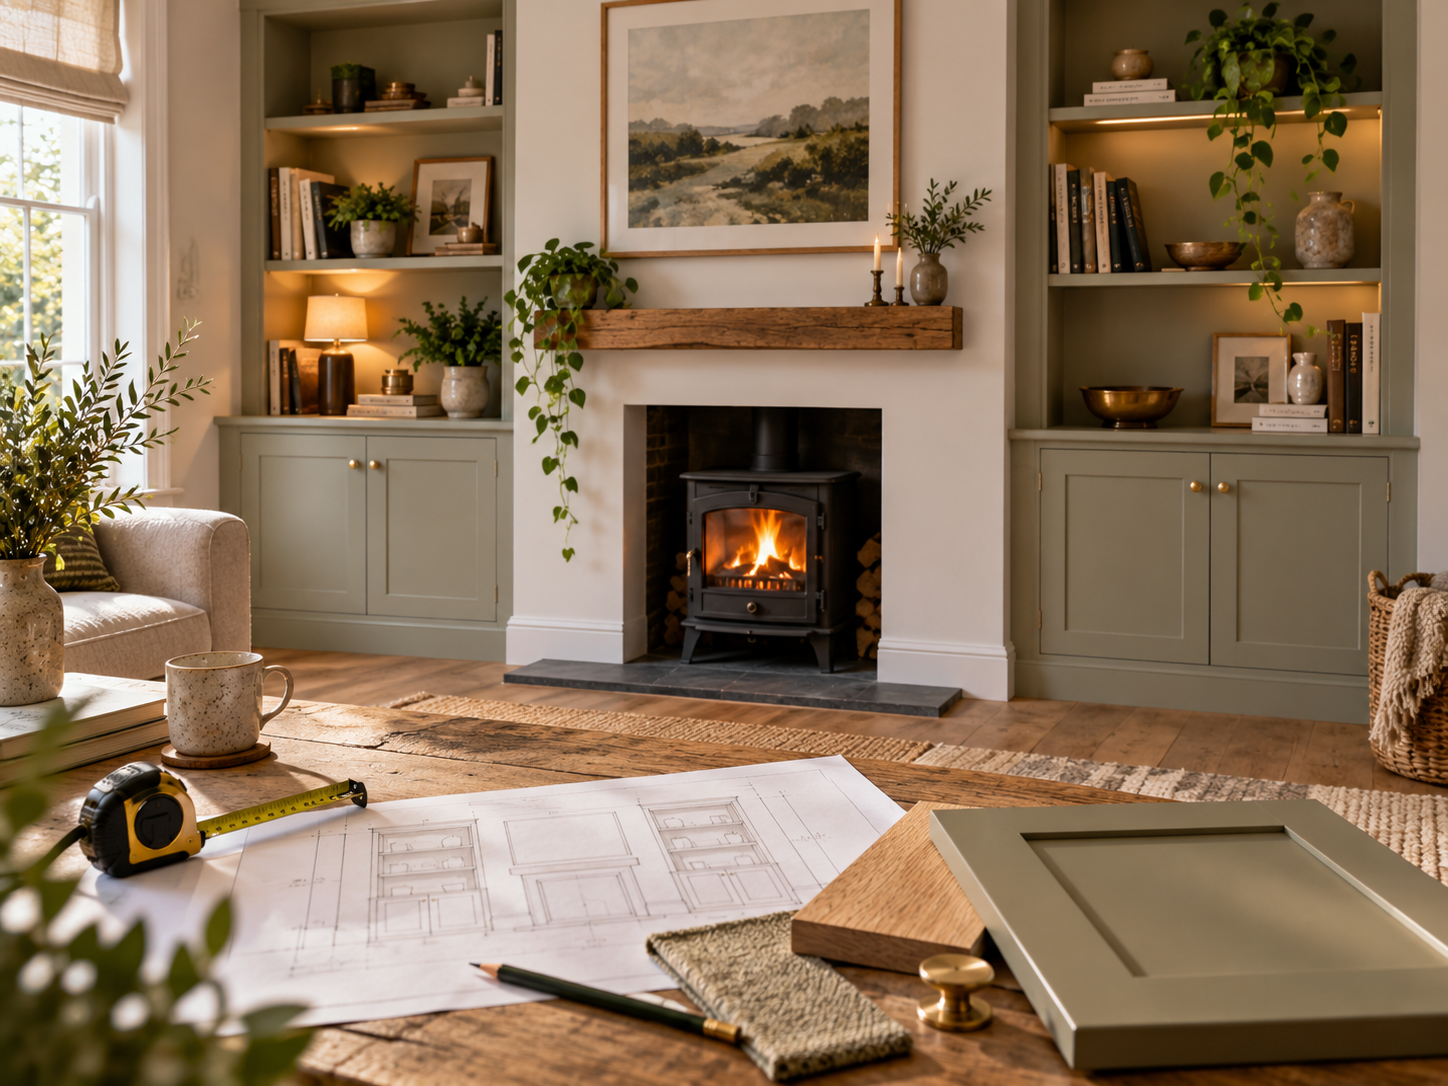
19Turn an awkward recess into fitted storage by measuring the real opening, planning a level base and building square components that can be scribed back to imperfect walls.
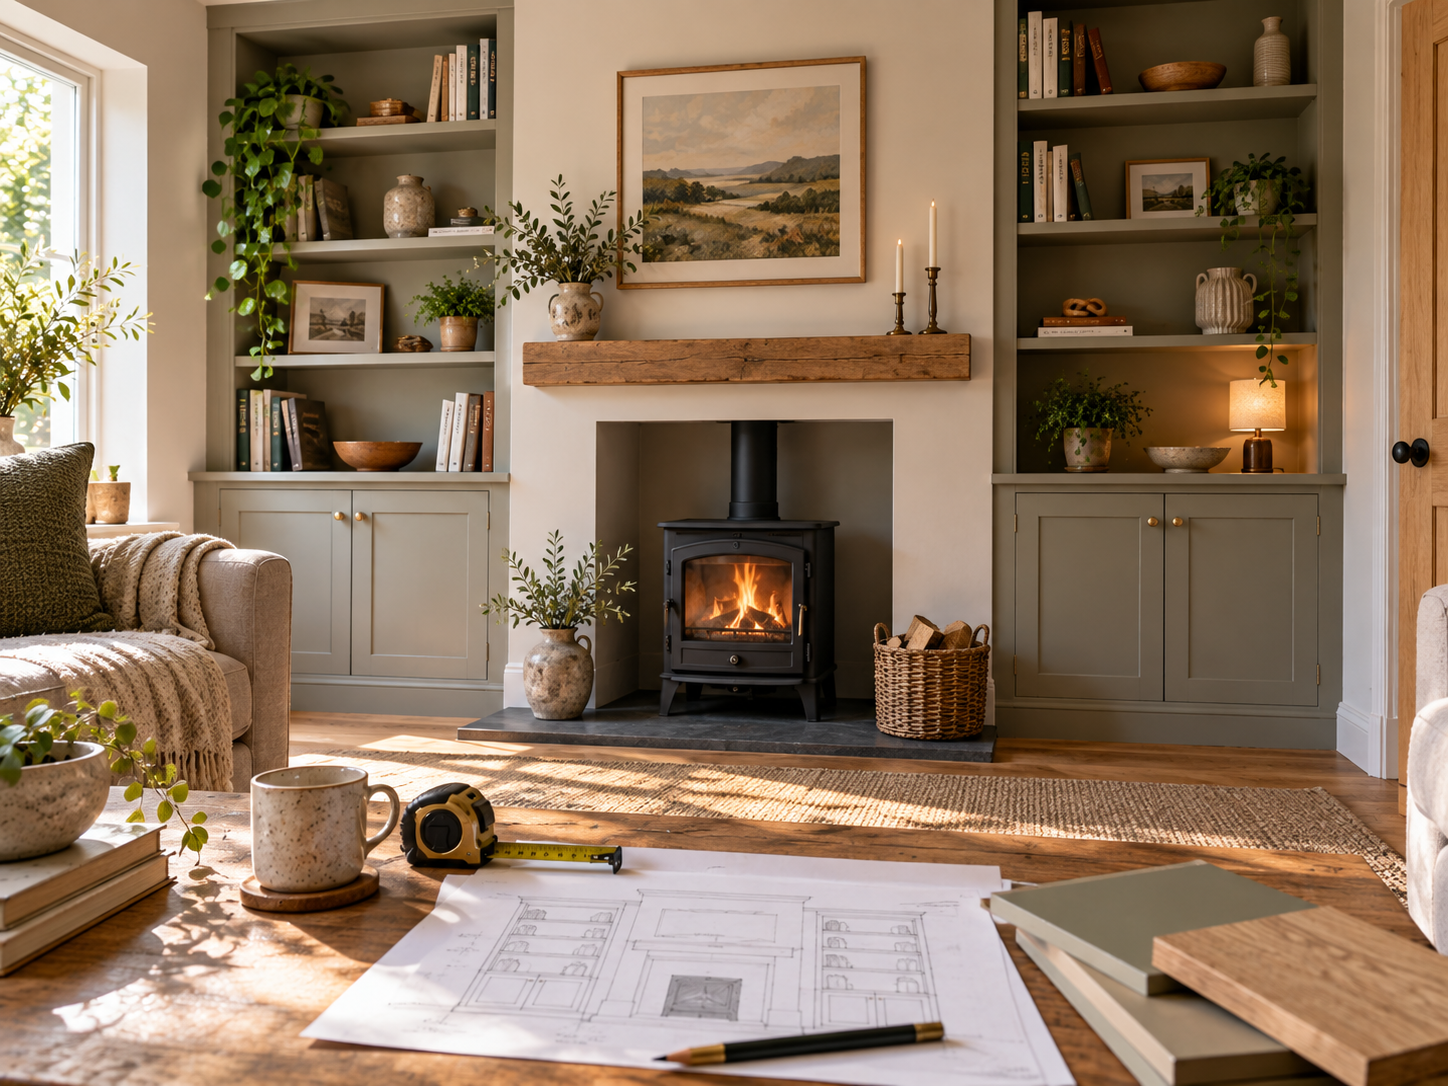
20Plan balanced alcove shelving without treating the chimney breast as just another wall: measure each recess independently, choose the fixing strategy and respect active fireplace or flue constraints.
 21
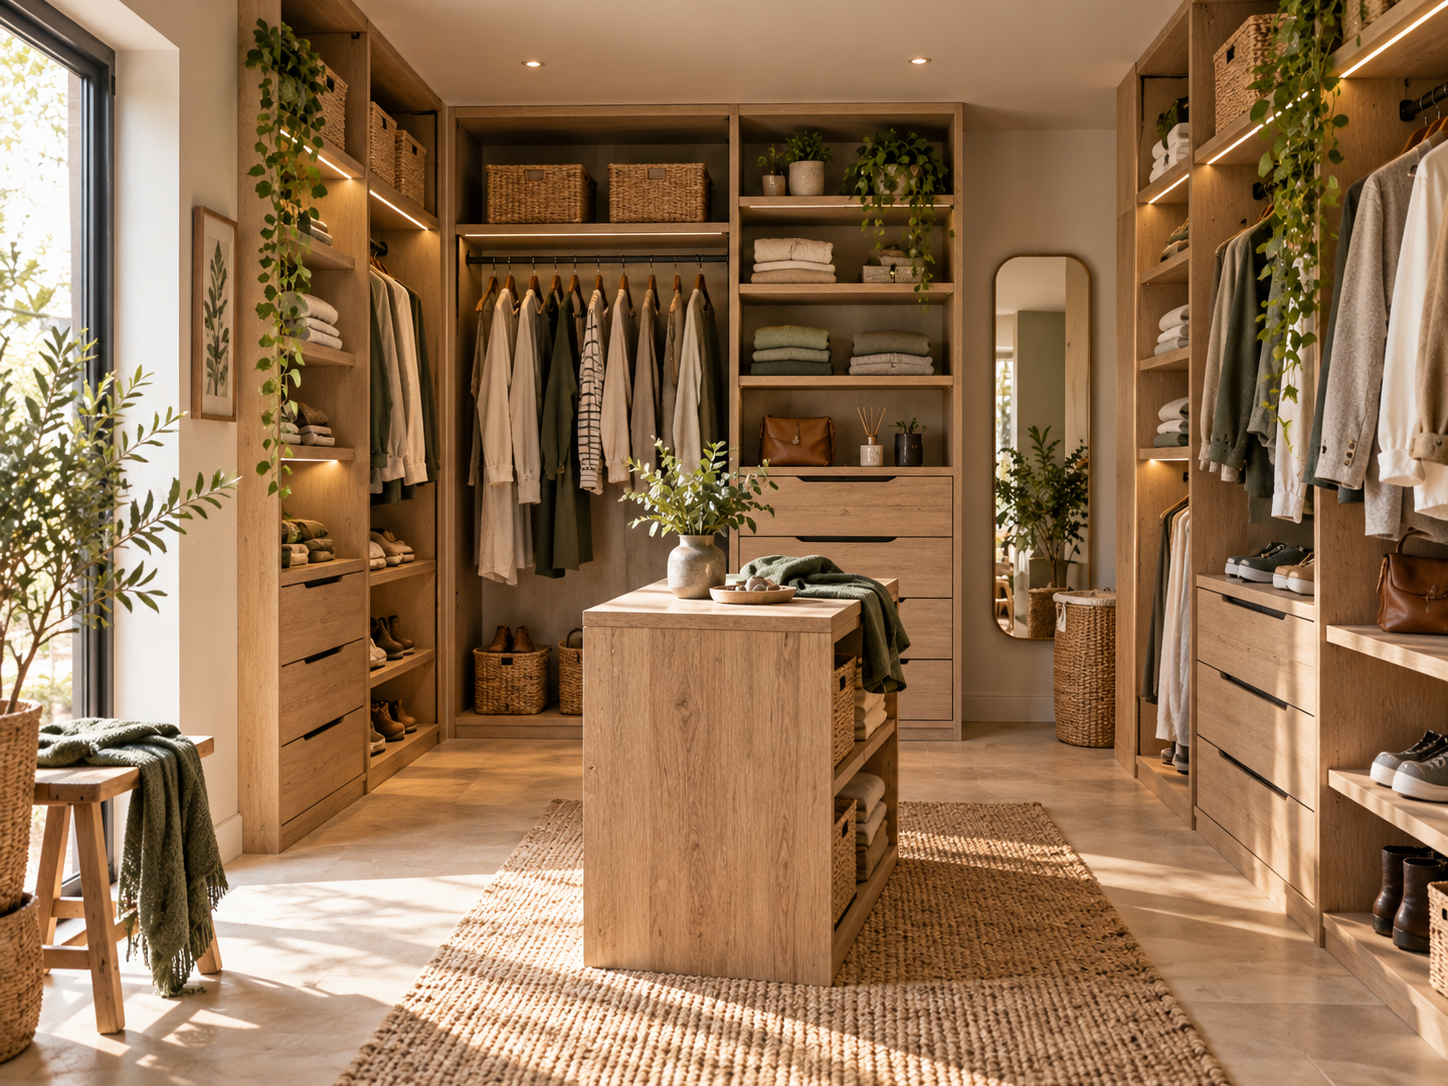
21Build fitted wardrobes as a sequence of level base, square carcasses, useful internals and scribed finishing pieces rather than trying to make every board follow an imperfect room.
 22
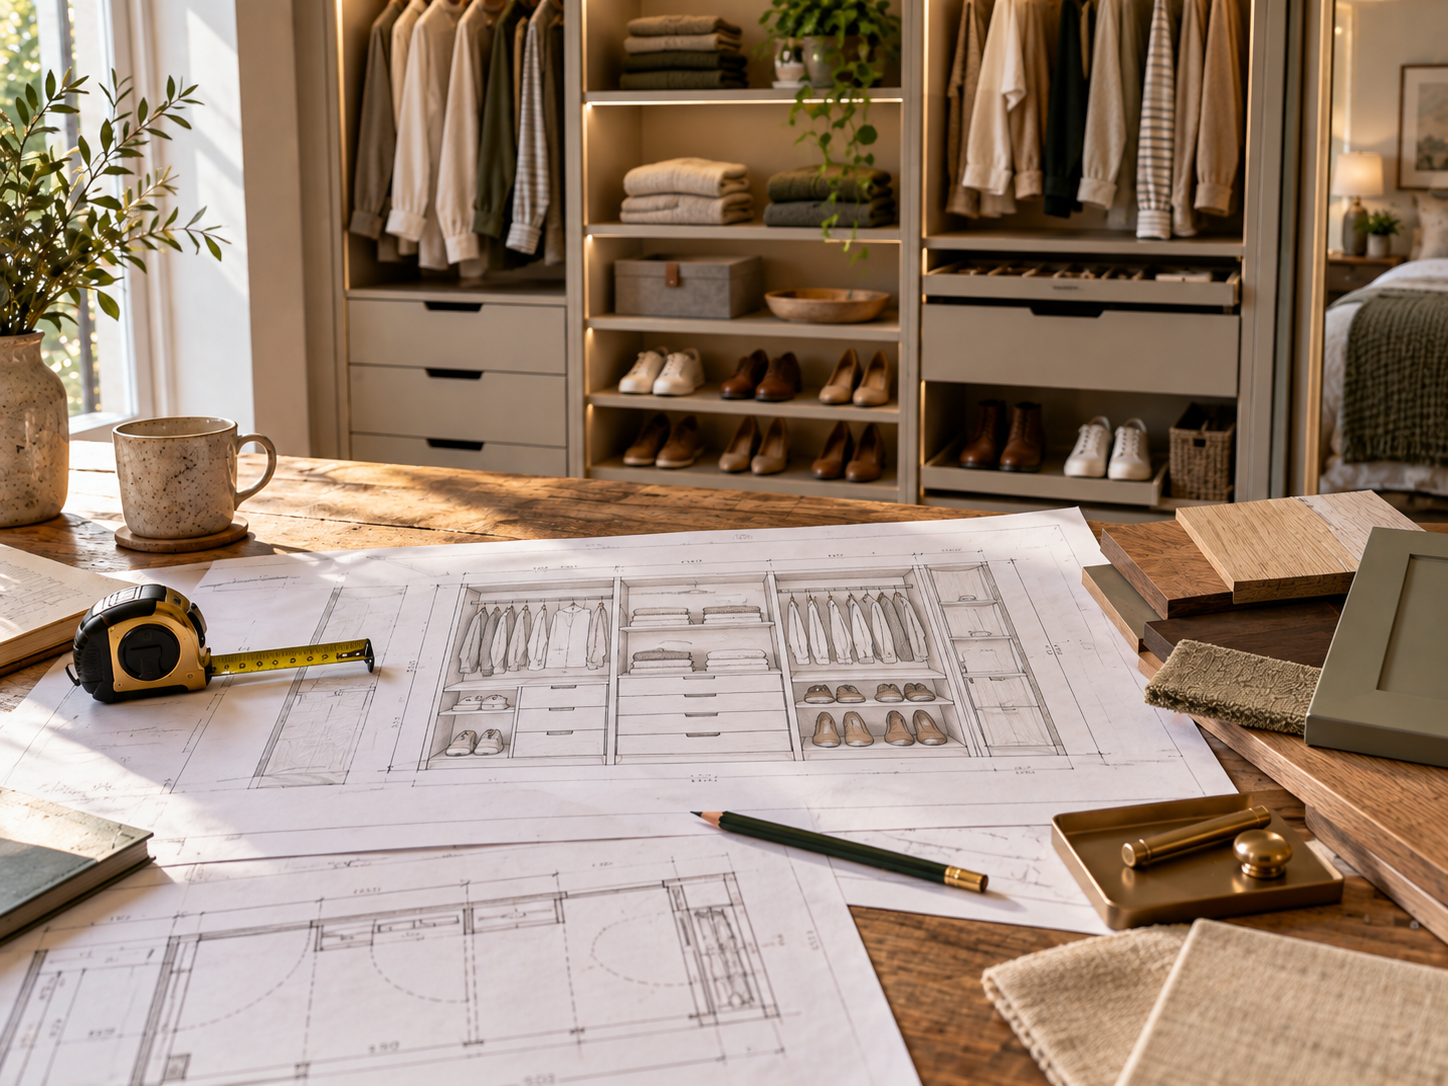
22Design the inside around your clothes and daily habits first, then choose hanging zones, shelves and drawers that use the height without creating inaccessible dead space.
 23
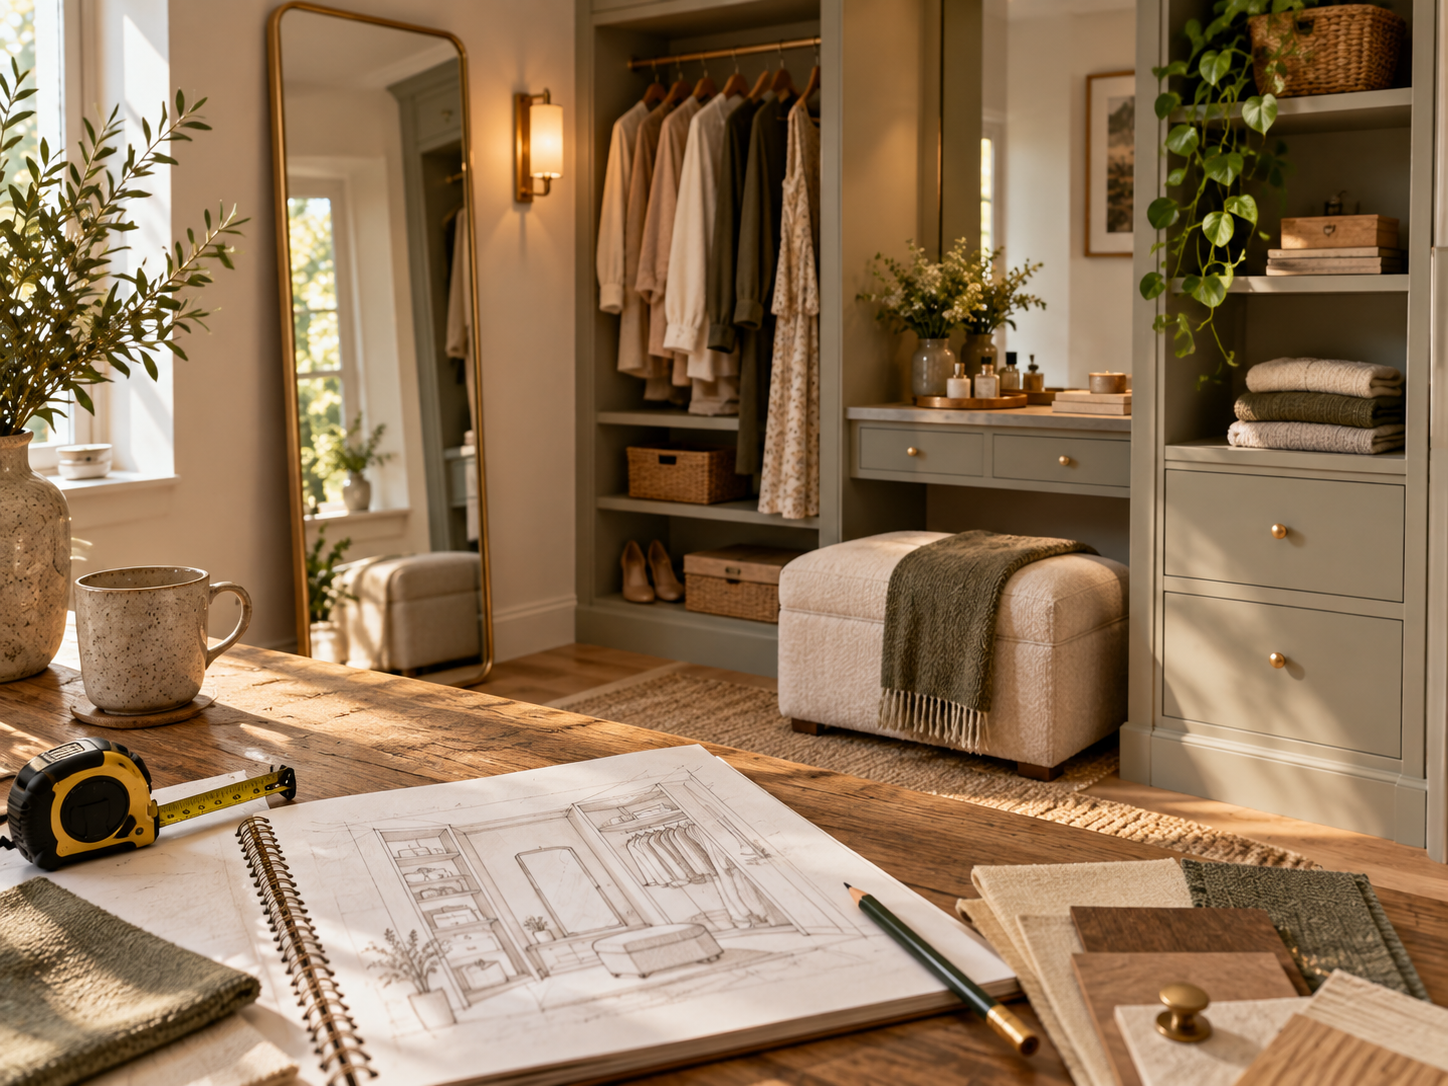
23Combine mirror, useful storage, seating and flattering light without turning a bedroom corner into an obstacle course or assuming fixed electrics can move for free.
 24
24Create a fitted bench that uses awkward floor space without blocking the window, heat or circulation, and design the base for real sitting loads rather than treating it as a decorative box.
 25
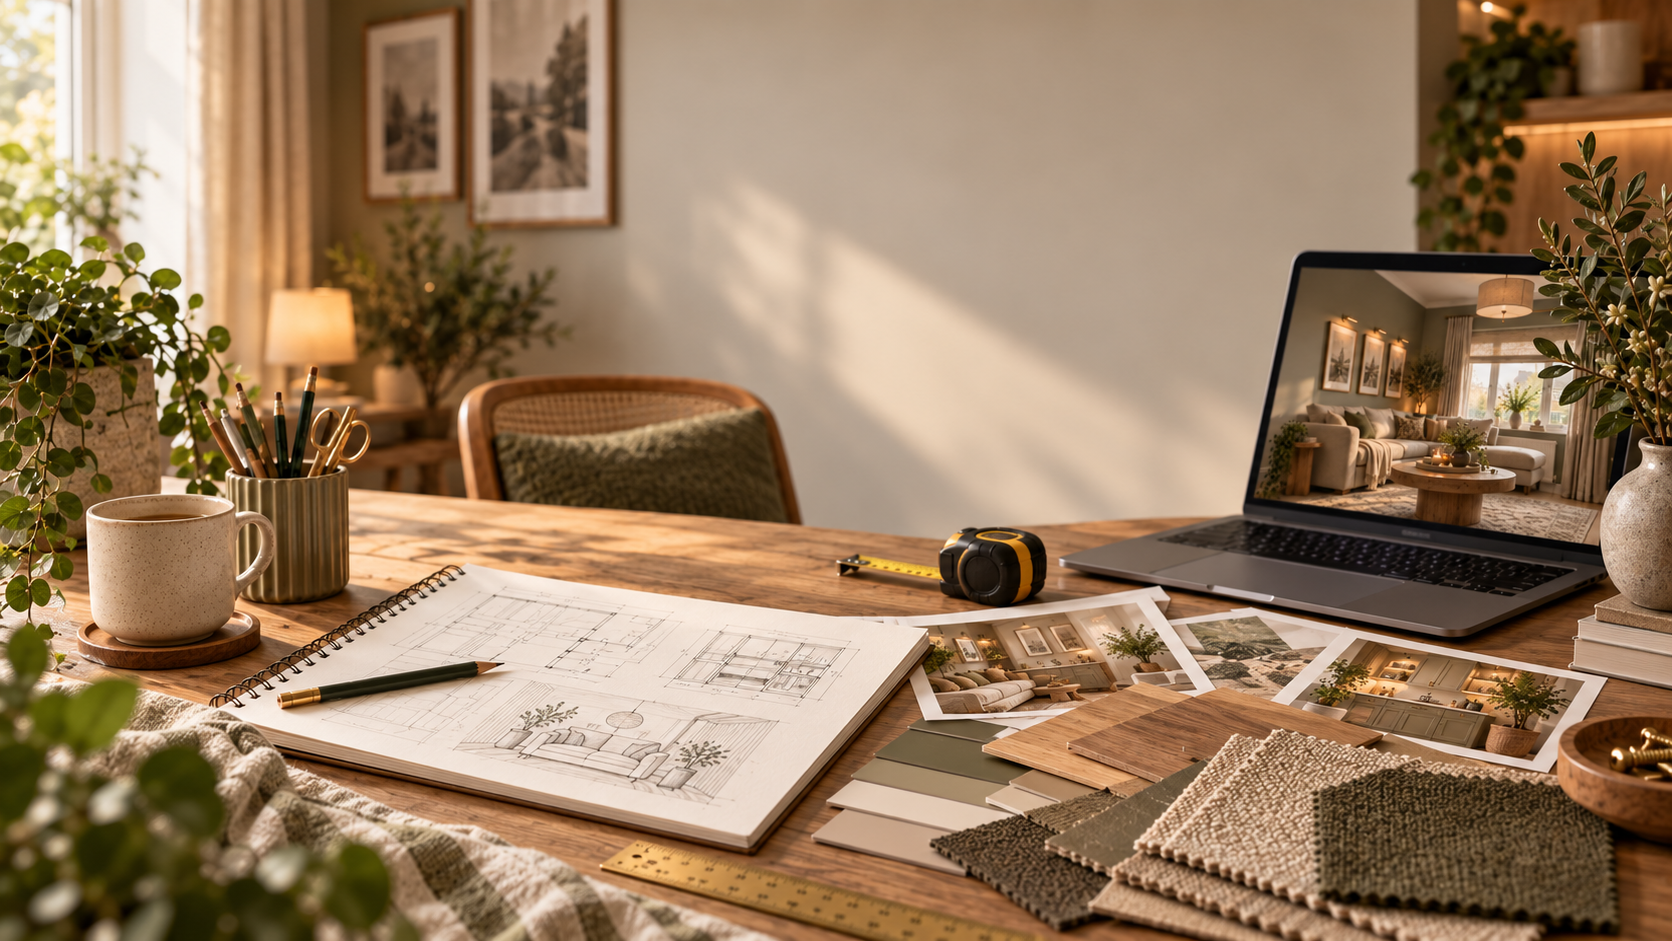
25Design the joinery around a comfortable, sustainable workstation rather than forcing your body to fit a fashionable fixed desk height.
 26
26Make a compact work zone feel light by fixing the desk and shelves properly to known structure, while keeping cables, screen setup and real loads in the plan.
 27
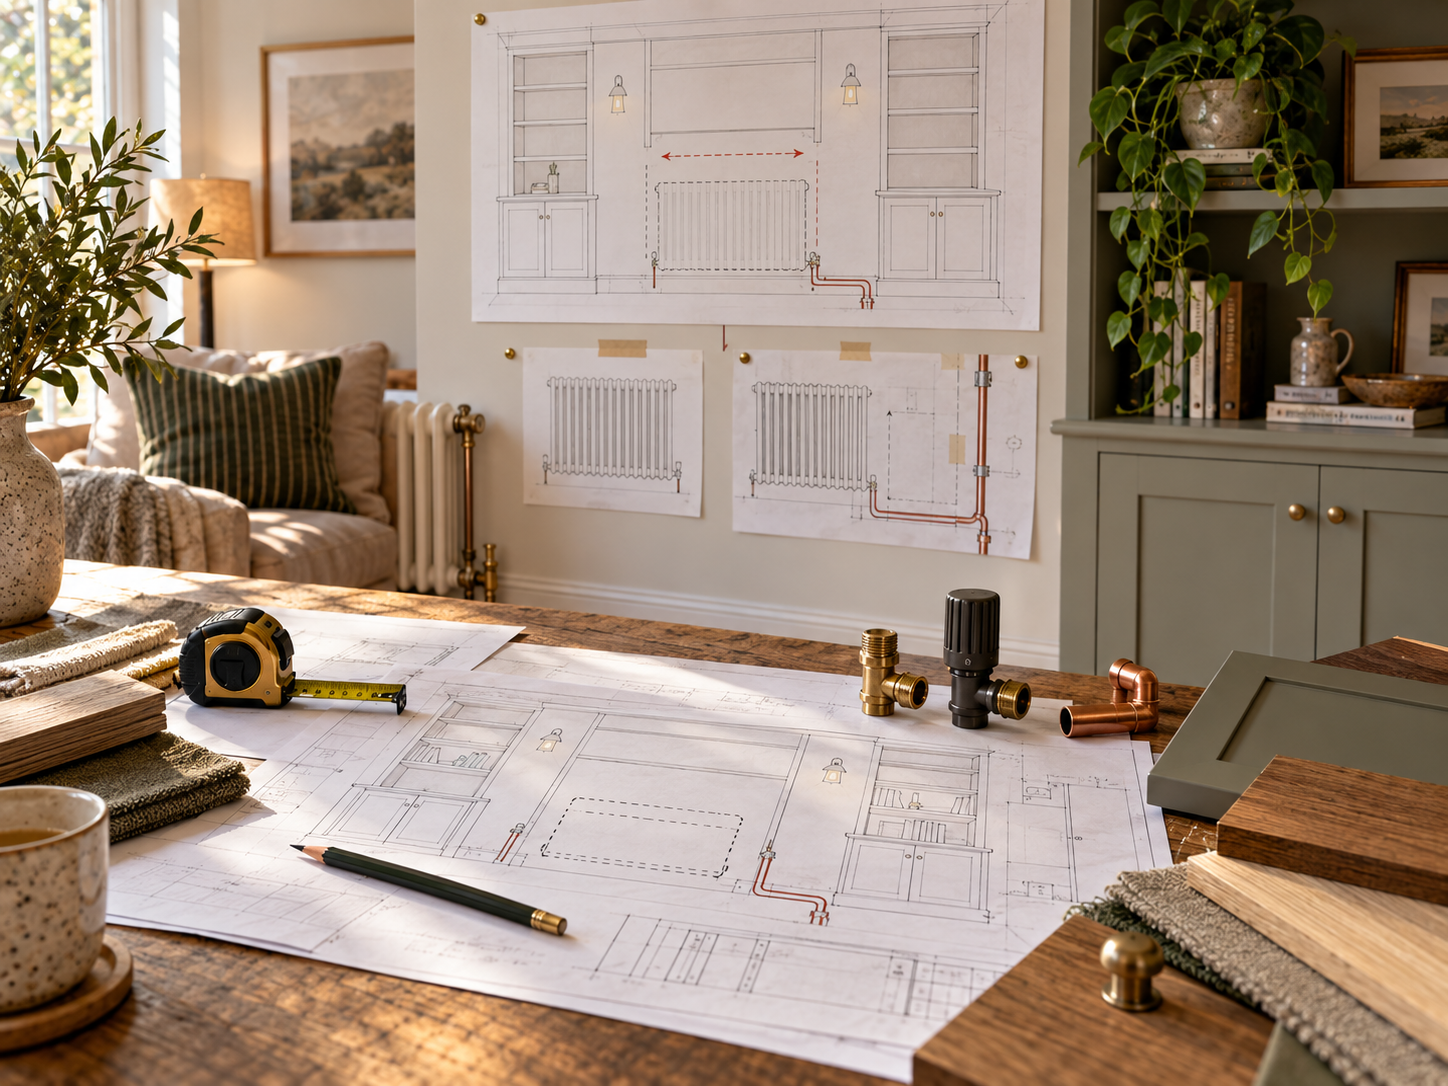
27Work out whether the radiator really needs to move, where it could go, and what the joinery must leave accessible before anything gets boxed in.
 28
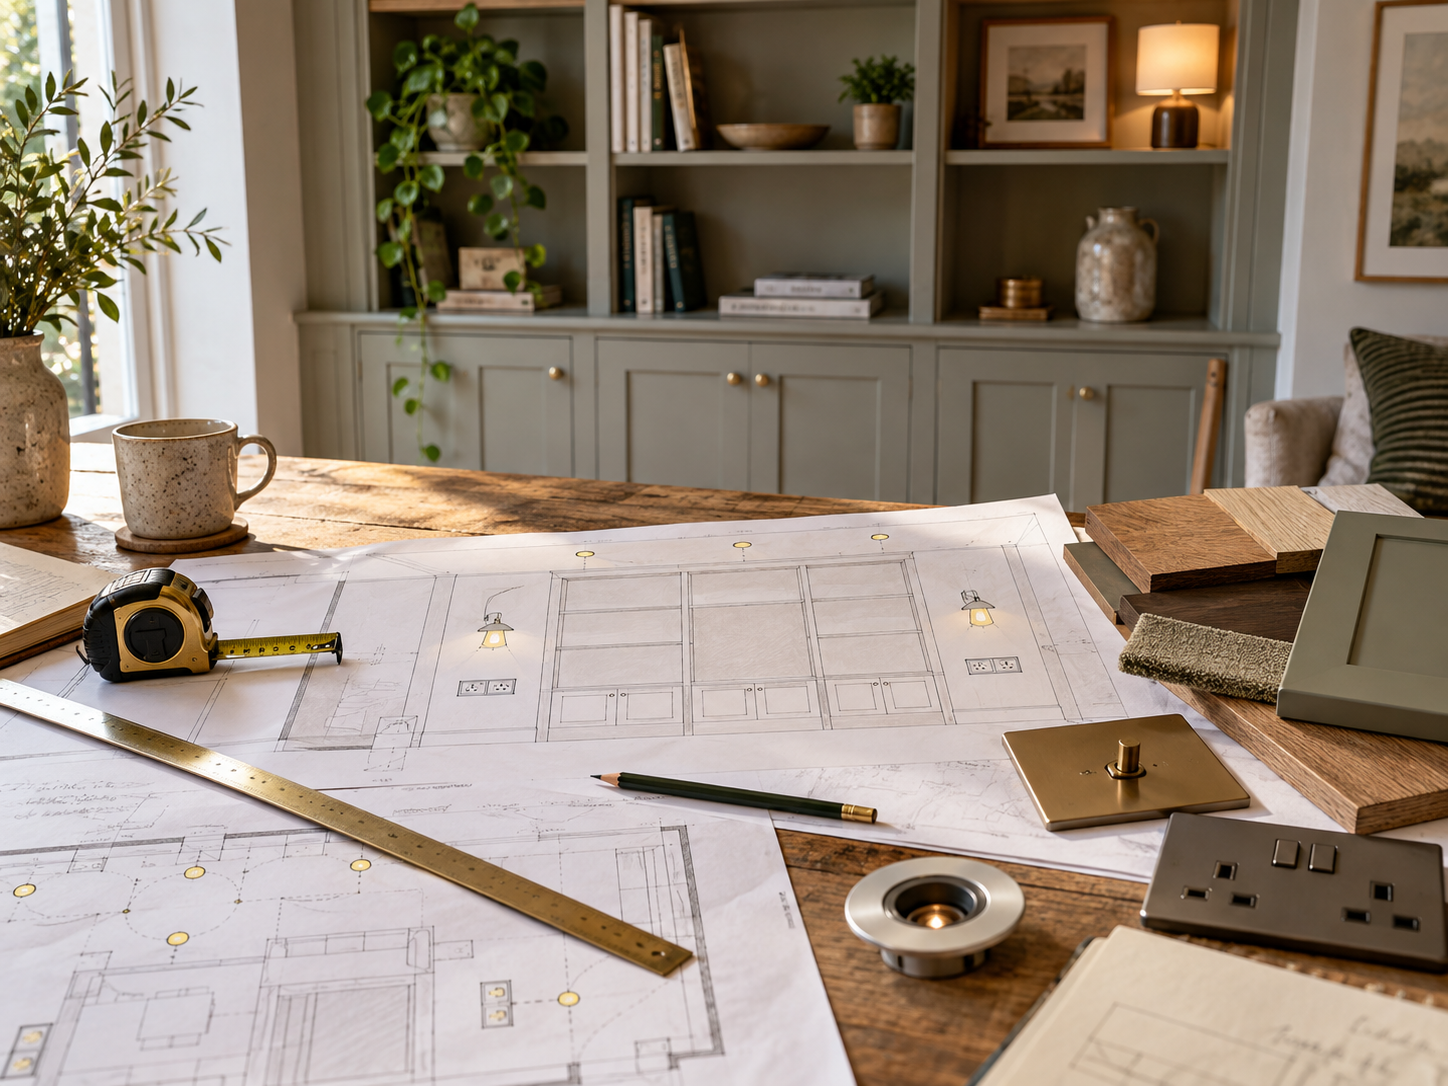
28Decide what needs power, switching and light before a media wall, wardrobe, desk or partition hides the wall and makes every change harder.
 29
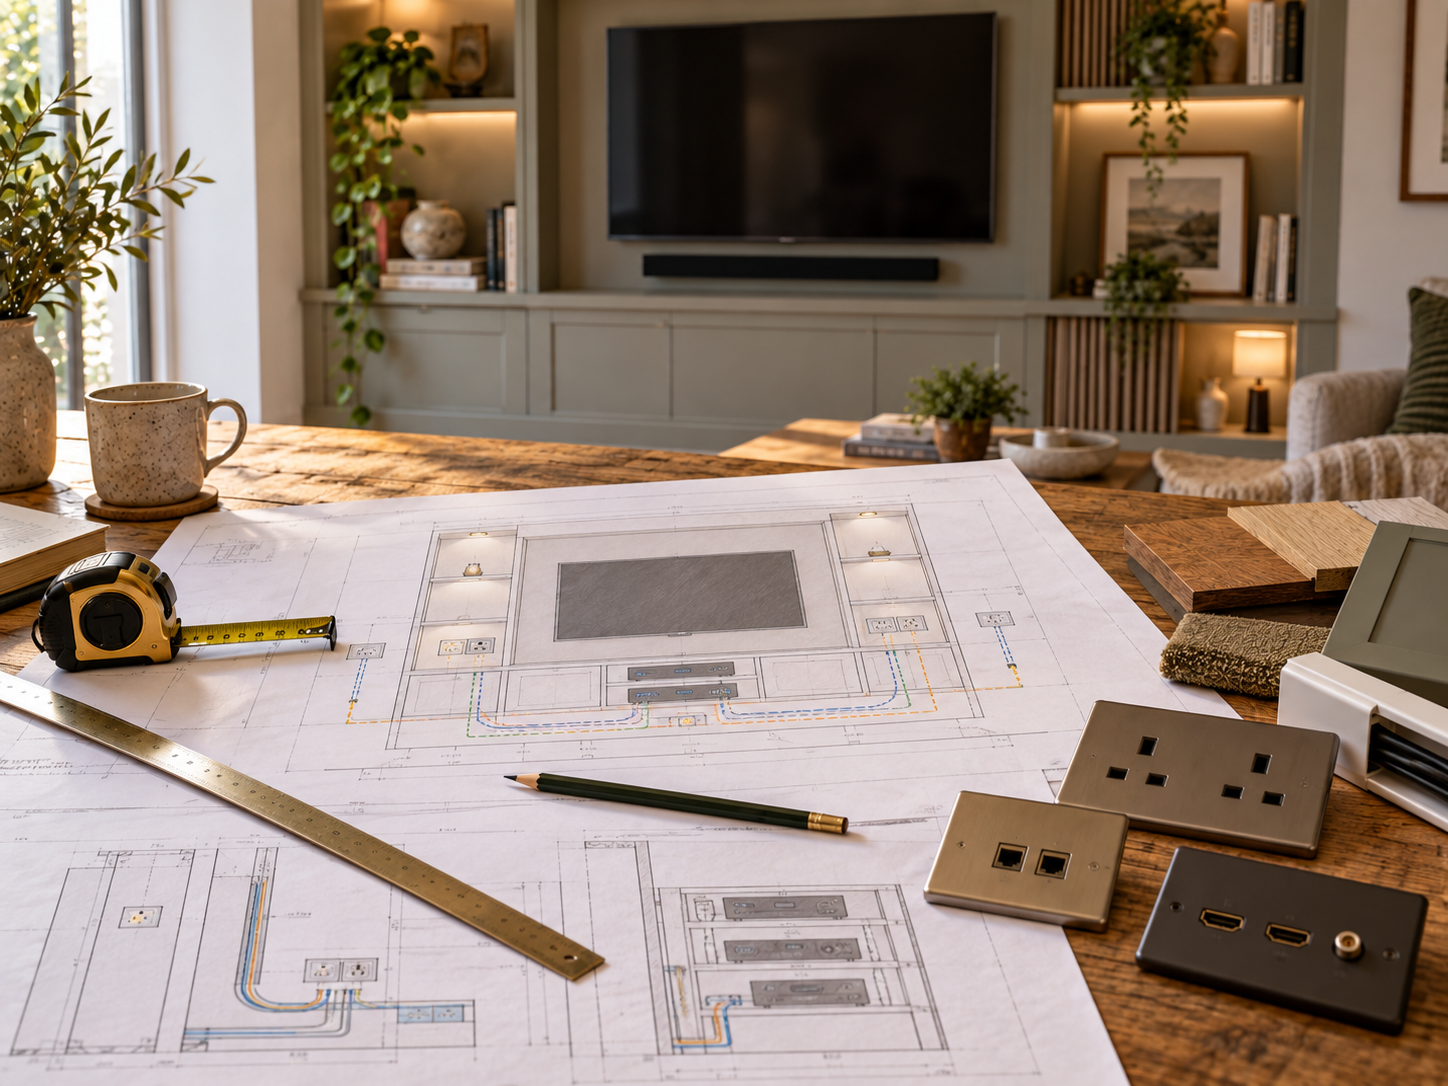
29Plan the screen, devices, network, speakers and cable access as one system before the first stud or panel goes up.
 30
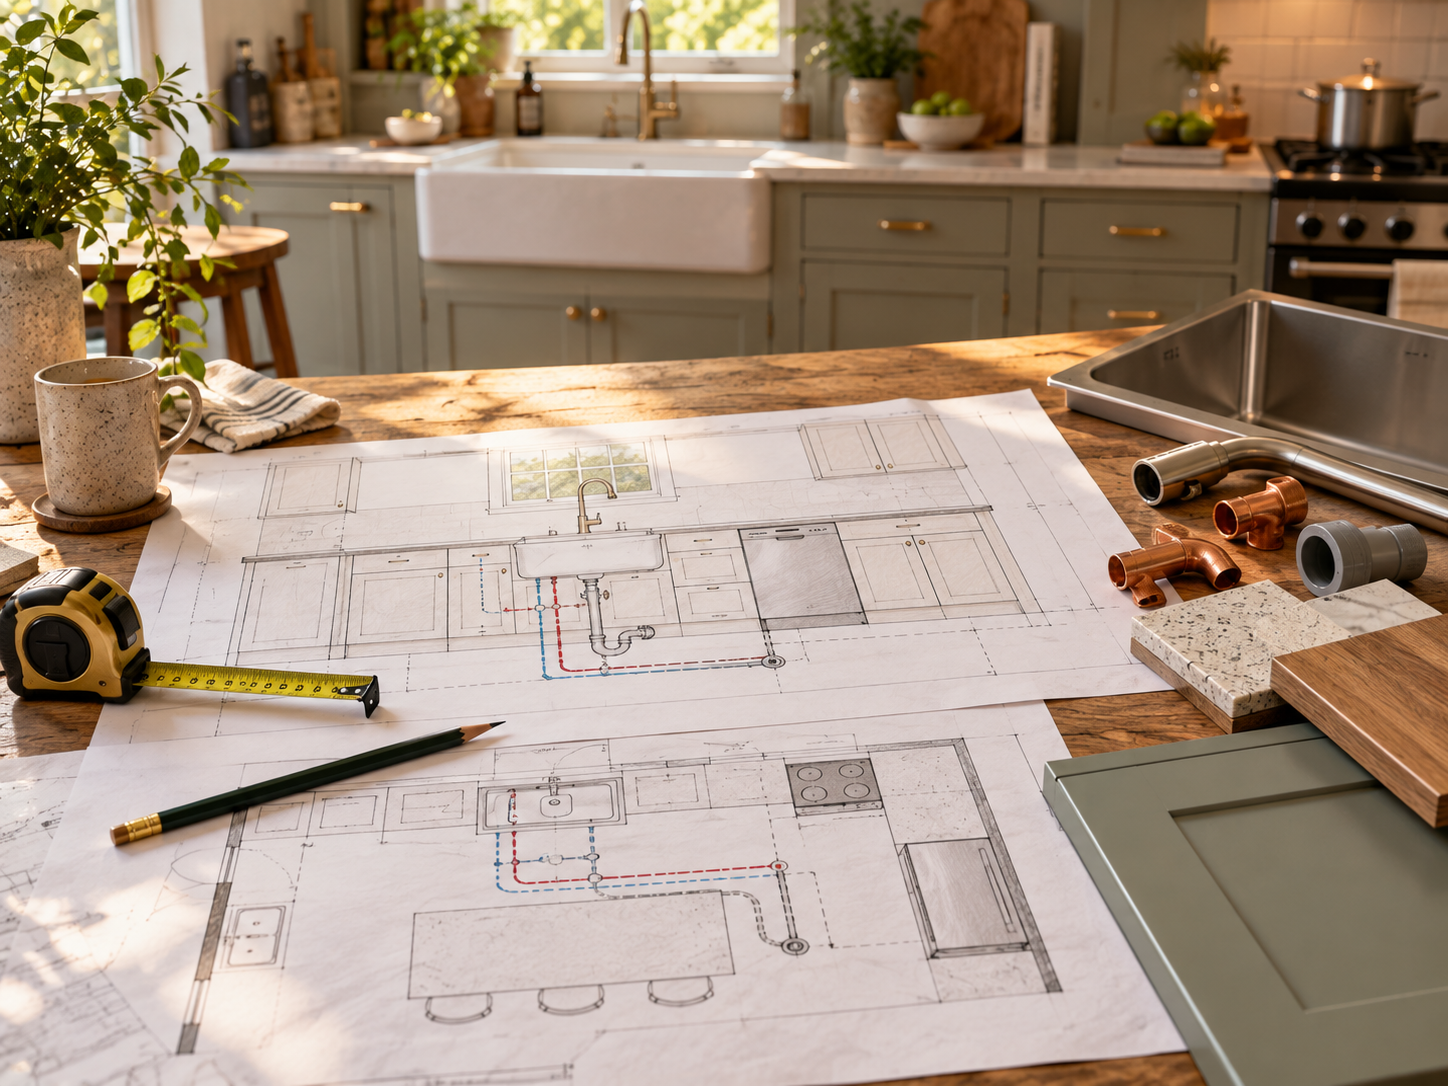
30Resolve sink, dishwasher and appliance service positions before cabinets are ordered so the new layout does not depend on impossible pipe runs.
31Decide how cooking moisture and pollutants will actually leave the room before a new kitchen layout fixes the hob, cabinets and ceiling details in place.
 32
32Separate the visual idea from the appliance, chimney and flue reality before a media wall conceals, replaces or builds around an existing fireplace.