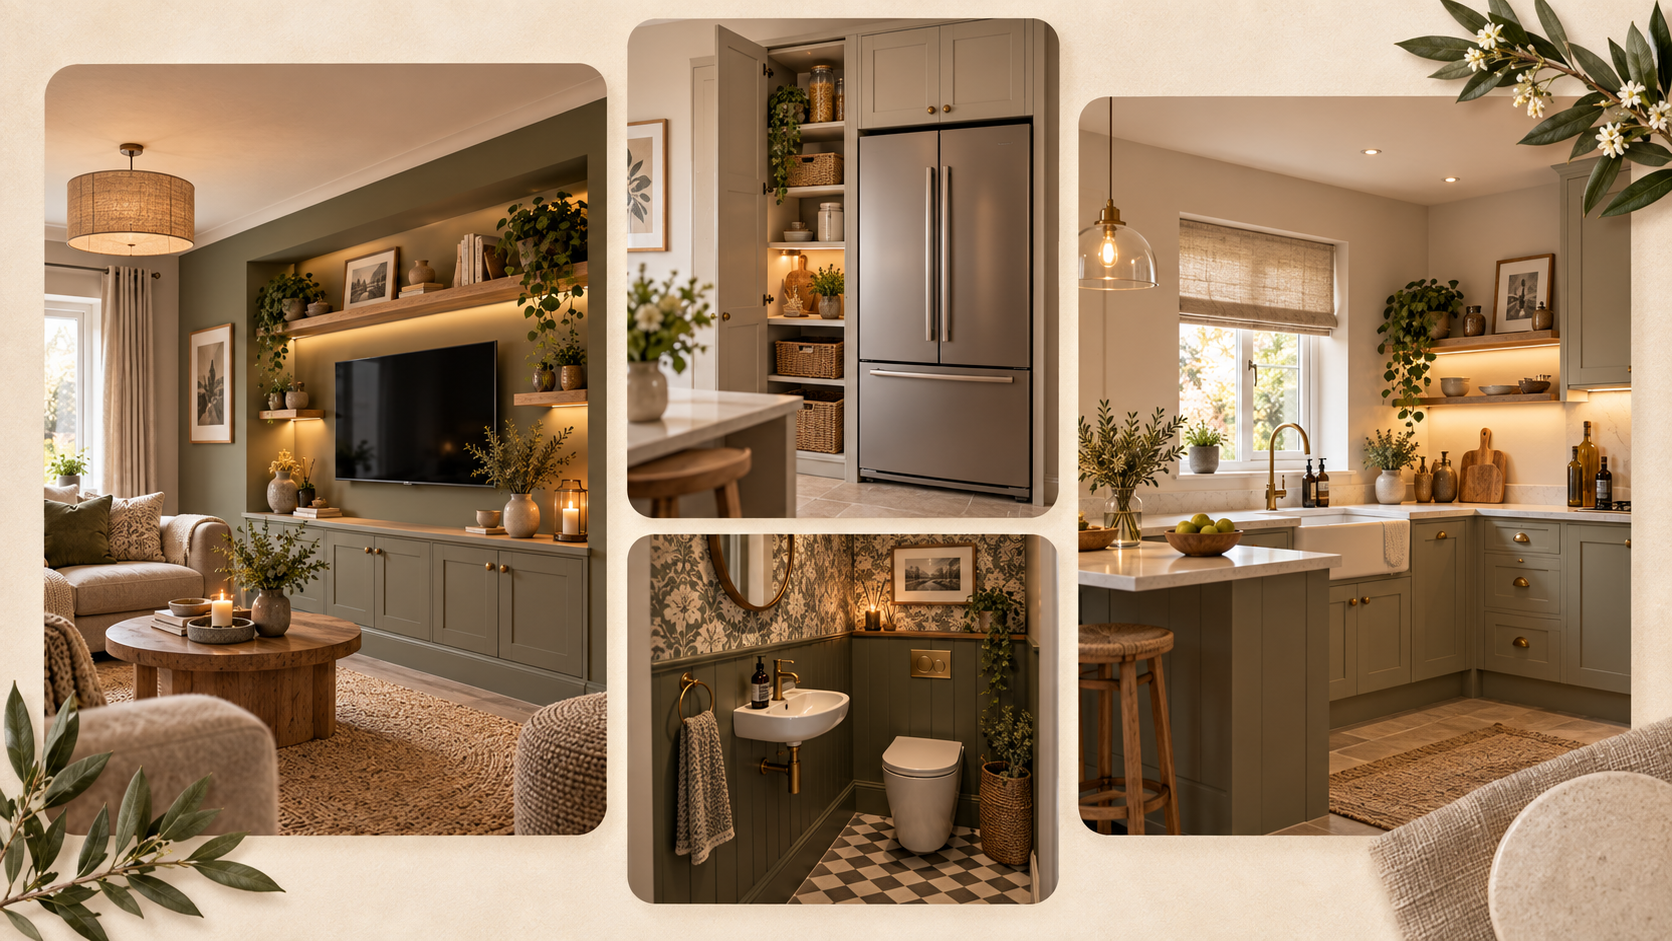
A gallery wall is mostly a layout problem with a few fixing decisions at the end.
The easiest way to avoid random looking spacing is to decide what controls the composition: a centre line, the furniture below it, a consistent gap or one anchor frame that the rest grows around.
Frames vary enormously in weight and hanging hardware, so the fixing must suit both the load and the wall construction.
Tools
What you’ll need to do the job.
- Tape measure
- Pencil
- Spirit level or laser
- Paper or masking tape for templates
- Pipe and cable detector before drilling
- Hammer and/or drill as required
- Correct bit for the wall type
Materials
What you’ll need to build it.
- Frames and artwork
- Picture hooks, screws or anchors suited to the wall and load
- Paper for full size templates
- Masking tape
- Small felt pads for frame corners where useful
Step by step
Do it in this order.
Choose the overall footprint
Decide how wide and tall the group should feel in relation to the sofa, console, bed or wall area around it.
Lay the frames out on the floor
Try the full arrangement at real size. Use a consistent gap or a deliberate rhythm rather than placing each frame independently.
Make templates for the final layout
Trace the frame sizes onto paper and mark each hanging point. Tape the paper to the wall so you can judge the composition from across the room.
Adjust before making holes
Check eye level, furniture clearance and whether the group feels centred from the main viewpoint. Move paper, not fixings.
Identify the wall and hidden service risk
Before drilling, understand whether the wall is masonry, plasterboard or another construction and check for concealed services.
Match the fixing to the real load
Use the frame/hook manufacturer's load guidance and fix into an appropriate substrate. Larger mirrors and heavy frames need more robust planning than lightweight prints.
Fix from the anchor piece outward
Install the frame that controls the composition first, check it, then work across the group using measured gaps.
Level visually at the end
Small frame variations can make mathematically level artwork look slightly off. Make minor adjustments only after the full group is up.
Things we’d do
Small choices that make the job better.
- Use full size paper templates rather than guessing from frame dimensions.
- Take a photo of the floor layout before transferring it to the wall.
- For a mixed gallery, repeat at least one thing, gap, frame colour, mount colour or artwork palette.
- Add small felt pads behind lower frame corners to reduce movement and wall marking.
Things we wouldn’t
Common shortcuts that usually cost you later.
- Starting with nails before the whole composition is decided.
- Using the same hook for every frame regardless of weight.
- Ignoring hidden services because the frame is decorative.
- Spacing each frame by eye from the previous one without a controlling measurement.
Before you start
Know where DIY stops.
- Check for hidden pipes and cables before drilling.
- Use fixings appropriate to the wall type and the manufacturer's stated load.
- Use two people for large or heavy frames and mirrors.