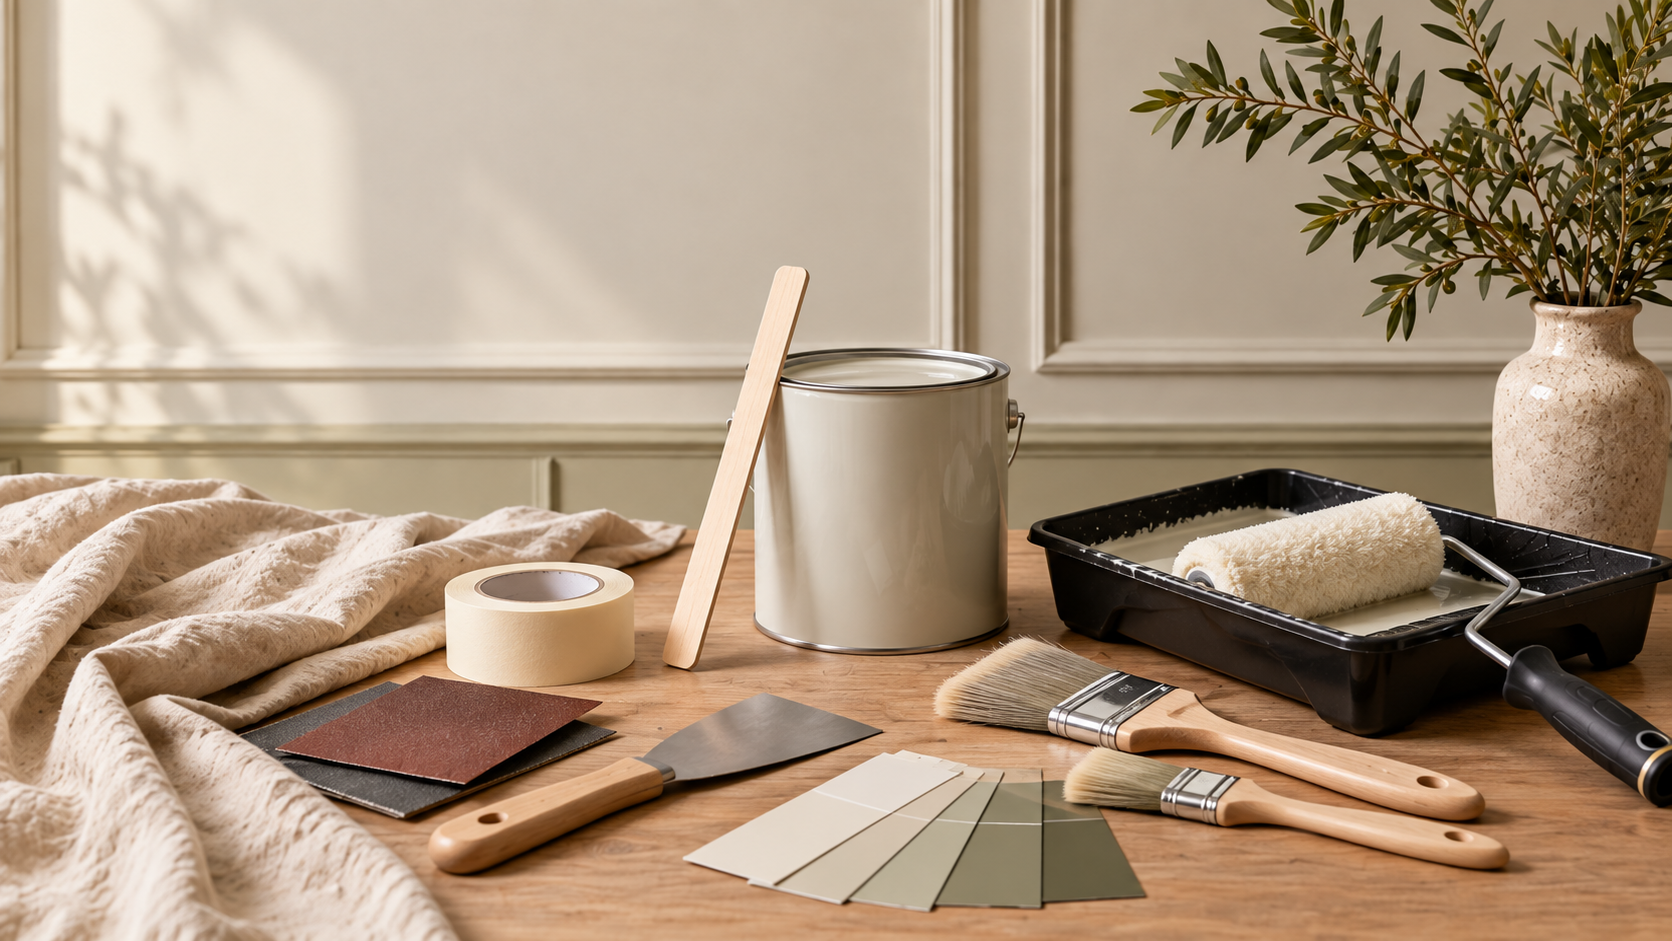
Painting is easy to start and surprisingly easy to make look rough. The expensive looking finish usually comes from everything you do before opening the topcoat.
Clean walls, stable surfaces, filled defects, sanded repairs and the right primer give paint something consistent to sit on. Then the job becomes about keeping a wet edge and working in a sensible order.
For a full room, we normally think top to bottom: ceiling, walls, then woodwork. Always follow the actual paint system you are using, especially on new plaster, bare timber, stains or difficult existing coatings.
Tools
What you’ll need to do the job.
- Dust sheets
- Filling knife
- Sandpaper and sanding block
- Vacuum or dust brush
- Sponge and bucket
- Paint kettle
- Cutting in brush
- Roller and tray
- Extension pole
- Step ladder where required
- Masking tape
- Suitable PPE for sanding and cleaning products
Materials
What you’ll need to build it.
- Surface filler
- Sugar soap or appropriate cleaner
- Primer or undercoat where required
- Ceiling paint
- Wall paint
- Woodwork paint where required
- Caulk where appropriate
- Masking tape
Step by step
Do it in this order.
Empty and protect
Remove what you can, move the rest away from walls and cover floors and furniture properly. Good protection lets you work faster later.
Repair first
Open up loose cracks, remove unstable material and fill holes. Let repairs dry fully, then sand them flush rather than trying to bury them under paint.
Clean the surface
Remove sanding dust, grease and contamination. Use the cleaner appropriate to the surface and allow it to dry before painting.
Prime where the substrate needs it
Bare surfaces, stains, new plaster, repaired patches and difficult coatings may need specific primers or sealers. Follow the product instructions rather than using one primer for everything.
Paint the ceiling first
Cut in edges, then roll the field while maintaining a wet edge. Work systematically and do not keep rolling paint after it has begun to set.
Move to the walls
Cut in manageable sections and roll into the wet edge. Finish a whole wall where possible before stopping so the sheen and texture stay consistent.
Allow the stated drying time
Touch dry is not the same as ready to recoat. Respect the manufacturer's recoat time, especially in cool or humid rooms.
Finish the woodwork
Prepare, prime/undercoat if required, then apply the specified finish. Remove masking tape at the right stage for the product rather than leaving it until everything has cured hard.
Things we’d do
Small choices that make the job better.
- Use an extension pole for walls as well as ceilings; it gives a more consistent roller pressure.
- Box together multiple tins of the same colour when a large room needs more than one tin.
- Keep a damp cloth nearby so small mistakes are dealt with while they are still easy.
- Two controlled coats beat one overloaded coat.
Things we wouldn’t
Common shortcuts that usually cost you later.
- Painting over dust or greasy walls.
- Trying to fill cracks with paint.
- Rolling until the surface starts dragging and creating texture.
- Recoating before the product is ready.
Before you start
Know where DIY stops.
- Ventilate the room and follow product safety data and label instructions.
- Wear suitable respiratory protection when sanding dusty surfaces.
- Use stable access equipment rather than stretching from furniture or unsuitable steps.