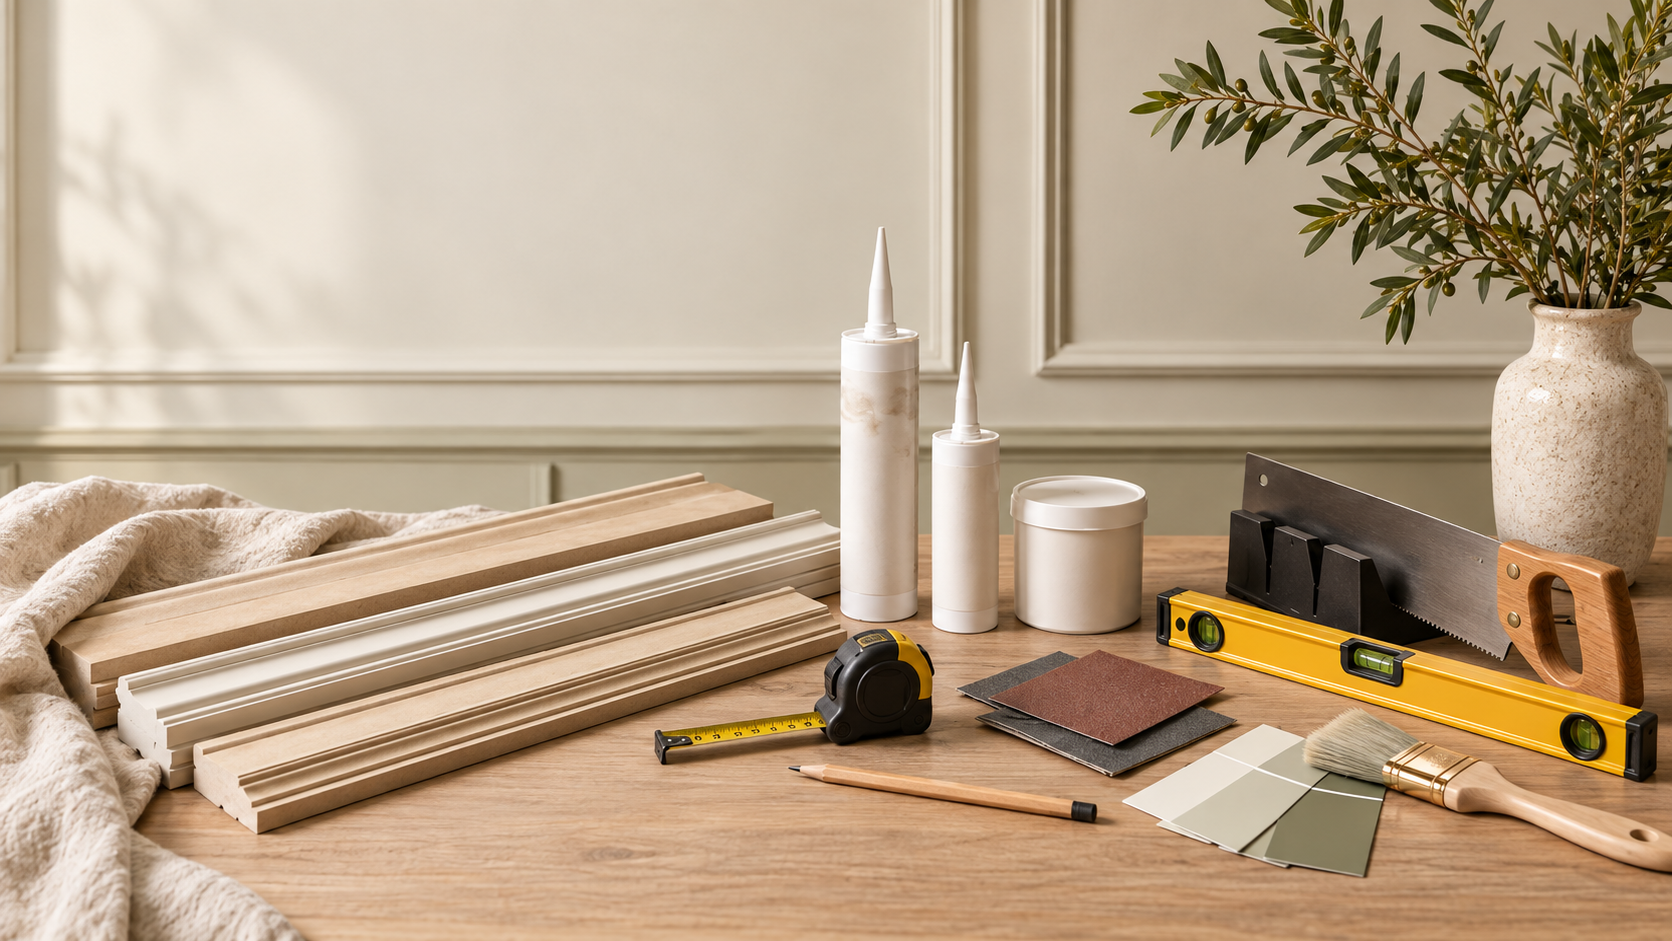
Wall panelling is one of those projects that looks much harder than it is. The part that makes or breaks it is not the sawing. It is the planning.
Before you buy anything, work out the overall height, the number of panels and the spacing between them. Stand back from the wall and check the proportions against sockets, radiators, skirting and furniture. A perfectly cut layout can still look wrong if the panel widths fight the room.
For painted panelling, MDF is popular because it is smooth and predictable. Planed timber is another good option, especially where you want a slimmer profile or a more traditional moulding detail. Whatever you choose, the finish comes from filling, caulking, sanding and priming properly.
Tools
What you’ll need to do the job.
- Tape measure
- Pencil
- Long spirit level or laser level
- Hand saw, mitre saw or suitable cutting tool
- Mitre box if cutting moulding by hand
- Caulking gun
- Filling knife
- Sandpaper
- Paint brush and roller
- Pipe and cable detector before drilling or pinning
Materials
What you’ll need to build it.
- MDF strips, timber battens or decorative moulding
- Grab adhesive suitable for the wall and trim
- Pins or fixings only where appropriate
- Decorators caulk
- Fine surface filler
- Primer suitable for MDF or timber
- Wall and trim paint
- Dust sheets and masking tape
Step by step
Do it in this order.
Measure the wall properly
Measure the full width and height, then note every interruption: sockets, switches, radiators, doors, skirting and existing mouldings. Do not design the pattern in isolation from the room.
Draw the layout before cutting
Choose the top line and work out your panel widths and gaps on paper first. Aim for a layout that feels balanced from the main viewing position. Mark the wall lightly and check the lines with a level.
Cut a test piece
Before cutting the whole batch, cut one strip and hold it on the wall. Check its thickness, how it meets the skirting and whether the profile feels right in the room.
Fix the horizontal lines first
Use a level rather than trusting floors or ceilings to be straight. Apply adhesive in a controlled bead and press the first rails into position. If you also pin or screw, check for hidden cables and pipes first.
Add the verticals
Measure each opening individually rather than assuming they are identical. Small differences in an older wall are normal. Cut, dry fit, then fix.
Fill, caulk and sand
Fill pin holes and imperfect joints. Use decorators caulk where trim meets the wall, not as a substitute for badly cut gaps. Allow everything to dry fully before sanding smooth.
Prime the raw material
MDF edges are thirsty and usually need particular attention. Prime the faces and cut edges with a suitable product before the finish coats.
Paint the whole wall as one surface
Once the trim is prepared, painting the wall and panelling together helps it read as an architectural feature rather than separate strips applied to the surface.
Things we’d do
Small choices that make the job better.
- Mock the layout with masking tape before buying material if you are unsure about proportions.
- Repeat one spacing dimension wherever possible. Consistency is what makes DIY panelling look deliberate.
- If the wall is badly uneven, dry fit each strip and accept tiny local adjustments rather than forcing the whole grid out of level.
- Prime cut MDF edges before the final paint system.
Things we wouldn’t
Common shortcuts that usually cost you later.
- Starting from one edge and hoping the final panel works out.
- Using the ceiling or skirting as your only level reference.
- Skipping prep because the paint colour is dark.
- Drilling or pinning before checking for pipes and cables.
Before you start
Know where DIY stops.
- Wear suitable eye and respiratory protection when cutting or sanding MDF.
- Use a detector before drilling, nailing or screwing into a wall.
- Follow the adhesive, primer and paint manufacturers' ventilation and PPE instructions.