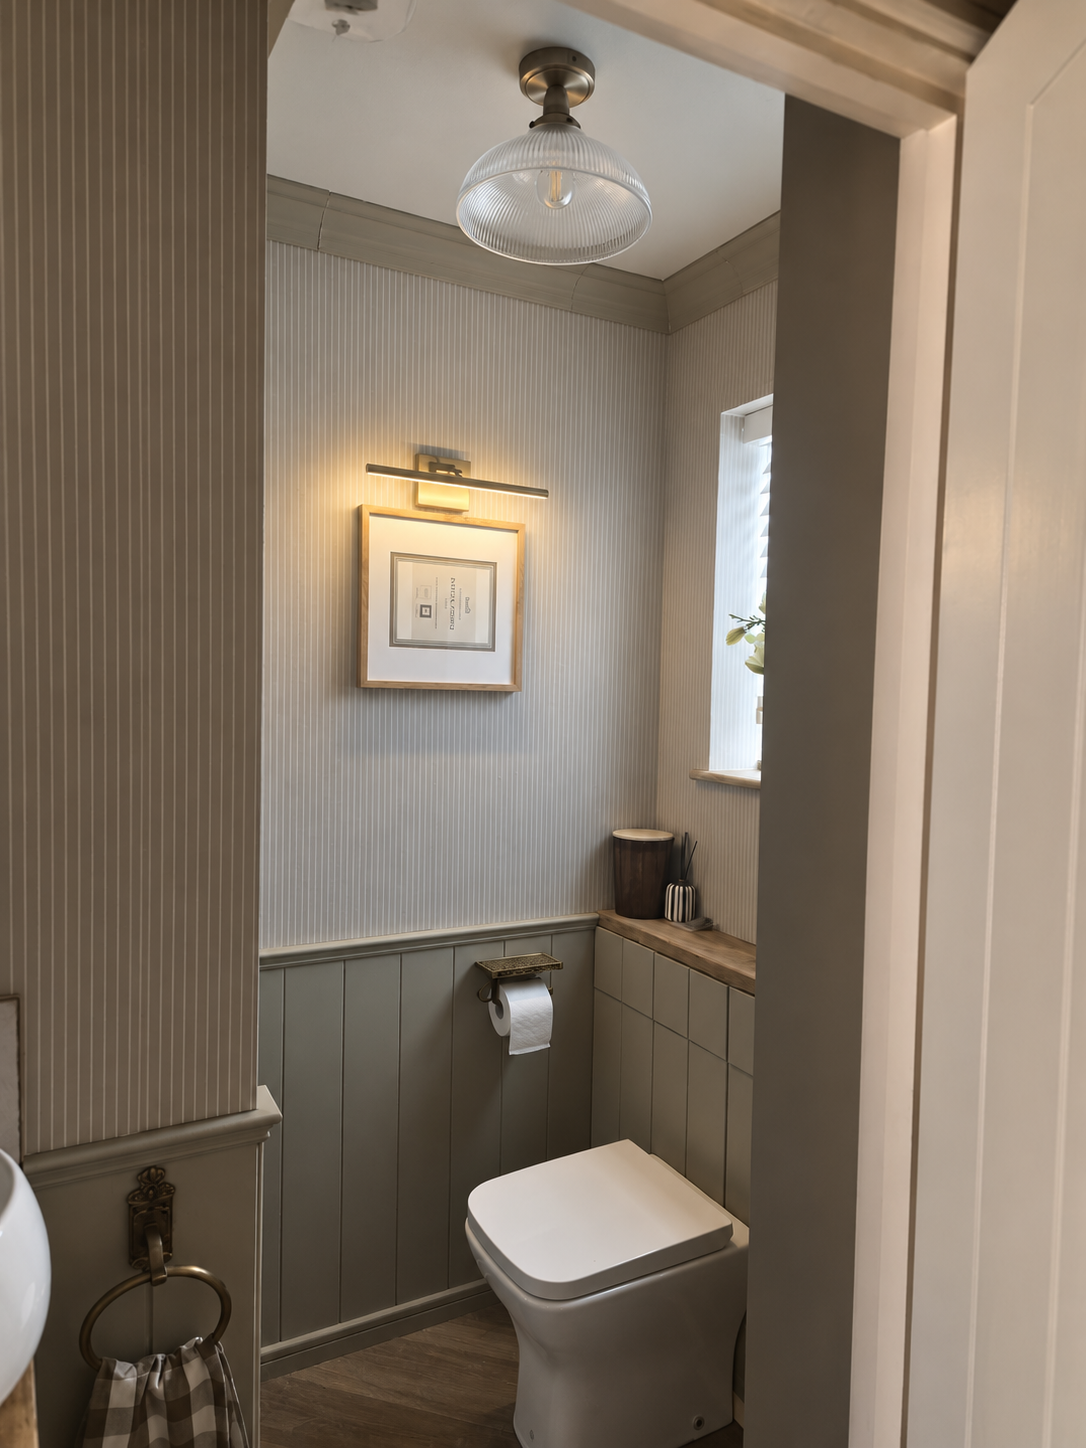
Fresh woodwork changes a room more than people expect because it frames every wall, doorway and floor edge.
The job is straightforward when the coating underneath is sound: clean it, repair it, lightly abrade where the product requires a key, remove the dust and use a paint system designed for the surface.
Bare timber, MDF and previously painted trim do not always need the same primer or undercoat. Let the coating manufacturer define the system rather than assuming one tin works for every surface.
Tools
What you’ll need to do the job.
- Dust sheets
- Masking tape
- Fine abrasive and sanding block
- Vacuum or dusting brush
- Filling knife
- Good quality synthetic brush for water based trim paint
- Small roller where suitable
- Screwdriver for removing handles where practical
Materials
What you’ll need to build it.
- Wood or multi surface filler
- Primer/undercoat appropriate to bare or repaired areas
- Interior trim paint in the chosen sheen
- Decorators caulk for appropriate trim to wall gaps
- Clean cloths
- Masking tape
Step by step
Do it in this order.
Decide what surface you actually have
Identify whether the trim is bare timber, MDF, previously painted wood or another substrate. Check the new coating is compatible with the existing finish.
Protect the floor and remove what you can
Move furniture, protect flooring and remove handles or other hardware where that gives a cleaner result. Mask hinges and edges that genuinely need protection.
Clean before sanding
Remove grease and dirt first so you are not grinding contamination into the surface. Let the trim dry.
Repair dents and failed joints
Fill chips and holes with a product suited to the surface. Use flexible decorators caulk only for suitable small junction gaps, not damaged timber.
Abrade as required
Lightly sand sound glossy coatings where the paint system requires a key, and feather damaged edges. Remove every trace of dust afterwards.
Prime the areas that need it
Prime bare timber, MDF edges, exposed repairs or other areas according to the chosen product system. Do not assume every modern trim paint has the same priming requirements.
Apply controlled finish coats
Load the brush without flooding it and work in manageable sections. Finish strokes in one direction and watch horizontal edges for runs.
Let the paint cure before hard use
Touch dry is not the same as fully cured. Follow the tin before closing painted doors tightly, cleaning the surface or subjecting it to knocks.
Things we’d do
Small choices that make the job better.
- Paint doors early enough in the day that they can stay open while the coating dries.
- Use a smaller brush than you think you need around moulded profiles and edges.
- Inspect from both directions; runs often hide on the far edge of skirting and door panels.
- Water based trim systems are popular for quick drying and reduced yellowing, but the specific product instructions still control the job.
Things we wouldn’t
Common shortcuts that usually cost you later.
- Painting over greasy or dusty trim.
- Using heavy coats to try to finish faster.
- Closing a freshly painted door before the coating has hardened enough.
- Assuming a self undercoating product removes every need for surface specific primer.
Before you start
Know where DIY stops.
- Control sanding dust and wear appropriate eye and respiratory protection.
- Ventilate the room and follow the coating manufacturer's safety instructions.
- Use a stable step platform where higher trim is involved rather than overreaching.