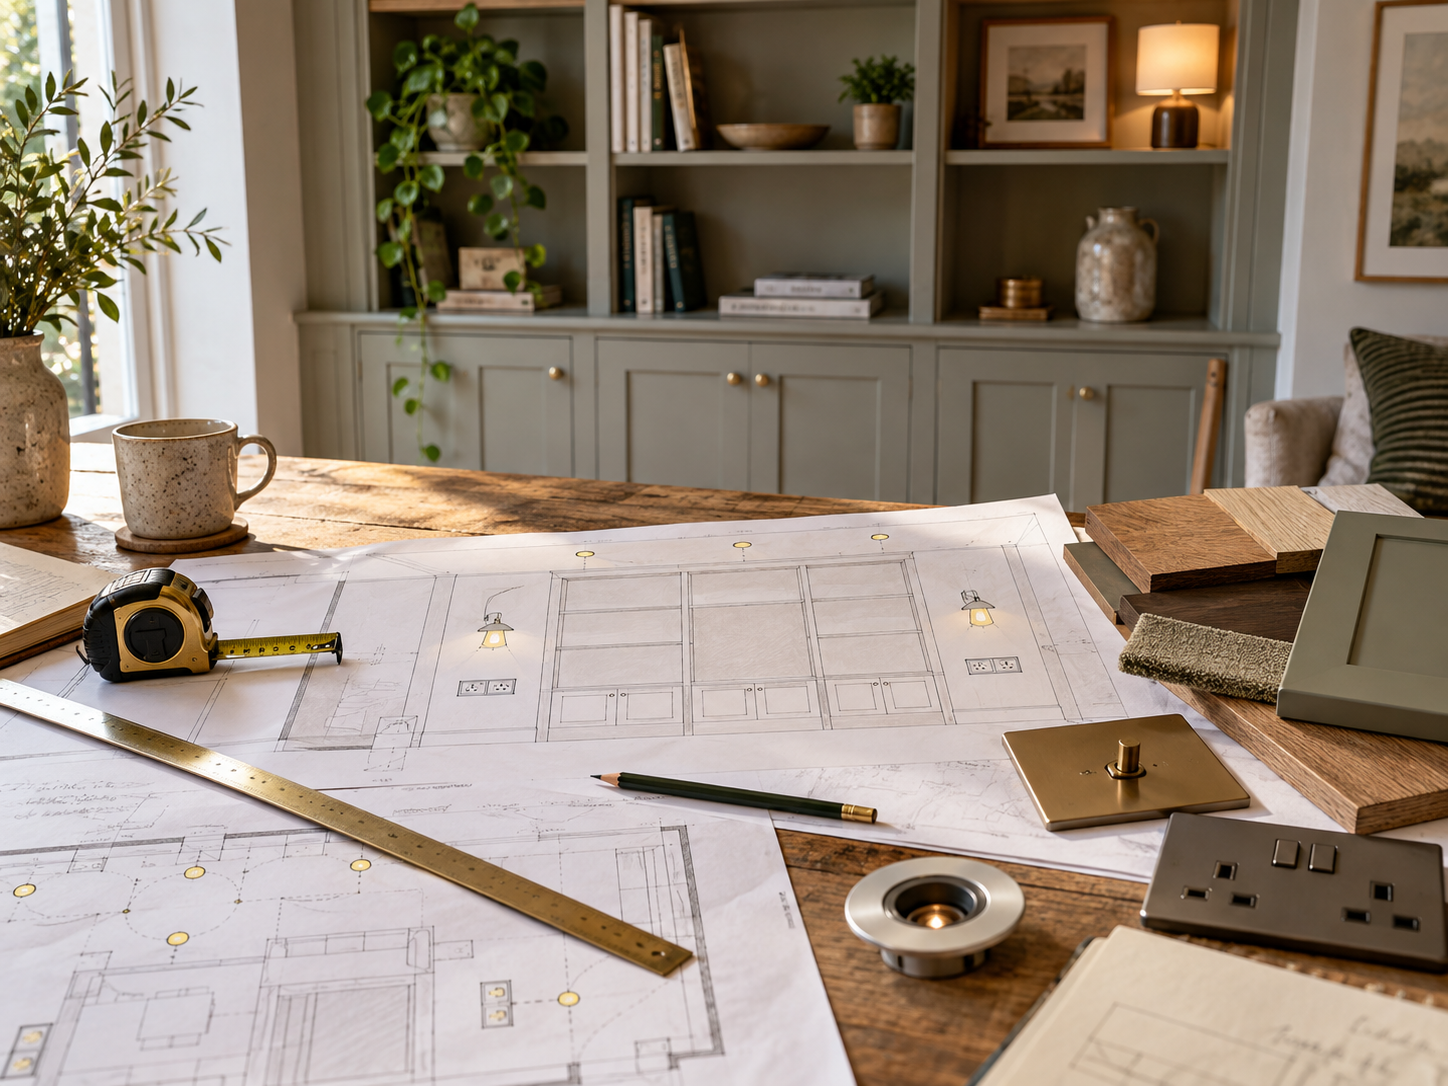
The cheapest time to think about sockets and fixed lighting is before the joinery closes the wall.
Room Studio can show where sockets and lights might work better, but it cannot see the cables inside the wall or tell you what the circuit can safely support.
Use this guide to decide what you need and where you need it, then give that plan to an electrician if fixed wiring needs to change.
Tools
What you’ll need to do the job.
- Tape measure
- Pencil and masking tape
- Room elevation sketch
- Phone camera
- List of equipment and plug requirements
Materials
What you’ll need to build it.
- TV, desk or appliance power requirements
- Lighting product information
- Proposed joinery drawings
- Existing socket and switch locations
- Notes on future equipment
Step by step
Do it in this order.
List every item that actually needs power
Include TVs, routers, lamps, charging, speakers, monitors, wardrobe lighting, kitchen appliances and anything likely to be added later.
Separate fixed electrical work from plug in equipment
A plug in lamp and a new fixed lighting circuit are not the same job. Mark which items can use existing sockets and which need an electrical design change.
Draw the joinery over the existing wall
Mark cabinet sides, shelves, TV position, desk height and access panels so sockets are not accidentally trapped behind fixed components.
Decide where access must remain
Plugs, isolators and power supplies that may need servicing should remain reachable. Avoid designing a beautiful sealed void full of inaccessible connections.
Plan switches around real use
Think about where somebody enters the room, sits, works or opens a wardrobe. Integrated lighting is only useful if the controls are practical.
Give the electrician the finished design early
Share the dimensions and equipment list before the carcass is built so the cable routes and circuit needs can be sorted first.
Record the final agreed positions
Update the joinery drawings with socket, switch and lighting locations rather than relying on verbal instructions on installation day.
Photograph routes before they are covered
Where appropriate and permitted, keep a project record of confirmed cable routes before plasterboard, panels or cabinets hide them.
Things we’d do
Small choices that make the job better.
- Plan more accessible charging than you currently use; fitted joinery tends to stay longer than devices.
- Keep router and network equipment ventilated and accessible.
- For wardrobes, decide whether lighting should trigger by door, sensor or switch before ordering components.
- A simple elevation with dimensions is far more useful to an electrician than a screenshot alone.
Things we wouldn’t
Common shortcuts that usually cost you later.
- Running extension leads permanently inside sealed joinery.
- Putting sockets exactly behind fixed cabinet uprights or TV brackets.
- Assuming a visual concept establishes electrical feasibility.
- Drilling into a wall because no cable is visible from the surface.
Before you start
Know where DIY stops.
- If fixed wiring needs changing, use a qualified electrician.
- Before drilling or cutting, check for concealed wiring and other services and stop if their location is uncertain.
- This guide is for planning positions and access, not for wiring the circuit.