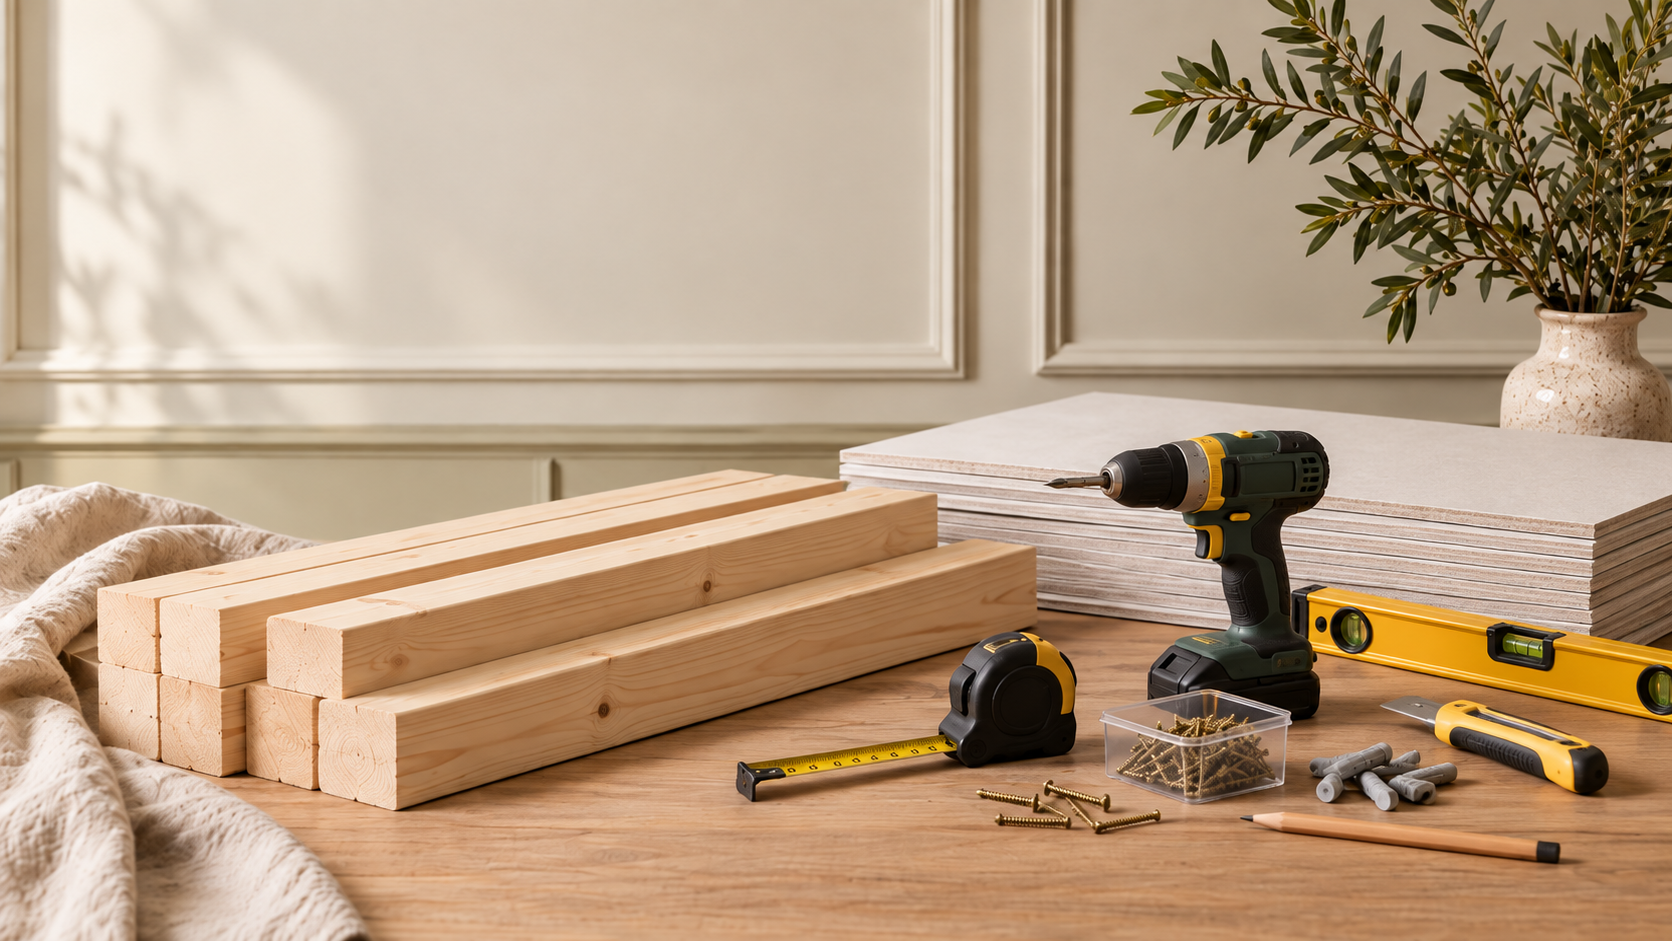
A timber stud wall can completely change how a room works, but this is one of the DIY jobs where planning matters more than speed.
This guide is for a simple internal partition that is not carrying the building above it. If you are unsure what the wall is doing, or the job affects electrics, plumbing, ventilation, fire safety or a listed building, get the right advice before you start.
The basic idea is straightforward: a securely fixed timber frame, vertical studs, noggins where needed, insulation if required, and plasterboard fixed to the frame. The detail comes from making sure the wall is straight, properly supported and designed around whatever needs to hang on it later.
Tools
What you’ll need to do the job.
- Tape measure
- Pencil and square
- Long spirit level or laser
- Pipe, cable and stud detector
- Suitable saw
- Drill/driver
- Hammer
- Utility knife for plasterboard
- Straight edge
- PPE suitable for cutting timber and boards
Materials
What you’ll need to build it.
- CLS studwork timber sized for the project
- Suitable structural fixings for the floor, ceiling and abutments
- Plasterboard appropriate to the room and performance required
- Plasterboard screws
- Noggins or additional timber for future wall mounted loads
- Acoustic or thermal insulation where required
- Joint tape and jointing compound or a plaster finish system
Step by step
Do it in this order.
Decide exactly what the wall is doing
Make sure it is a simple internal partition and not a structural wall. Decide whether it needs a door, sound insulation, support for cupboards or a TV, or space for services. Those decisions affect the frame before you buy materials.
Check the route above, below and beside it
Locate joists, cables and pipes. Work out what you can safely fix the head and sole plates into. A partition should not simply be fixed to weak finishes and assumed to be secure.
Mark the wall line
Transfer the wall position accurately between floor, ceiling and adjoining walls. Use a laser or plumb method to make sure the head and sole plates sit over each other.
Fix the perimeter frame
Cut and secure the floor plate, head plate and end studs using fixings appropriate to the substrate. Keep checking level, plumb and alignment.
Set the intermediate studs
Space studs to suit the plasterboard and system you are using rather than guessing. Follow the board manufacturer's guidance and allow for board edges to land on secure framing.
Add noggins and future fixing points
Add horizontal support where the frame needs stiffening and wherever you already know heavy items will be mounted later. This is the easiest time to create solid fixing zones.
Deal with insulation and services before closing the wall
Fit the specified insulation while the cavity is accessible. If the new wall needs fixed wiring or plumbing changes, get the right trade involved before you close the frame up.
Board and finish
Fix the correct plasterboard with the recommended screw type and spacing. Stagger joints where the system calls for it, then tape and joint or prepare for plastering.
Things we’d do
Small choices that make the job better.
- Photograph the open frame before plasterboarding so you know where studs, noggins and services are later.
- If you know a wall mounted TV, basin, cabinet or shelf is coming, build the fixing support in now.
- Buy the plasterboard first or confirm its dimensions before finalising stud centres.
- A slightly longer planning stage is much cheaper than reopening a finished wall.
Things we wouldn’t
Common shortcuts that usually cost you later.
- Assuming an existing ceiling or floor finish is strong enough to anchor the wall.
- Closing the wall before photographing or recording hidden services.
- Running cables or pipes through timber without proper planning and protection.
- Using this guide for structural or fire separating work without professional input.
Before you start
Know where DIY stops.
- Keep this project to simple internal partitions that are not structural.
- Check for hidden services before drilling or fixing.
- If the job involves fixed electrics, gas or another specialist service, bring in the right qualified trade.
- If the new wall changes fire safety, sound separation, an escape route or a listed building, check what is required before you build.