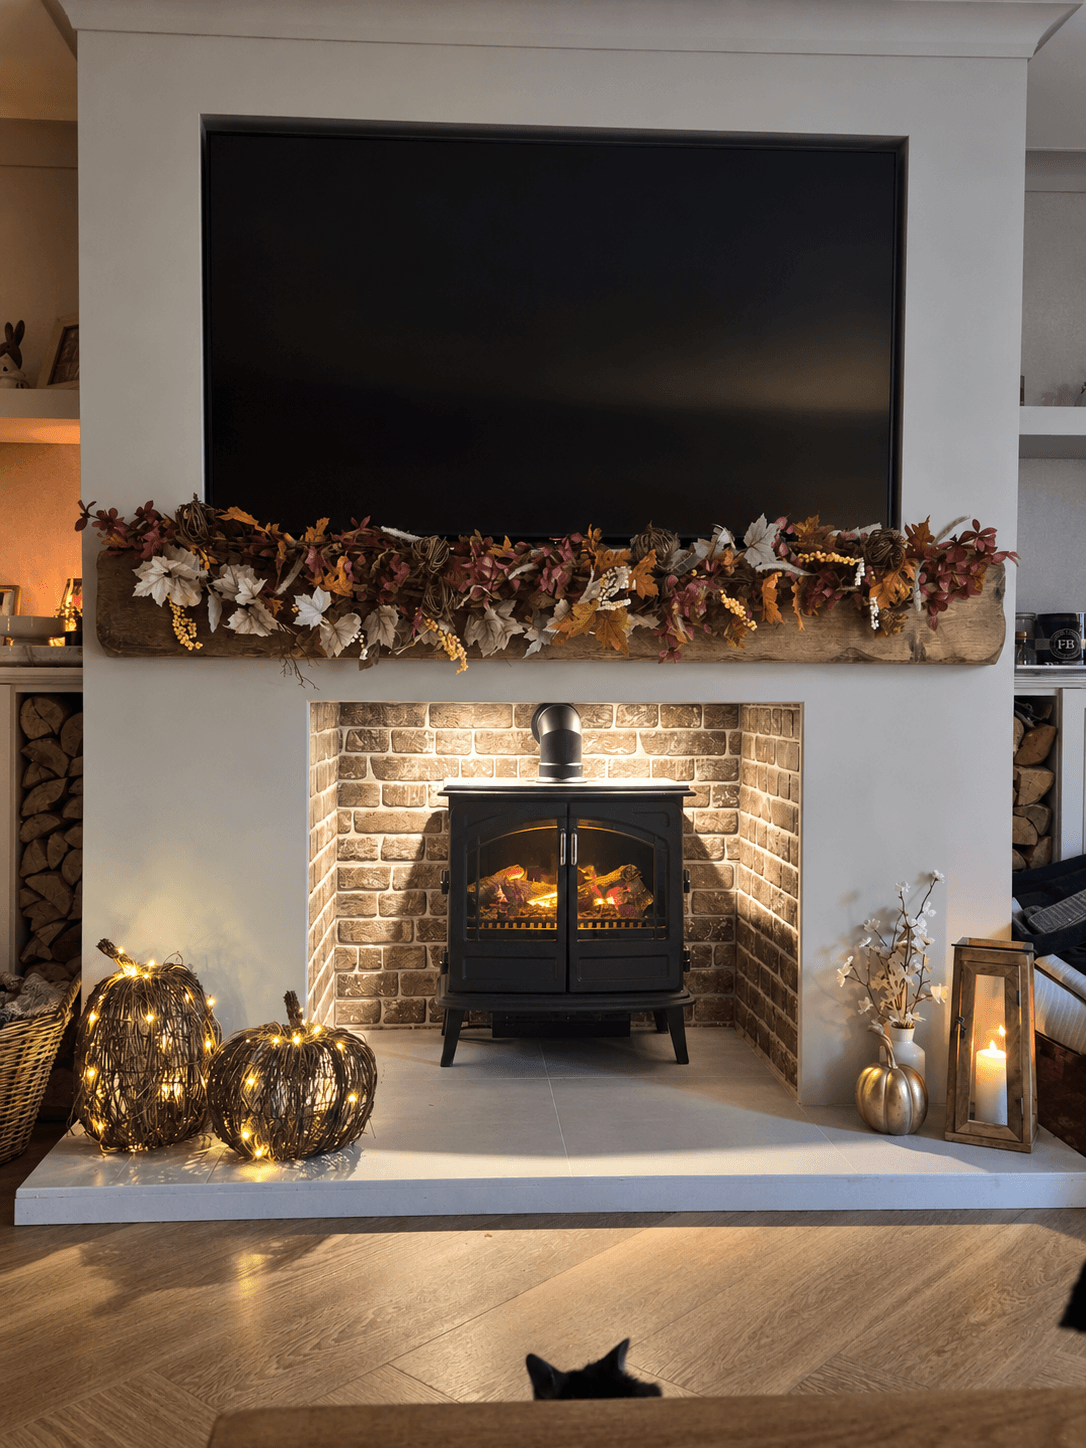
The bit before the reveal
Why we started it.
We wanted one wall to anchor the whole living room: a proper focal point, useful storage and a convincing built-in finish without paying the professional estimate we had been given.
Neither of us had built anything at this scale before. We planned the shape, worked through the framing and finishing one decision at a time, and learned very quickly that the final ten per cent takes far more than ten per cent of the time.
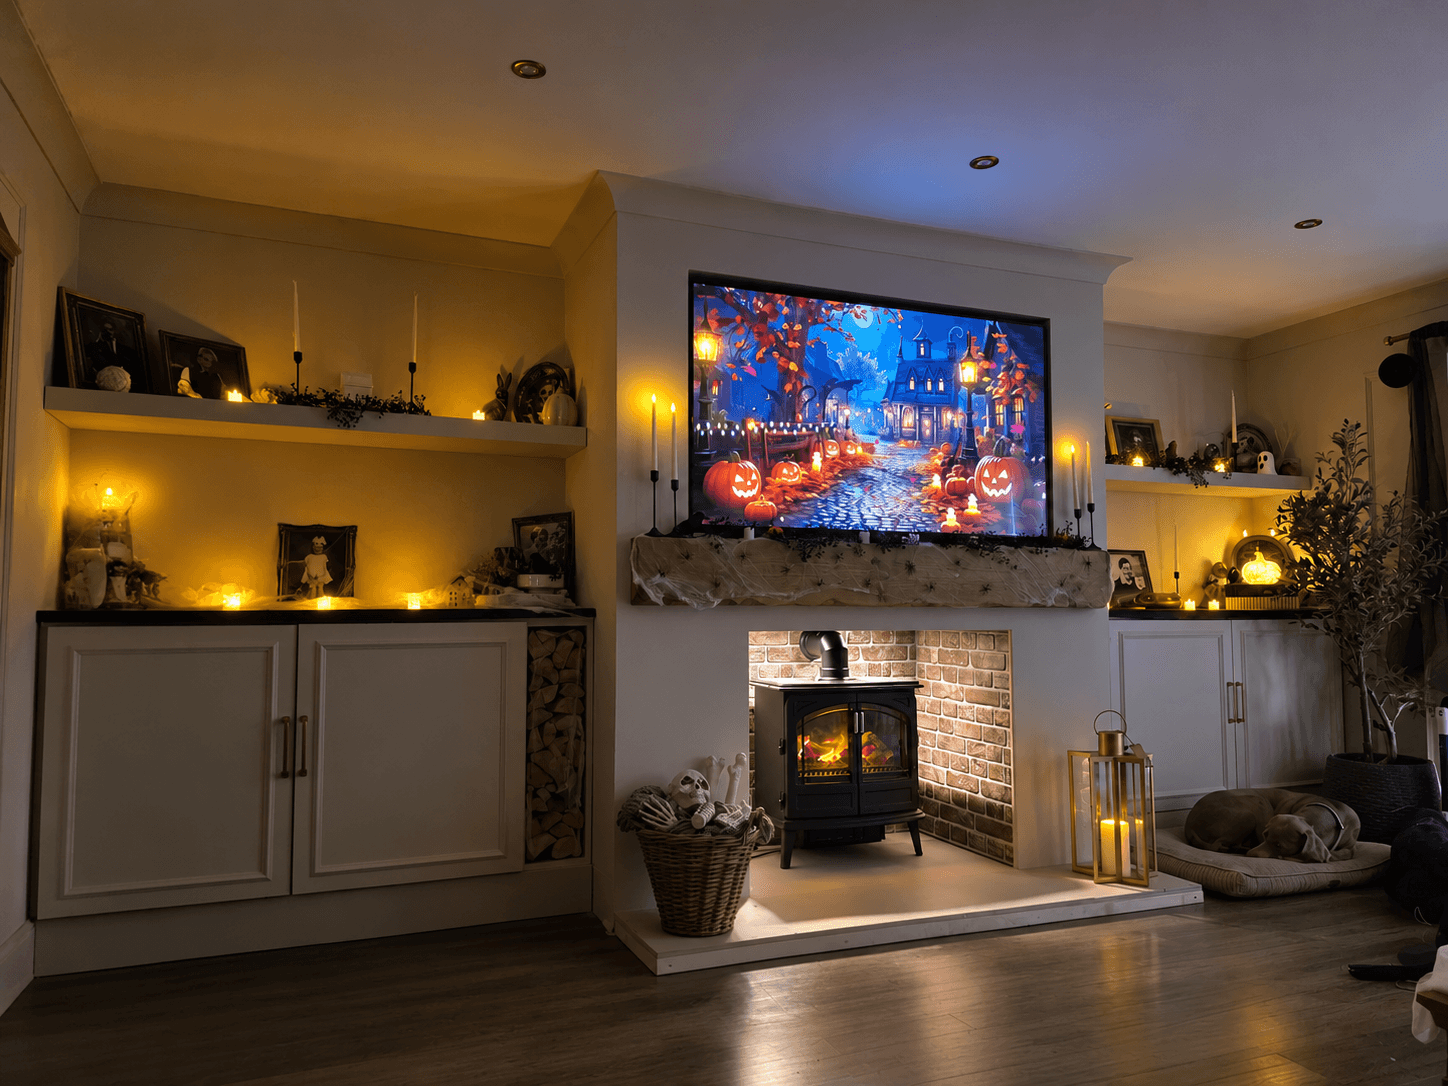
The completed wall combines an electric Dimplex mist-effect fire, a central chimney-breast form, closed cupboards and floating shelves. The total recorded project cost was £1,204 against a professional estimate of £6,000.
One decision at a time
How it came together.
- 01
Define the finished footprint
We planned the overall proportions around the television, electric fire, cupboard depth and the usable room space before setting out the frame.
Check for concealed services before drilling and confirm the appliance manufacturer's clearance and ventilation requirements. - 02
Set out and build the frame
The timber structure established the chimney-breast shape, fire opening and the lines the cabinetry and shelves would later follow.
- 03
Create the storage and shelves
Base cupboards and floating shelves turned the feature wall into useful storage rather than a purely decorative build.
- 04
Board, finish and decorate
Boarding, joint lines, corners, sanding and paint created the continuous built-in appearance. This was the slowest and most finish-sensitive stage.
- 05
Fit the final elements
The electric mist fire, television and finishing details completed the room once access, clearances and final positions had been checked.
Electrical alterations and final connections must be completed or checked by a competent person where the work requires it.
What we used
The shopping list.
We only show a quantity or cost when we have actually recorded it. If something is missing, we would rather leave it blank than make a number up.
| Material | Quantity | Recorded cost | Notes |
|---|---|---|---|
| Structural timber | Not recorded | Not recorded | The timber sizes and quantities we used are listed in the free Media Wall pack. |
| Sheet and finishing materials | Not recorded | Not recorded | Board, trims, fixings and surface preparation materials. |
| Cabinet and shelf materials | Not recorded | Not recorded | Panels, hinges and shelf structure used for the built-in elements. |
| Dimplex electric mist-effect fire | 1 | Not recorded | The feature is electric; it is not a log burner. |
| Decorating materials | Not recorded | Not recorded | Primer, paint, fillers and finishing consumables. |
Tools we reached for
- Tape measure and pencil
- Laser or long spirit level
- Mitre saw
- Drill/driver
- Appropriate wall fixings
- Multi-tool
- Sanding and decorating tools
- Suitable PPE
The useful bit
What went wrong. What we’d do differently.
We underestimated how long the filling, sanding and final finishing would take.
Small inaccuracies at framing stage become much more visible once long shelves and shadow lines are added.
Access for future maintenance needs to be designed in before everything is closed up.
Next time, we would remember:
Spend more time checking square, level and symmetry before fixing permanently.
Keep a live cost record while buying rather than reconstructing it at the end.
A convincing built-in finish comes from the preparation between construction and paint.
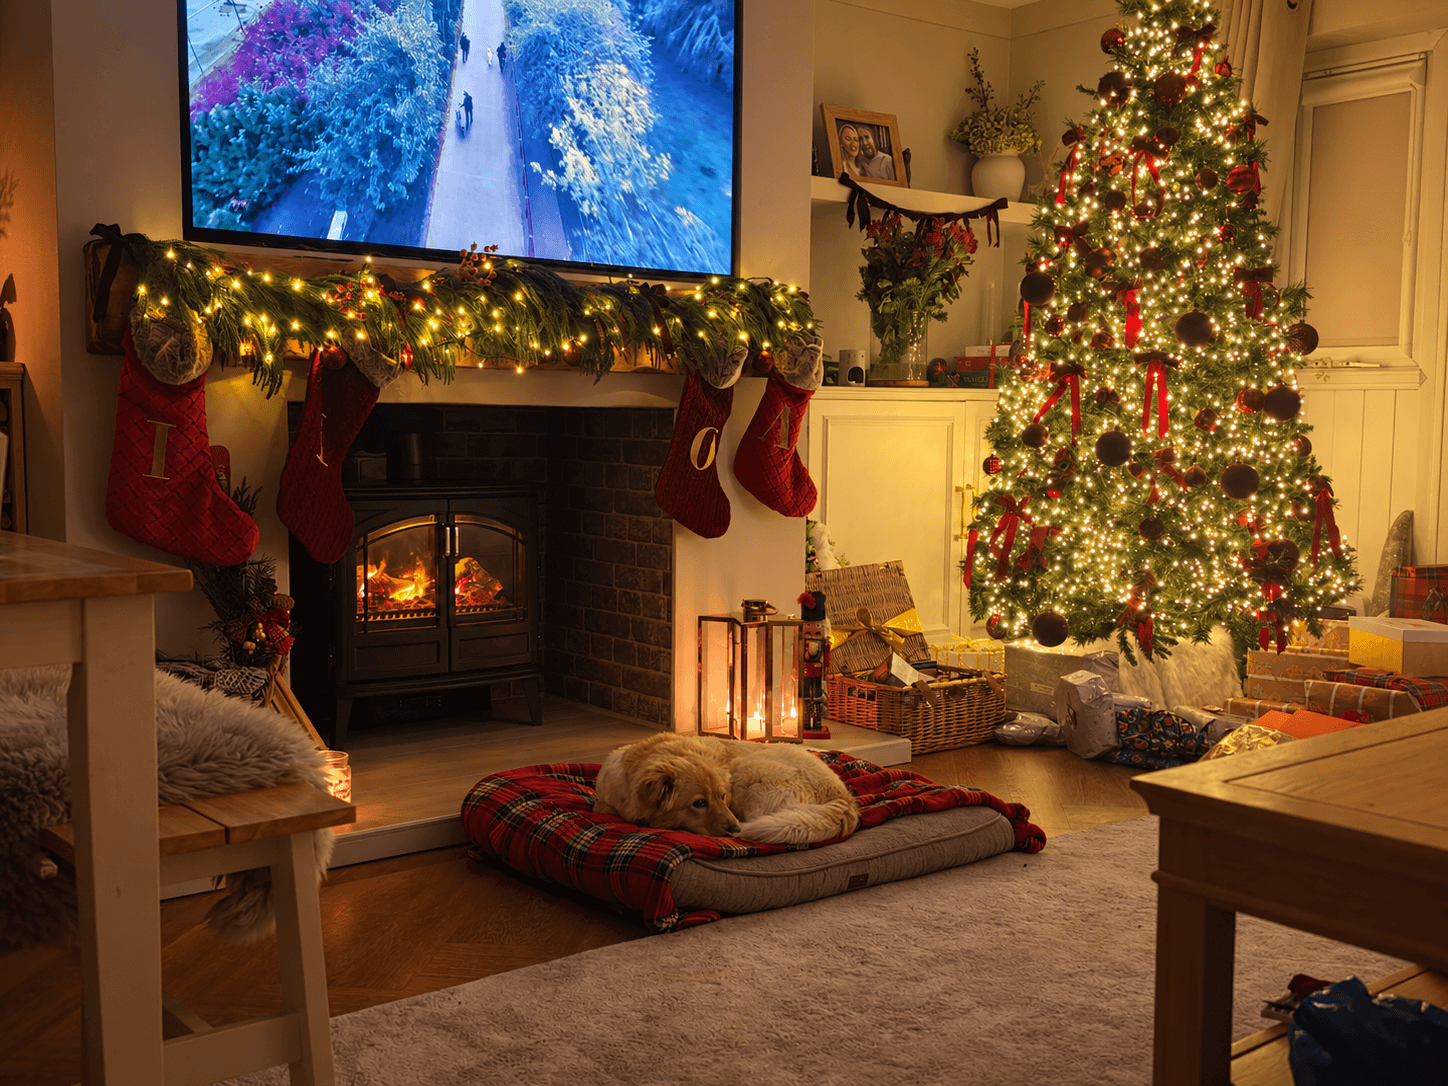
A closer look.
Questions we’d ask too
Before you copy anything.
Is the fireplace a log burner?
No. It is an electric Dimplex fire with a mist-effect flame.
Did you have previous joinery experience?
No. This was built by two amateur DIYers learning through the project.
Can I copy the dimensions exactly?
No. Use our dimensions as a reference, not a template. Measure your own room, check your wall construction and follow the clearances for your TV and fire. The free Media Wall pack walks through the checks we would do before starting.
Project complete. We’ll keep this page updated if we learn anything new.