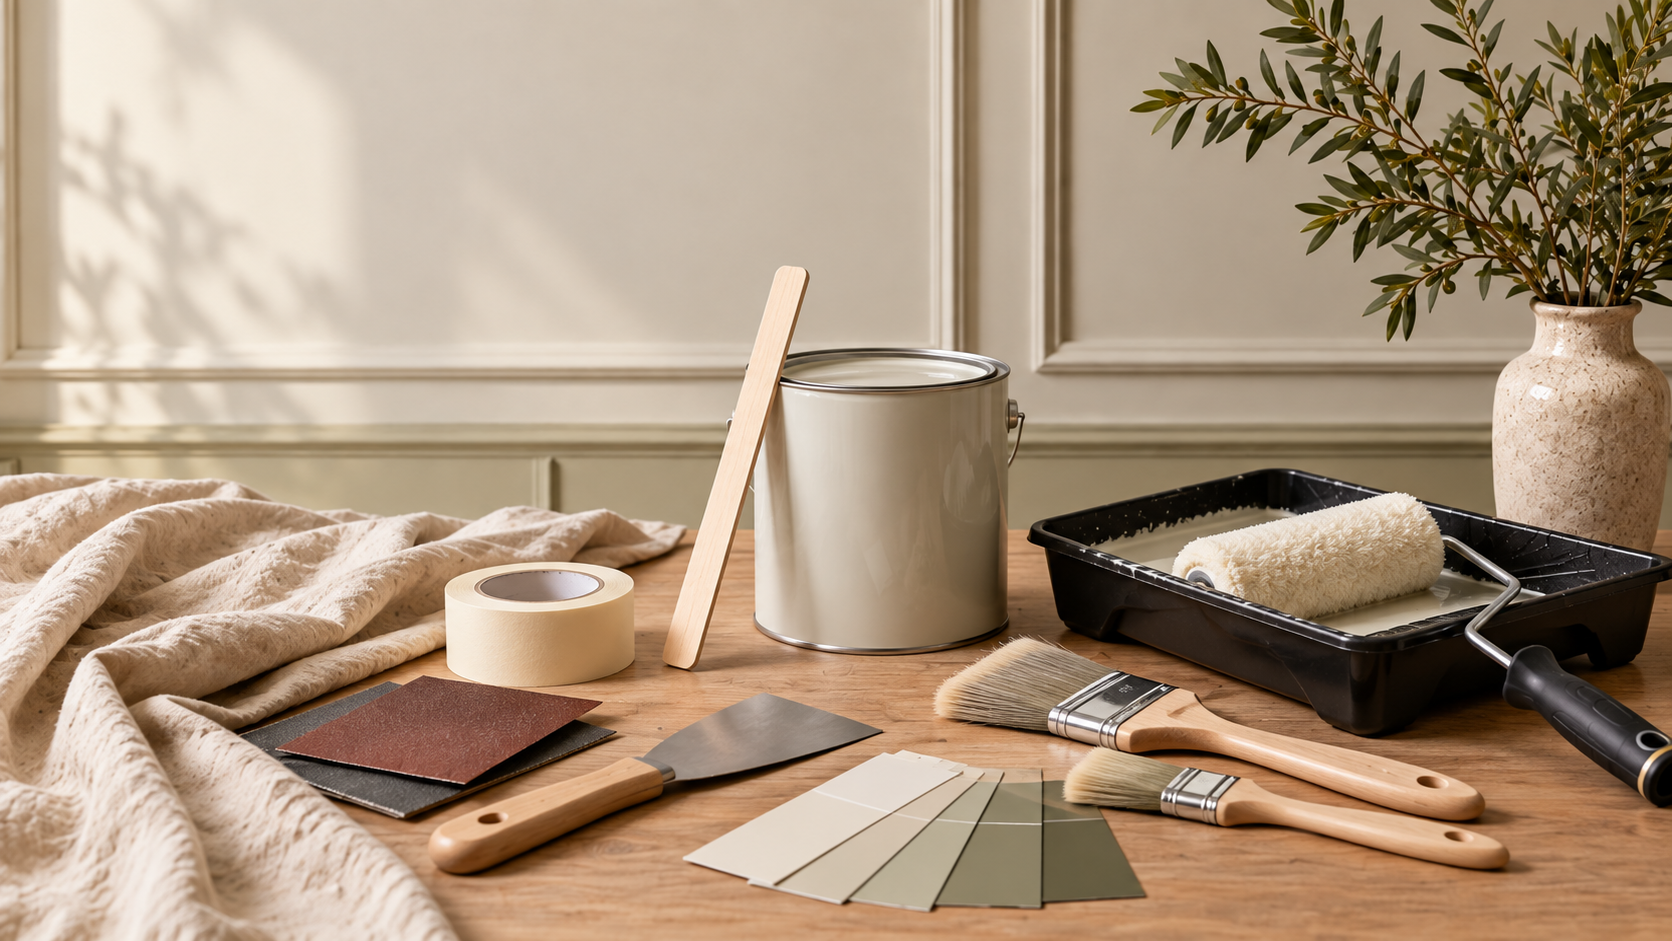
The fastest way to make a new finish look disappointing is to put it over a wall that was not ready for it.
Good preparation is mostly patient, unglamorous work: remove loose material, clean the surface, fill defects in sensible layers, sand them flush and deal with stains or unstable backgrounds before decorating.
You do not need every wall to be perfectly new. You do need it to be sound, clean, dry and smooth enough for the finish you are planning.
Tools
What you’ll need to do the job.
- Filling knife
- Scraper
- Sanding block or suitable sander
- Fine and medium abrasive
- Vacuum or soft brush
- Sponge and clean cloths
- Dust sheets
- Work light
- PPE suitable for dust and sanding
Materials
What you’ll need to build it.
- Filler suited to the size and type of defect
- Sugar soap or suitable surface cleaner
- Stain blocking product where genuinely required
- Primer or stabilising solution only where the substrate/product system needs it
- Decorators caulk for small flexible perimeter gaps
- Masking tape
Step by step
Do it in this order.
Inspect the wall in good light
Look for loose paint, failed filler, cracks, dents, stains, wallpaper paste, greasy areas and obvious damp. Preparation depends on the problem, so do not cover symptoms before understanding them.
Remove anything that is not sound
Scrape away loose or flaking material and feather the edges of remaining sound coatings. Do not keep building new layers over paint that is already detached from the wall.
Clean before filling and painting
Remove dust, dirt and grease with a suitable cleaner, then rinse where the product requires it and let the wall dry properly.
Fill defects in sensible layers
Use a filler intended for the defect and substrate. Deep holes are usually better built up in layers than overfilled in one heavy application. Let each stage cure as instructed.
Sand until the repair disappears by touch
Use a sanding block to keep repairs flat rather than hollowing the surrounding wall. Run your hand across the repair and use side lighting to expose ridges.
Remove every trace of sanding dust
Vacuum and wipe the surface as appropriate. Dust left behind can spoil adhesion and telegraph through the finish.
Treat stains or unstable areas properly
Use a compatible stain block, primer or stabilising product only where the surface condition requires it. Persistent damp or moisture problems need the cause fixed before decoration.
Do a final light check before decorating
Stand across the room with light travelling along the wall. Small defects are much easier to correct now than after two finish coats.
Things we’d do
Small choices that make the job better.
- Circle defects lightly in pencil as you inspect so you do not keep rediscovering them.
- A broad work light placed near the wall reveals ridges and hollows much better than ceiling lighting.
- Keep filler slightly proud and sand it back rather than trying to finish it perfectly wet.
- Follow the paint or wallpaper manufacturer's preparation instructions where they are more specific.
Things we wouldn’t
Common shortcuts that usually cost you later.
- Painting over active damp, mould or a water stain without fixing the cause.
- Using decorators caulk to disguise large rigid cracks.
- Sanding without controlling dust.
- Priming every wall automatically when the finish system does not call for it.
Before you start
Know where DIY stops.
- Wear suitable respiratory and eye protection when sanding or disturbing dusty coatings.
- If you suspect old coatings may contain hazardous materials, stop and get appropriate advice before sanding or stripping.
- Ventilate when using cleaners, stain blockers, primers and fillers and follow the product safety instructions.