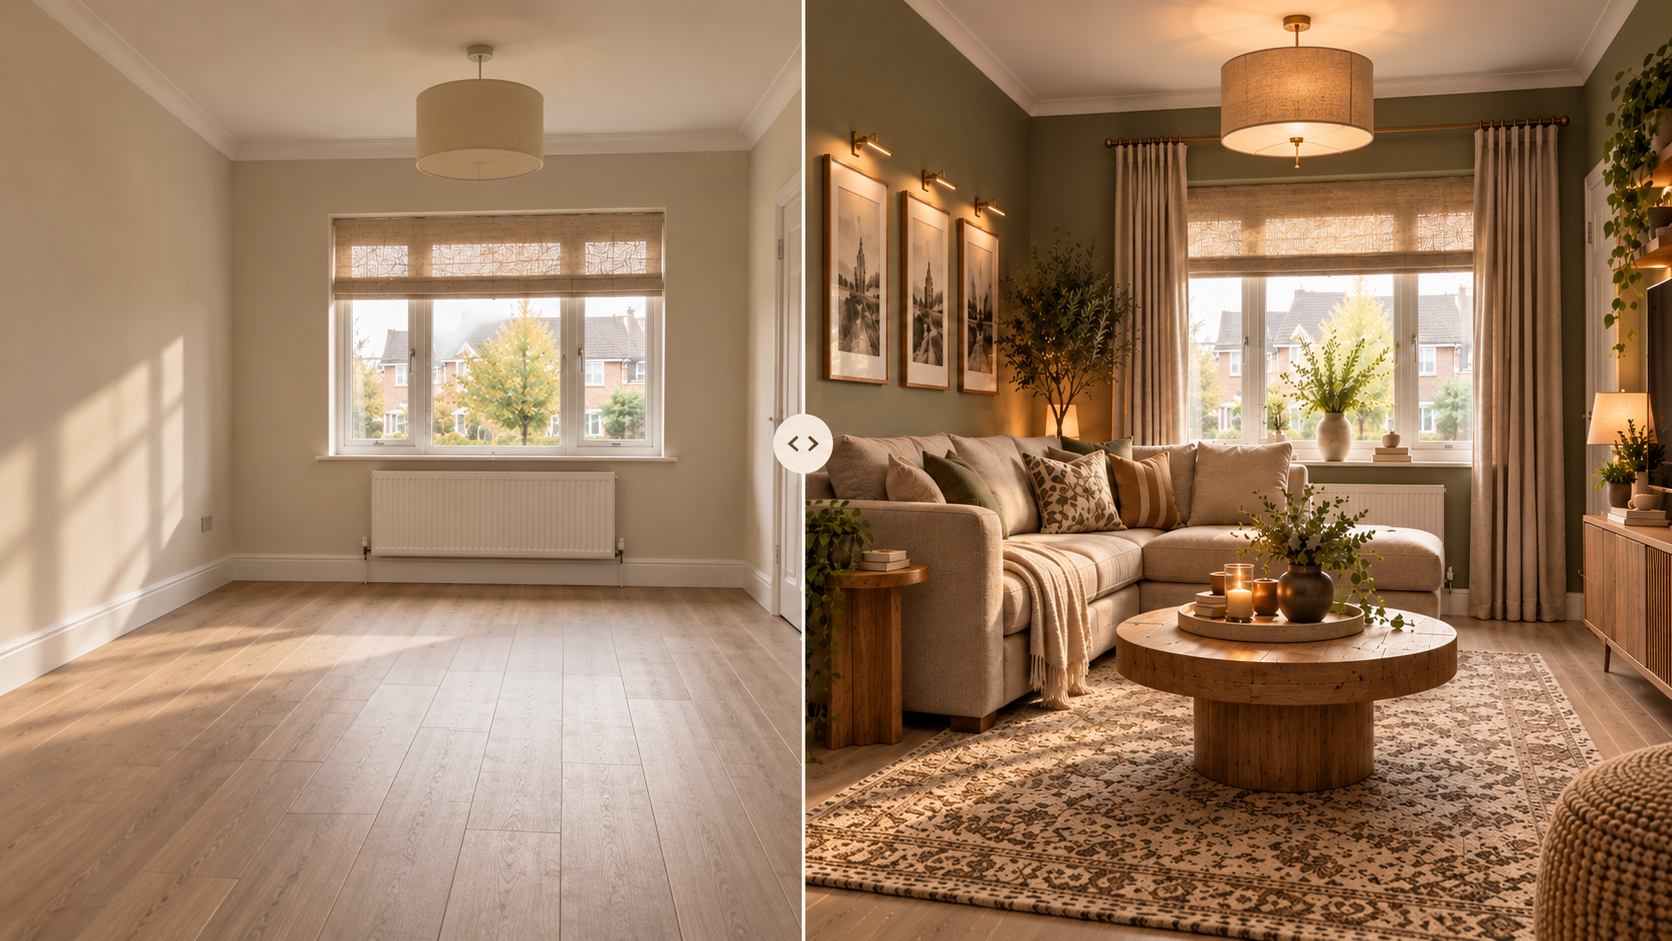
A room can look completely different without changing a wall. Often the biggest improvement is simply making the furniture arrangement work harder.
Room Studio treats doors, openings, fixed features and obvious circulation as constraints. You can do the same manually by marking the things that cannot move, then arranging the largest movable pieces around real routes and activities.
The aim is not to maximise furniture. It is to make the room feel easy to enter, use, open, clean and live in.
Tools
What you’ll need to do the job.
- Tape measure
- Pencil
- Paper or a simple room sketch
- Masking tape for testing footprints
- Furniture sliders where suitable
Materials
What you’ll need to build it.
- Your existing furniture measurements
- Any new furniture dimensions before purchase
- A simple list of the room's must do activities
Step by step
Do it in this order.
Mark what cannot move
Record doors, windows, radiators, fireplaces, built ins, kitchen runs and other fixed features. Include the space doors and cupboards need to open.
Identify the real circulation routes
Look at how people move from the entrance to seating, another doorway, a desk, dining table or other important zone. Protect those routes first.
Decide the room's main job
If the room has several uses, rank them. A layout that tries to give every activity equal priority often feels muddled.
Place the largest piece first
Position the sofa, bed, dining table or other dominant item where it serves the room's function without blocking access or fixed features.
Build the secondary pieces around it
Add chairs, tables, storage and lighting only when they support a real use. Avoid filling every empty wall by default.
Test clearances at real scale
Use masking tape for planned furniture footprints and physically walk the routes. Check drawers, doors and chairs can operate.
Check the main sightlines
Stand at the doorway and primary seating position. Make sure the room has a clear visual hierarchy rather than several competing focal points.
Live with the test layout before buying
Move existing pieces where possible and use temporary substitutes. A few days of real use can expose problems a floor plan misses.
Things we’d do
Small choices that make the job better.
- Take furniture measurements before browsing replacements.
- A small side table in the right place is more useful than a large coffee table that blocks movement.
- Open plan spaces benefit from furniture that creates edges without closing the room.
- Save a Room Studio image and compare the suggested composition with your measured reality before buying.
Things we wouldn’t
Common shortcuts that usually cost you later.
- Pushing every item against a wall just to maximise empty floor in the middle.
- Buying furniture from product photos without checking dimensions.
- Treating a radiator, door swing or walkway as dead space you can simply cover.
- Keeping the old layout only because it is familiar.
Before you start
Know where DIY stops.
- Keep escape routes, doors and stairs clear.
- Secure tall furniture to the wall where the manufacturer requires anti tip restraint.
- Do not place furniture in ways that obstruct heaters, fires, vents or other safety critical features.