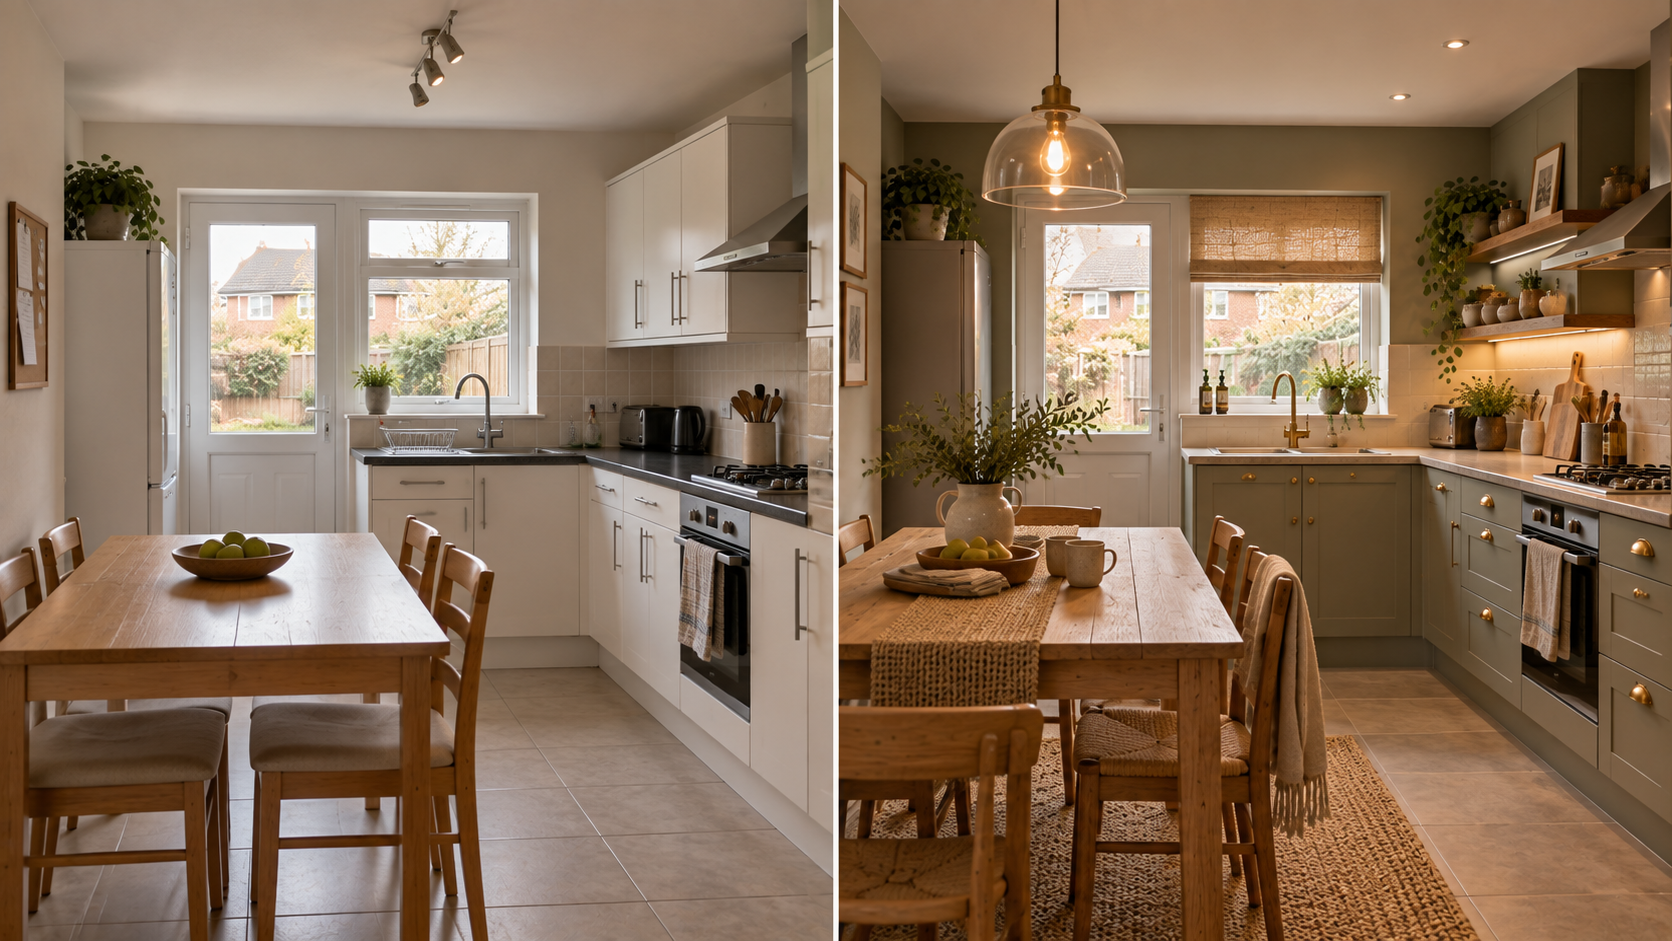
A large open room can still feel awkward if every activity bleeds into the next one.
Zoning is about giving each use an edge without necessarily building a physical wall. Furniture orientation, rugs, lighting, colour and storage can all tell the eye where one zone stops and another begins.
Start with function and circulation. A beautiful rug or pendant does not rescue a dining zone placed directly in the route to the garden door.
Tools
What you’ll need to do the job.
- Tape measure
- Paper or room sketch
- Masking tape for testing footprints
- Phone camera for comparing layouts
- Notebook for listing each zone's must do activities
Materials
What you’ll need to build it.
- Existing furniture measurements
- Planned rug dimensions
- Lighting positions that already exist
- A list of each zone's required activities
Step by step
Do it in this order.
Name the zones
Be specific: cooking, six seat dining, TV seating, homework, reading, play or home office. Vague zones are hard to plan.
Protect the main routes
Mark movement between entrances, kitchen, outside doors and stairs. Keep those routes legible before placing zone boundaries.
Anchor each zone with one major element
Use the dining table, sofa orientation, island, desk or another dominant item to establish the zone.
Add a visual boundary
A rug, pendant, change in paint treatment, console, open shelving or the back of a sofa can define the edge without creating a wall.
Give each zone its own lighting layer
Use existing fixed points and plug in lighting to support the activity. If the new lighting needs fixed wiring changes, get an electrician involved before you build around it.
Repeat materials across zones
Zoning should create distinction without making the room feel like several unrelated rooms. Repeat some colours, timber tones or metals.
Check the room from several viewpoints
Walk the route through the space and look back from each doorway. A zone that works from one angle can obstruct another.
Escalate to a divider only if the soft zoning fails
If noise, privacy, storage or function still need a stronger boundary, then consider shelving, a partial divider or a planned non load bearing partition through the Rethink workflow.
Things we’d do
Small choices that make the job better.
- The back of a sofa can act like a low wall when it faces into the living zone.
- A dining rug needs enough room for chairs to remain on it when pulled back.
- Use different lighting moods rather than wildly different decorating styles.
- Room Studio's zoning option is useful for exploring several arrangements before you move anything.
Things we wouldn’t
Common shortcuts that usually cost you later.
- Placing a zone boundary across the main route through the room.
- Using a tiny rug that makes a furniture group look disconnected.
- Adding a physical divider before testing furniture led zoning.
- Creating a different colour scheme for every function with no visual thread between them.
Before you start
Know where DIY stops.
- Keep routes to doors and stairs unobstructed.
- Do not cover radiators, vents or other fixed safety related features with zoning furniture.
- Treat any new fixed electrical, plumbing or partition work as a separate project with the right checks.