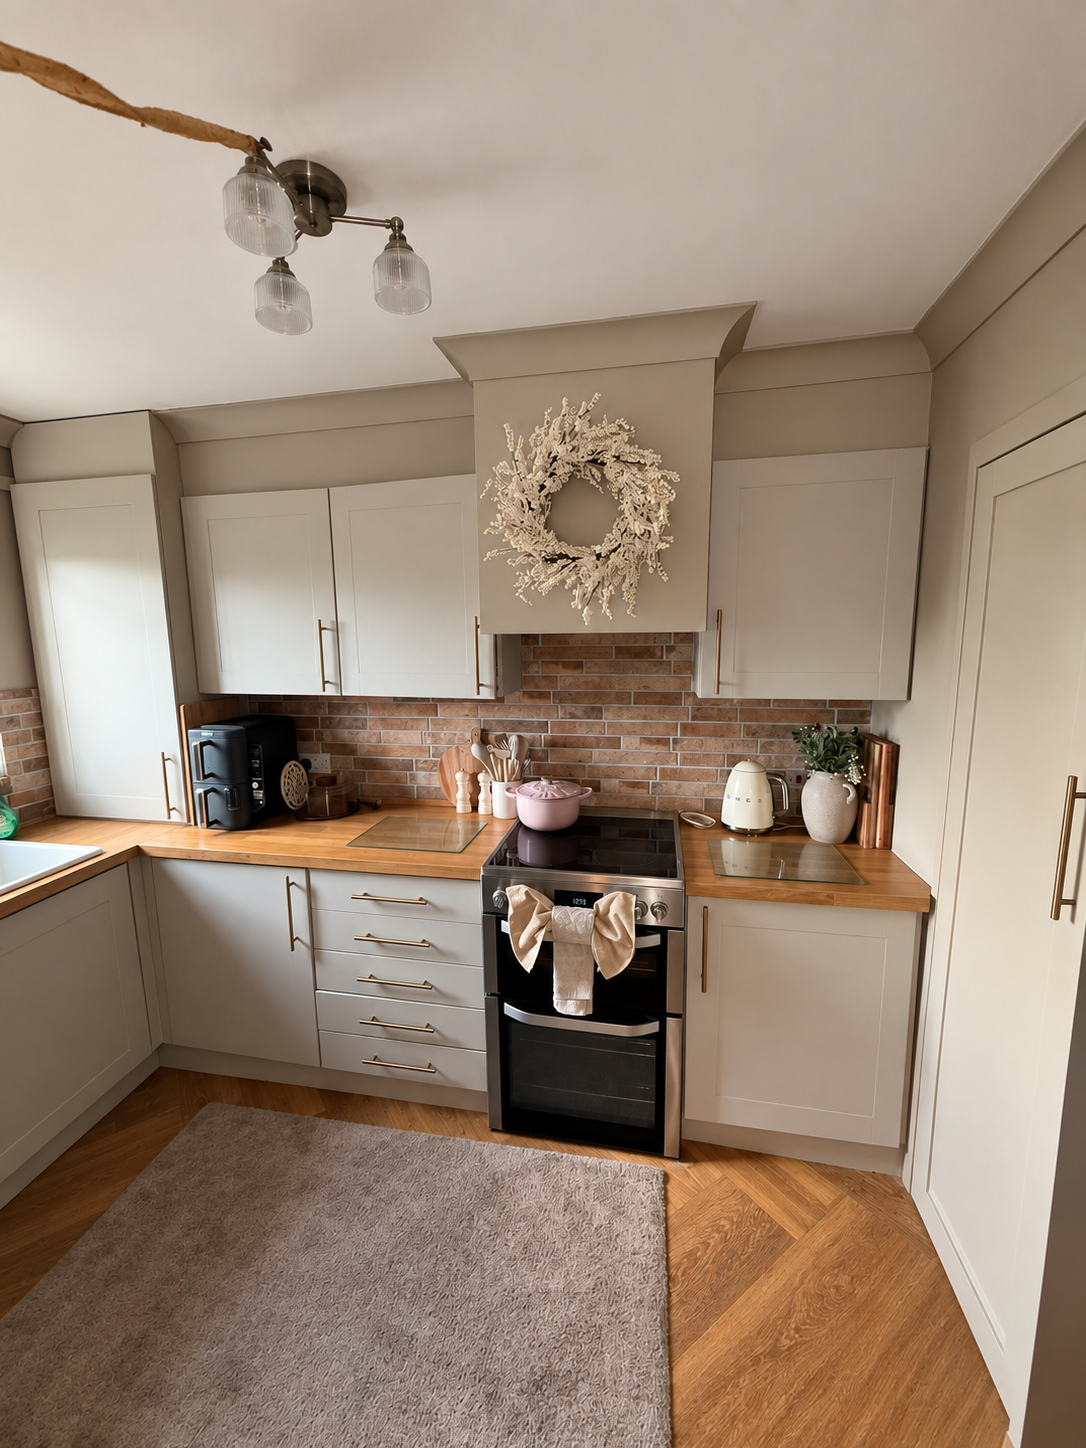
Room Studio can keep a piece you already own but change its finish. This is one of the cheapest ways to turn that visual idea into something real.
The important question is what the furniture is actually made from and what finish is already on it. Solid timber, veneered board, laminate and previously painted surfaces can need different preparation and primers.
A durable result comes from adhesion and cure time. Colour is the fun part, but the surface underneath decides whether it lasts.
Tools
What you’ll need to do the job.
- Screwdriver for removing hardware
- Degreasing cleaner suitable for the surface
- Fine abrasive
- Dusting brush or vacuum
- Small roller
- Quality brush
- Dust sheet
- PPE suitable for sanding and coatings
Materials
What you’ll need to build it.
- Compatible primer where required
- Furniture or trim paint suitable for the substrate
- Filler suitable for repairs
- Replacement handles if part of the makeover
- Protective topcoat only where the chosen system requires it
Step by step
Do it in this order.
Identify the material and old finish
Check whether the item is solid wood, veneer, laminate, MDF or already painted. Test an inconspicuous area if you are unsure how the existing coating behaves.
Remove hardware and clean thoroughly
Grease from hands and cleaning products can ruin adhesion. Clean the piece first and let it dry before abrading.
Repair what will show through
Fill dents, damaged corners or old hardware holes where required. Let repairs cure and sand them flush.
Abrade for the chosen coating system
Lightly key glossy or sealed surfaces where instructed. Do not aggressively sand thin veneer or unknown coatings.
Prime difficult surfaces properly
Use a bonding or substrate specific primer where the paint manufacturer requires it. Pay particular attention to laminate, exposed MDF and stain prone timber.
Apply thin finish coats
Use a small roller for broad flat areas and a brush for profiles and edges. Thin even coats usually level better than one heavy coat.
Let the coating harden
Furniture can feel dry long before it is ready for drawers, ornaments, wiping or daily knocks. Respect the stated recoat and cure times.
Refit or update the hardware
Once cured, reinstall handles carefully or use new hardware to complete the change. Drill new holes only after checking the door/drawer construction and alignment.
Things we’d do
Small choices that make the job better.
- Photograph and label hinges and hardware before removing them.
- Test the colour on the furniture, not only on the wall, the surrounding light can make it read differently.
- A new handle can change the character of a piece without replacing it.
- Keep a small amount of finish paint for future chips and touch ups.
Things we wouldn’t
Common shortcuts that usually cost you later.
- Painting directly over furniture polish, grease or silicone contamination.
- Heavy sanding on thin veneer.
- Closing drawers or placing objects on paint that is only touch dry.
- Using a generic wall emulsion on a high wear surface unless the product system explicitly supports it.
Before you start
Know where DIY stops.
- Ventilate when cleaning, priming and painting.
- Use appropriate respiratory and eye protection while sanding.
- If the furniture or old coating is of uncertain age/composition, avoid aggressive sanding until you know what you are disturbing.