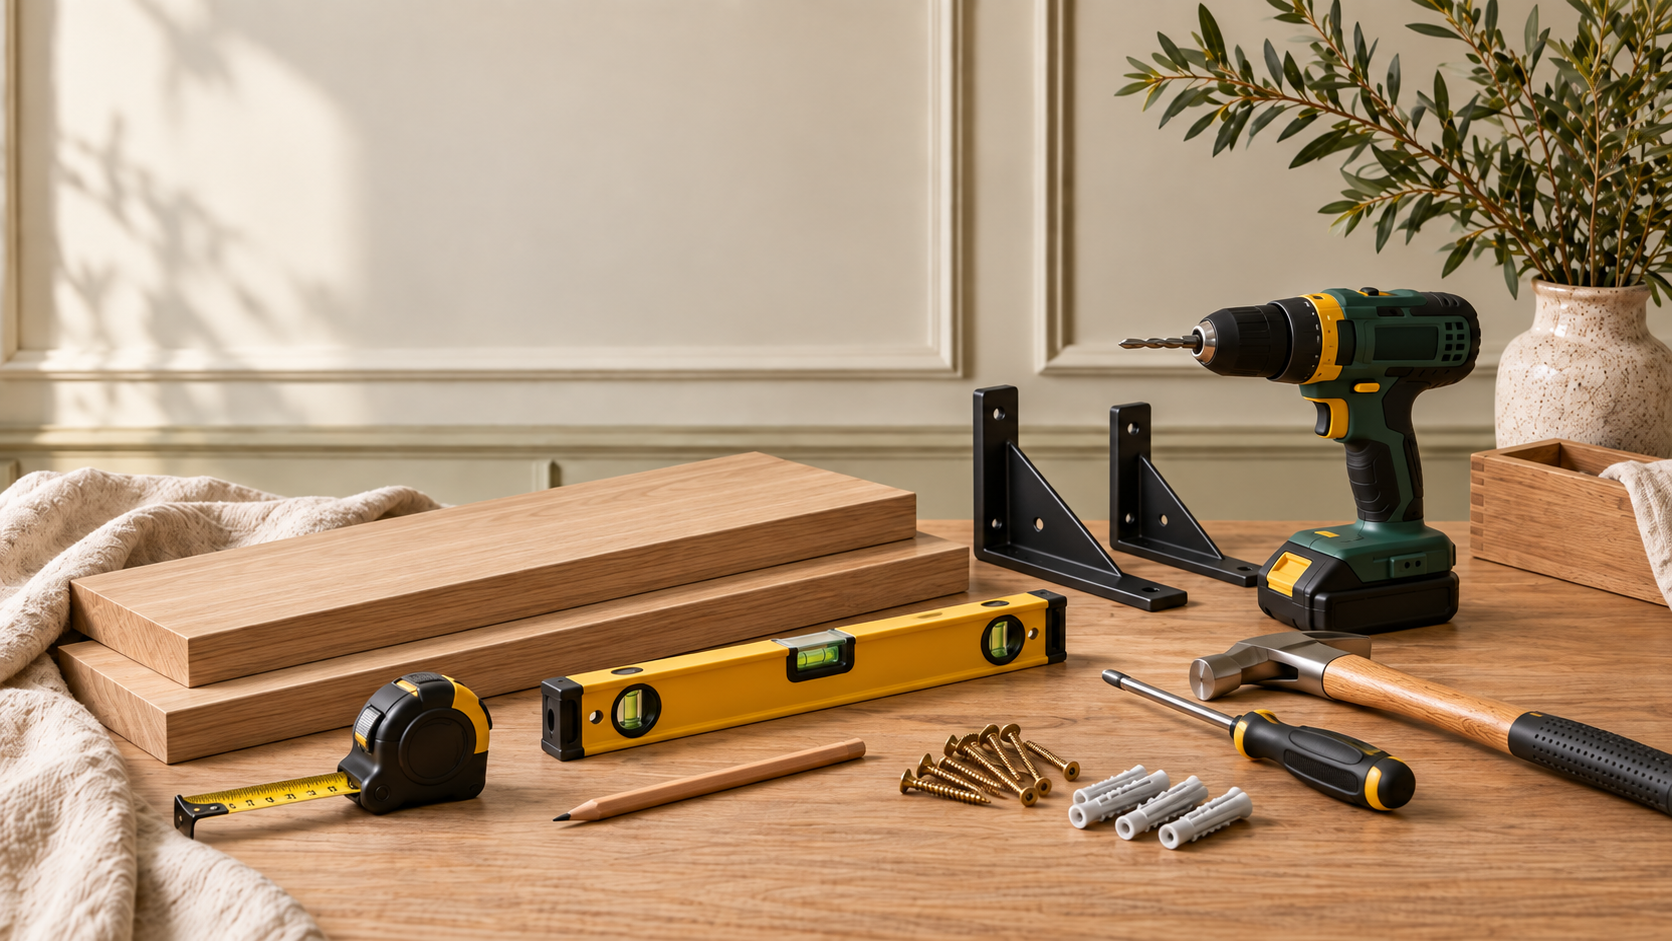
Most shelf failures are not really shelf failures. They are fixing failures.
The first question is not which bracket looks nicest. It is what the wall is made from, where the studs or masonry are, what is hidden behind it and how much load the shelf needs to carry.
Once you know the substrate, you can choose a fixing designed for it. A plasterboard wall, solid brick wall, block wall and tiled wall should not automatically get the same plug and screw.
Tools
What you’ll need to do the job.
- Tape measure
- Pencil
- Spirit level
- Pipe, cable and stud detector
- Drill/driver
- Correct drill bit for the wall material
- Screwdriver or driver bit
- Hammer where appropriate
- Vacuum
Materials
What you’ll need to build it.
- Shelf board
- Brackets or floating shelf hardware rated for the intended load
- Fixings matched to the wall construction
- Screws suitable for the bracket and fixing
- Small screws for securing the shelf to brackets where required
Step by step
Do it in this order.
Decide what the shelf will hold
Books, kitchenware and large plants impose very different loads from a few frames. Use the bracket and fixing manufacturer's load data and leave a sensible safety margin.
Identify the wall
Work out whether you are fixing into masonry, timber studs/noggins, plasterboard or another construction. Use a detector to locate studs, metal, pipes and live cables before drilling.
Position the shelf and brackets
Mark the shelf height, then set the bracket positions according to the shelf span and bracket guidance. Check the line with a spirit level.
Choose the fixing for the substrate
Where possible, heavy shelves on stud walls should pick up solid timber support. Masonry uses appropriate masonry plugs/anchors. Hollow board fixings must be selected for the board thickness and load.
Drill accurately
Use the correct drill bit and mode for the wall. Drill to the fixing manufacturer's diameter and depth rather than simply choosing a bit that looks close.
Fix the brackets and recheck level
Tighten fixings securely without crushing the substrate. Check the brackets before placing the shelf.
Secure the shelf to the brackets
Where the bracket design requires it, screw the board to the support using screws short enough not to break through the upper face.
Load it gradually
Do not put the heaviest objects straight on the new shelf. Load progressively and stop if any movement, cracking or pulling is visible.
Things we’d do
Small choices that make the job better.
- For future joinery, add noggins before closing a stud wall wherever you know shelves will go.
- A longer shelf often needs more than two support points.
- Keep fixing packaging until the job is finished so you retain the load and installation information.
- Tile changes the drilling method but not the need for a sound substrate behind it.
Things we wouldn’t
Common shortcuts that usually cost you later.
- Using generic plastic plugs in plasterboard just because they came with the bracket.
- Guessing where studs are when a detector can confirm the layout.
- Choosing fixings by screw diameter alone.
- Ignoring the combined weight of the shelf, bracket and contents.
Before you start
Know where DIY stops.
- Check for hidden cables and pipes before drilling.
- Use the fixing manufacturer's load and substrate guidance.
- For unusually heavy loads or a wall you are unsure about, get the fixing method checked before mounting.