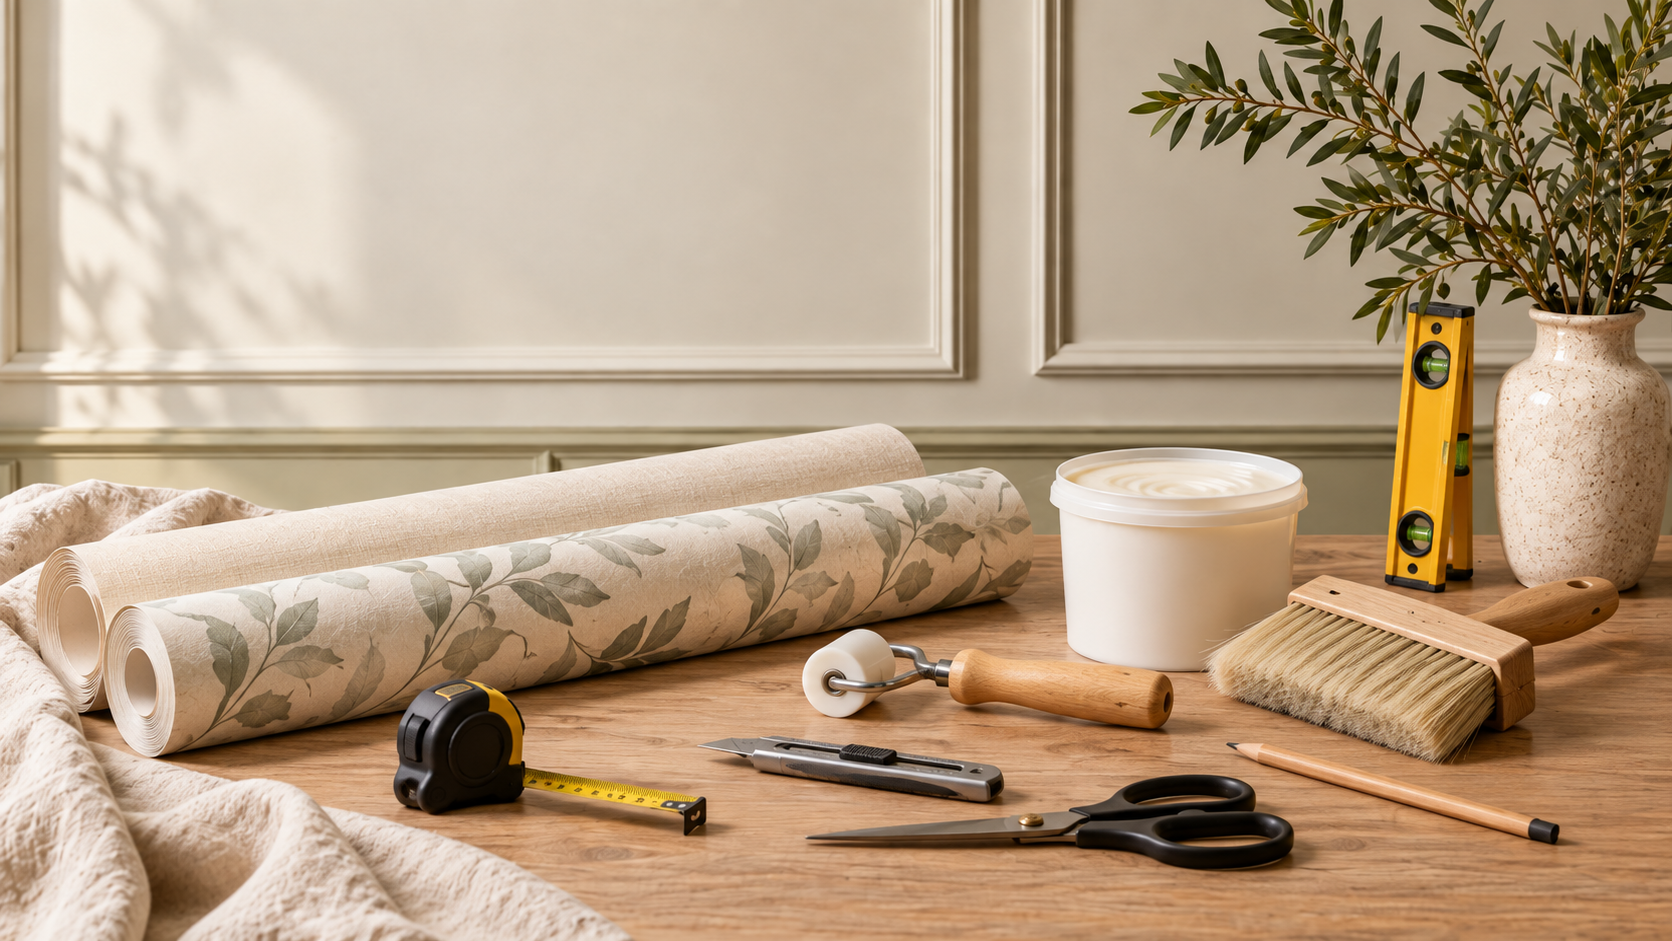
Wallpapering becomes much less intimidating once you separate it into three jobs: preparing the wall, understanding the paper, and hanging each length accurately.
The manufacturer's instructions always win. Paste the wall products are handled differently from papers that need paste applied to the reverse, and pattern repeats change how much paper you need and where you should cut.
The first length matters disproportionately. Get that one plumb and the rest of the room has a reliable reference. Start crooked and every following drop has to fight the error.
Tools
What you’ll need to do the job.
- Tape measure
- Pencil
- Long spirit level or laser
- Sharp snap off knife
- Wallpaper scissors
- Wallpaper smoother or hanging brush
- Seam roller if suitable for the paper
- Paste brush or roller
- Bucket
- Clean sponge
- Straight edge
- Pasting table if required by the wallpaper type
Materials
What you’ll need to build it.
- Wallpaper from the same batch where possible
- The adhesive specified for the wallpaper
- Lining paper where the wall condition needs it
- Filler and fine sandpaper for surface repairs
- Dust sheets
- Clean water and cloths
Step by step
Do it in this order.
Read the wallpaper label before opening everything
Check whether it is paste the wall or paste the paper, the pattern repeat and match type, soaking time if any, batch number and adhesive recommendation.
Make the wall boringly good
Remove loose material, fill defects, sand smooth and clean the surface. Wallpaper magnifies poor prep. On difficult or very absorbent surfaces, use the preparation system recommended for the paper and adhesive.
Plan where the pattern will land
Choose a sensible start point and think about the most visible corners, chimney breasts, windows and doors. Avoid discovering at the final corner that the pattern leaves a tiny awkward strip.
Create a true vertical start line
Walls and corners are rarely perfectly plumb. Mark a vertical reference slightly less than one roll width from the starting point so the first length can be aligned independently of the corner.
Cut with pattern allowance
Measure the wall height and add trimming allowance. If the design has a repeat, line up the pattern before cutting subsequent lengths so you understand the real waste.
Apply paste the way the manufacturer specifies
For paste the wall paper, coat the wall evenly just beyond the width of the next drop. For traditional paper, paste and book/soak for the stated time. Do not invent a method because another roll worked differently.
Hang, smooth and trim
Align the first edge to the plumb line, then smooth from the centre out to remove air without stretching the paper. Crease gently at ceiling and skirting, then trim with a sharp blade.
Match seams, then clean immediately
Bring the next length edge to edge without overlapping unless the product says otherwise. Wipe paste from the face, ceiling and skirting with a clean damp sponge before it dries.
Things we’d do
Small choices that make the job better.
- Order all rolls for a room together and check batch numbers before hanging.
- A fresh blade is cheaper than a torn wallpaper edge.
- Do not overwork seams. Some papers mark easily when wet.
- Order samples first when colour, texture and scale matter.
Things we wouldn’t
Common shortcuts that usually cost you later.
- Starting from an unverified corner and assuming it is straight.
- Using the wrong adhesive because it is already in the shed.
- Ignoring pattern repeat when calculating roll quantities.
- Leaving paste on the printed face to dry.
Before you start
Know where DIY stops.
- Keep blades and scissors controlled and out of reach of children.
- Ventilate the room and follow adhesive safety instructions.
- Take particular care around sockets and switches. If a socket or switch needs removing or changing, use an electrician.