Laminate is one of the more approachable flooring jobs because modern click systems do not usually need glue between boards. The catch is that the floor underneath has to be ready.
A clean, dry, flat and sound subfloor matters more than how quickly you can click boards together. The flooring also needs room to expand and contract, so the perimeter gap is not optional decoration. It is part of the installation.
Different laminate systems have different moisture, underlay, underfloor heating and room size rules. Treat the manufacturer's instructions as the specification for your floor.
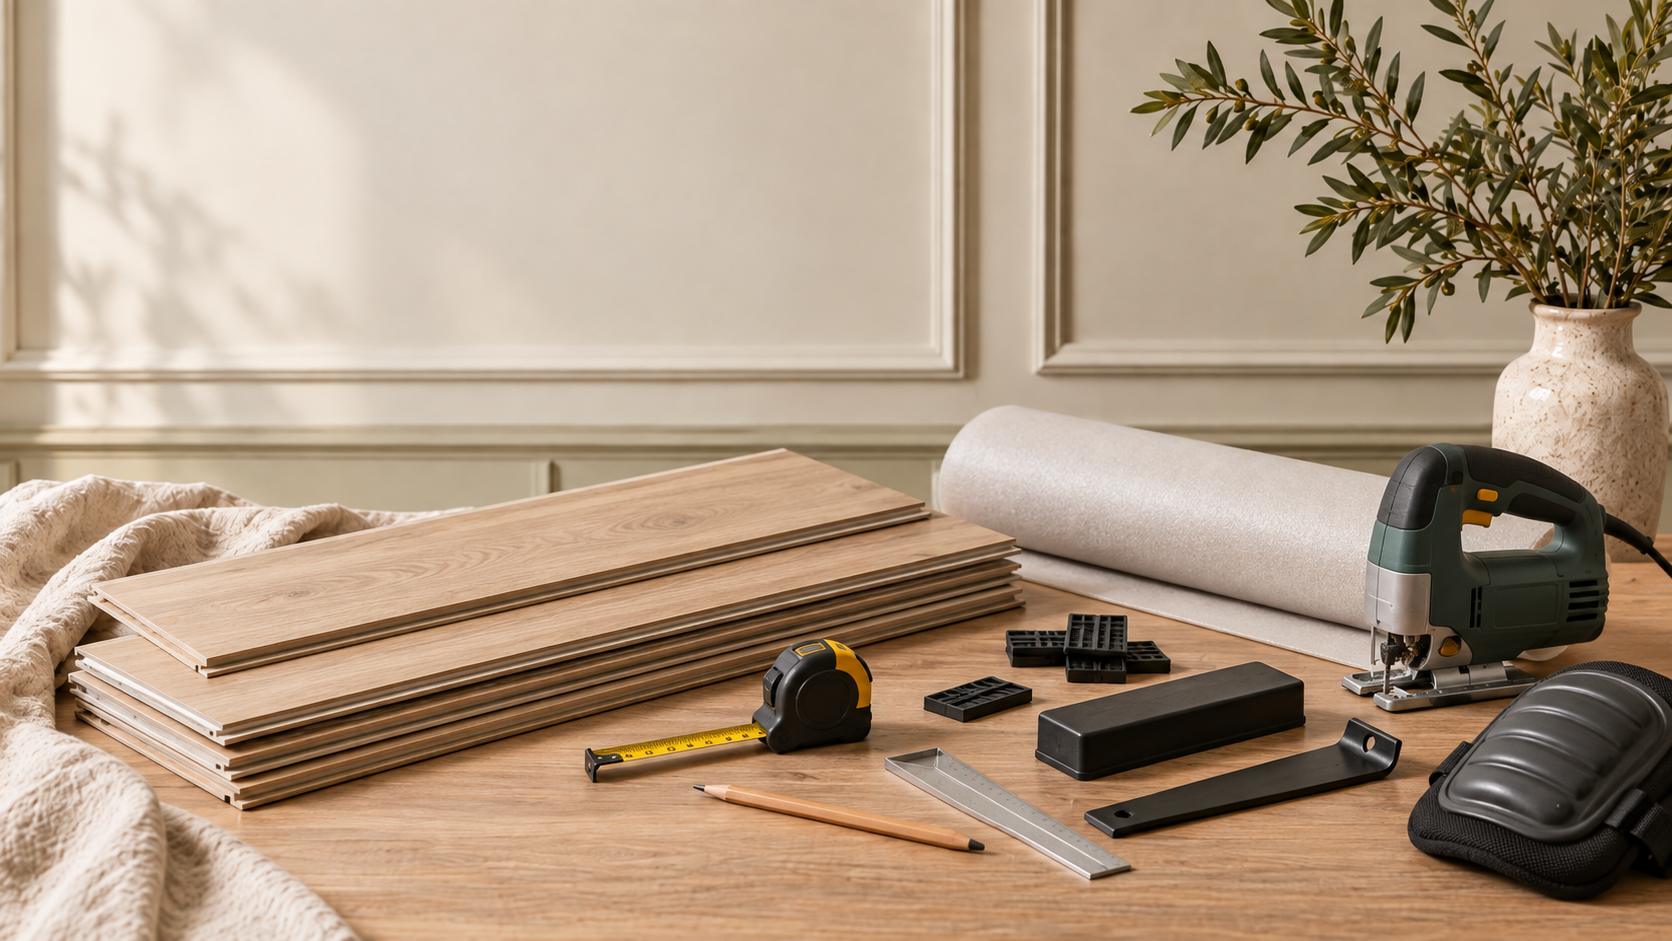
Tools
What you’ll need to do the job.
- Tape measure
- Pencil
- Square
- Suitable saw or laminate cutter
- Pull bar and tapping block if specified
- Flooring spacers
- Utility knife
- Straight edge
- Knee pads
- Vacuum
Materials
What you’ll need to build it.
- Laminate flooring
- Correct underlay
- Damp proof membrane where required by the floor/subfloor system
- Expansion spacers
- Threshold profiles
- Skirting or beading as the chosen finish
- Pipe covers where required
Step by step
Do it in this order.
Check the subfloor
Remove loose material and make sure the base is clean, dry, sound and within the flatness tolerance required by the flooring manufacturer. Fix problems now rather than hoping the boards bridge them.
Acclimatise the flooring
Store the unopened packs in the room for the period and conditions specified by the manufacturer. Many systems call for around 48 hours, but follow your product.
Plan the direction and first row
Measure the room and work out the likely width of the final row. Avoid creating a tiny sliver at the far wall. Decide how thresholds and doorways will be handled before laying the first board.
Lay the correct moisture layer and underlay
Concrete and other subfloors may need specific moisture protection. Lay the underlay in the direction and jointing method required by the product.
Protect the expansion gap
Use spacers around walls, columns, pipes and other fixed objects. A common manufacturer requirement is around 8 to 10 mm, but use the dimension specified for your floor and room.
Click boards together without forcing them
Follow the exact angle/tapping sequence for the joint system. Mix boards from several packs to distribute natural print or shade variation.
Stagger end joints
Start successive rows with suitable offcuts where they meet the minimum joint offset in the instructions. Avoid obvious repeated stair step patterns unless that is intentional.
Finish without trapping the floating floor
Remove spacers and cover the perimeter gap with skirting or beading fixed to the wall, not through the laminate. Fit thresholds so the floor can still move as designed.
Things we’d do
Small choices that make the job better.
- Undercut door linings where appropriate for a cleaner finish than shaping boards around them.
- Keep the first three rows especially straight; errors multiply quickly.
- Open several packs and mix boards as you lay.
- Keep spare boards from the same batch for future repairs.
Things we wouldn’t
Common shortcuts that usually cost you later.
- Laying over a damp or badly uneven subfloor.
- Skipping the expansion gap because skirting will hide it.
- Fixing skirting or heavy fixed joinery through the floating floor.
- Assuming all laminate is suitable for bathrooms or underfloor heating.
Before you start
Know where DIY stops.
- Use eye, hearing and dust protection appropriate to the cutting method.
- Follow the tool manufacturer's cutting instructions and support boards securely.
- Check the flooring manufacturer's room use and underfloor heating limitations.