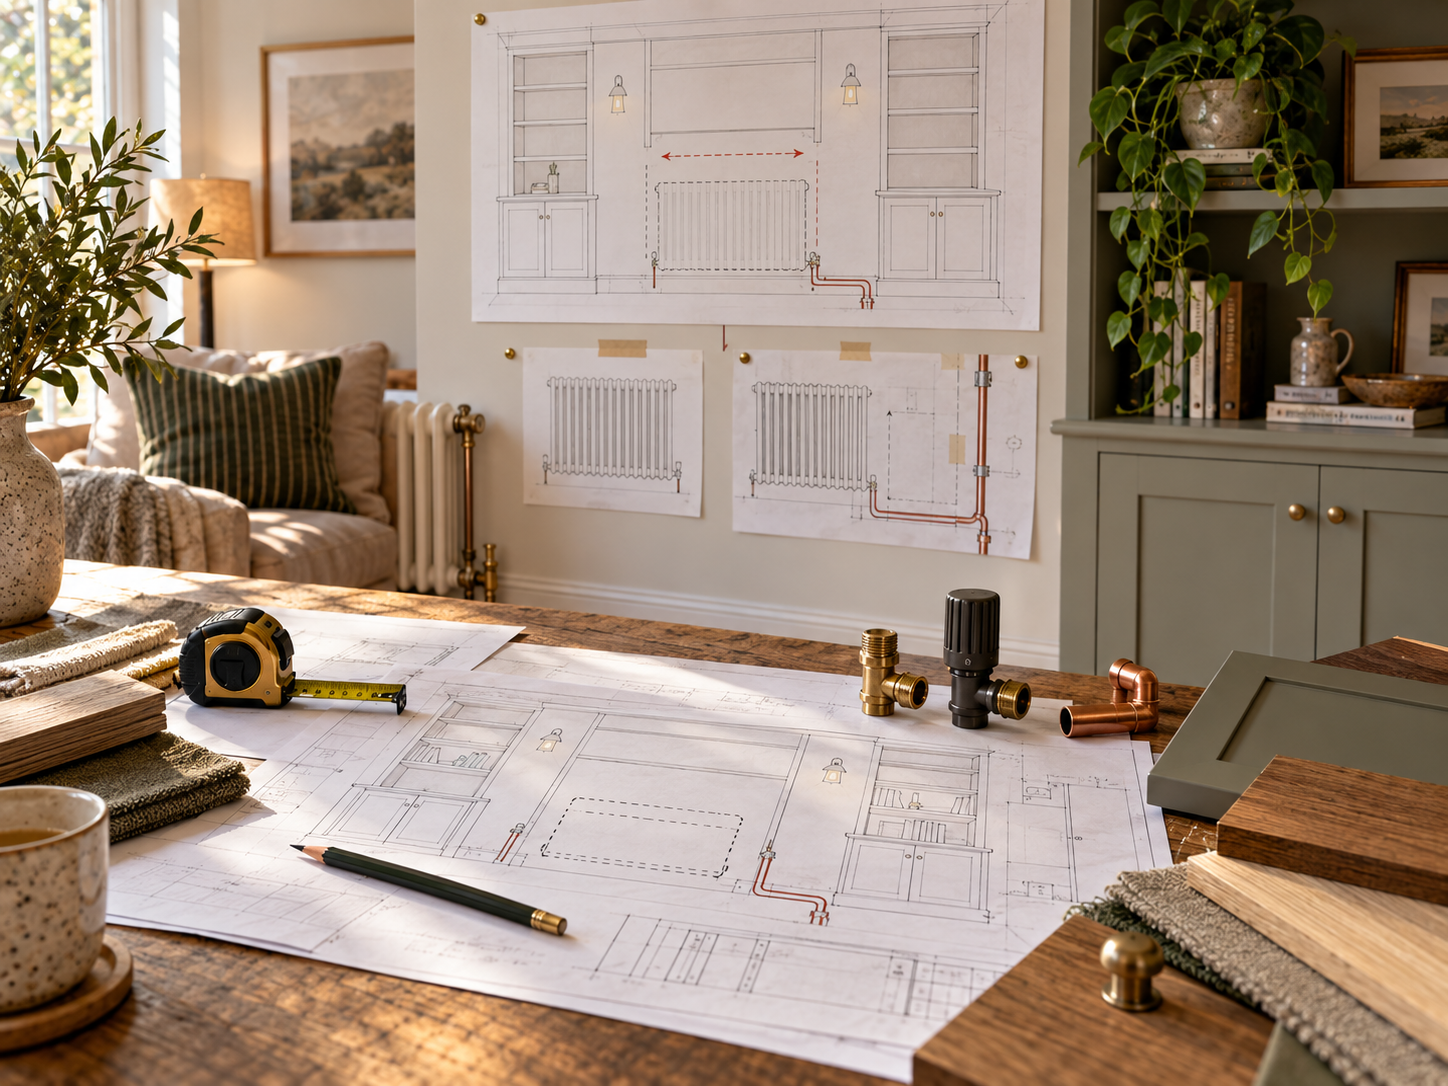
A Room Studio concept can show a radiator in a better position, but that is a design permission rather than proof that the pipework can simply follow it.
Before joinery is built, decide whether relocation is genuinely needed, identify a practical new position and make sure valves, pipe routes and future maintenance remain possible.
Moving a radiator can affect the wider heating system, so the useful DIY job here is planning the space properly and handing a clear brief to a heating engineer or plumber if the system needs changing.
Tools
What you’ll need to do the job.
- Tape measure
- Pencil and masking tape
- Room sketch
- Phone camera
- Pipe and cable detector for nearby fixing zones
Materials
What you’ll need to build it.
- Existing radiator dimensions
- Proposed radiator dimensions if changing size
- Furniture/joinery dimensions
- Notes on existing valve and pipe positions
- Manufacturer information for any replacement radiator
Step by step
Do it in this order.
Ask whether it really has to move
Sometimes a shallower cabinet, open bay or revised media wall width solves the clash without altering the heating system. Test the lower intervention option first.
Record the existing radiator and controls
Measure width, height, projection, valve positions and the clear space around it. Photograph where pipes enter the floor or wall.
Mark the proposed joinery at full scale
Use tape to show the cabinet, wardrobe or media wall footprint. Check whether the current radiator blocks doors, drawers, circulation or required access.
Identify realistic alternative positions
Look for a wall area that preserves room circulation, is not trapped behind furniture and can plausibly accept pipework. Treat this as a shortlist, not a confirmed route.
Check heat and maintenance implications
Do not bury valves, controls or pipe joints behind permanent panels. Consider whether the new location will be obstructed by curtains, beds, sofas or deep cabinetry.
Get the system change checked before joinery starts
If pipework or radiator sizing must change, have that assessed before the fitted work closes the walls or floor edges.
Lock the joinery around the confirmed position
Once the final radiator position is agreed, update cabinet widths, fillers, plinths and access zones so the finished build does not recreate the conflict.
Keep future access visible in the plan
Record where valves and accessible joints end up so a future repair does not require destroying finished joinery.
Things we’d do
Small choices that make the job better.
- Take a straight on photo with a tape measure visible for the person assessing the move.
- If the radiator only clashes with one cabinet door, changing the door split may be cheaper than changing the heating system.
- Plan pipework before flooring or skirting is replaced.
- Keep the final confirmed radiator dimensions with the project notes, not just the Room Studio image.
Things we wouldn’t
Common shortcuts that usually cost you later.
- Building fitted furniture first and asking how to move the radiator afterwards.
- Assuming pipe routes can be hidden anywhere a visual concept suggests.
- Boxing in valves or serviceable connections.
- Placing a radiator where large furniture will permanently block it.
Before you start
Know where DIY stops.
- Plan the radiator move before the joinery. If the pipes or heating system need changing, get a heating engineer or plumber to do that part.
- If the radiator move affects a gas appliance, use a Gas Safe registered engineer.
- Check hidden services before drilling joinery fixings near existing pipe routes.