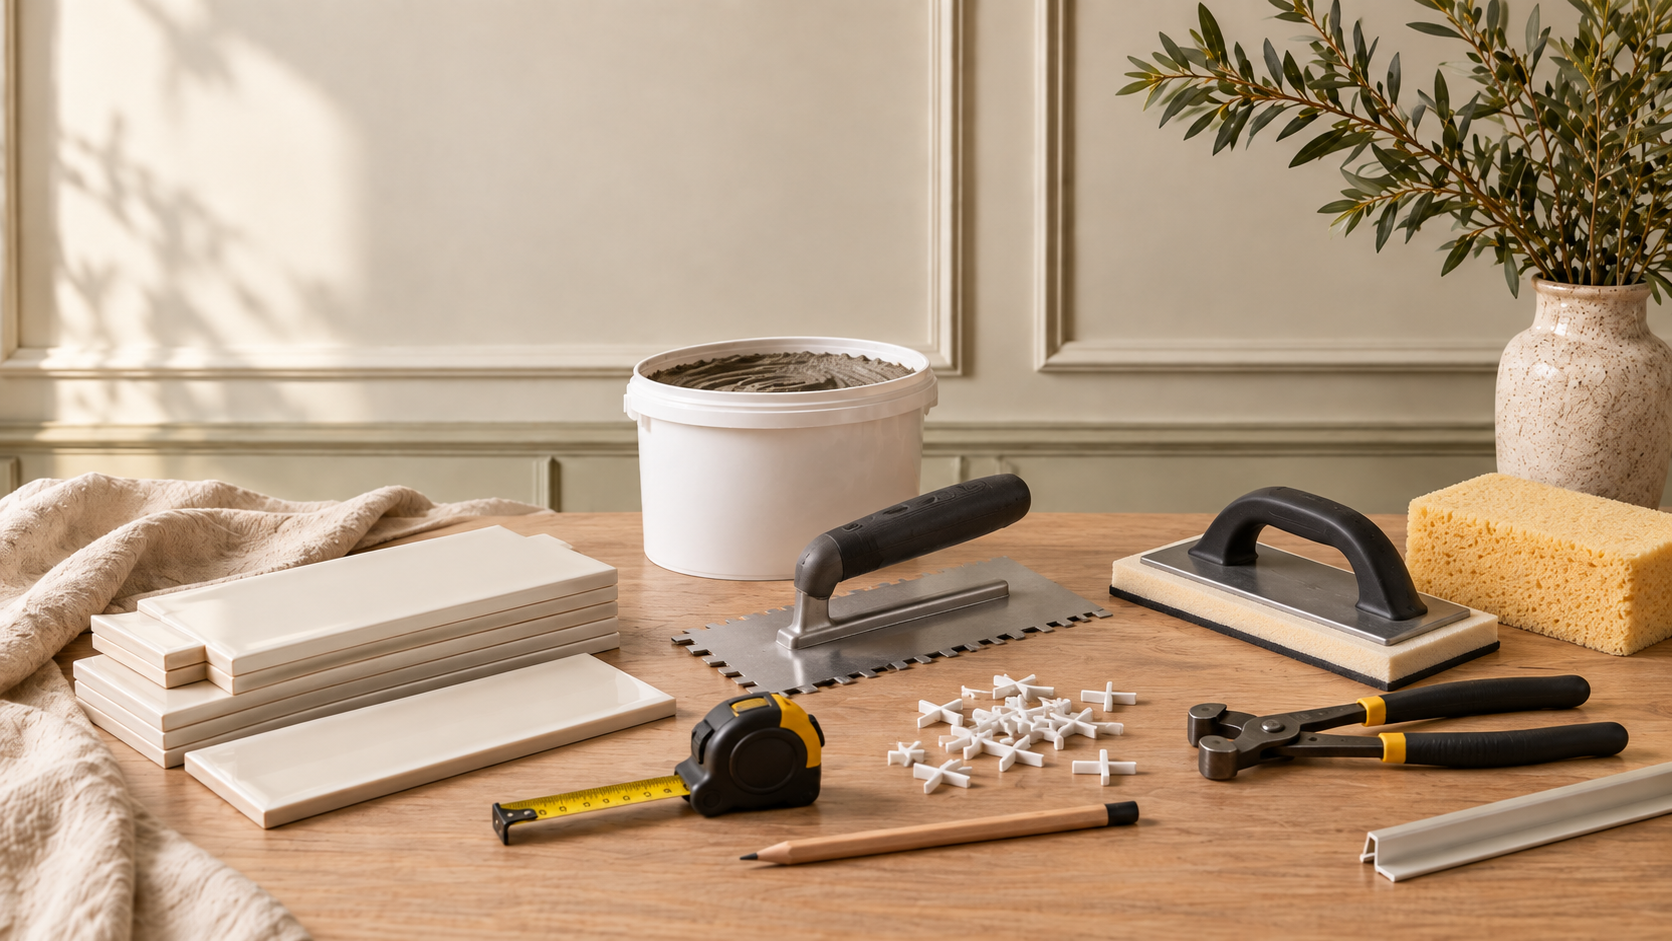
A small splashback is a good first tiling project because the area is manageable, but the eye notices every line. Planning the layout is where you win it.
Before applying adhesive, dry plan the tile widths around the centre line, corners, worktop and any sockets. The goal is to avoid tiny slivers and make the most visible edges look deliberate.
Tile type, size, substrate and location determine which adhesive and grout you should use. Product instructions matter, particularly around heat, moisture and movement.
Tools
What you’ll need to do the job.
- Tape measure
- Pencil
- Spirit level
- Notched trowel suited to the tile/adhesive
- Tile spacers or levelling system where appropriate
- Manual tile cutter or wet saw suited to the tile
- Tile nippers where useful
- Grout float
- Grout sponge
- Buckets
- PPE appropriate to tile cutting
Materials
What you’ll need to build it.
- Wall tiles
- Tile adhesive suitable for tile and substrate
- Grout suitable for the location
- Tile spacers
- Primer if required by the adhesive system
- Sanitary/decorators sealant suitable for movement joints
- Edge trim where needed
Step by step
Do it in this order.
Confirm the surface is ready
The wall should be sound, flat, clean and suitable for tiling. Remove unstable paint or contamination and use the preparation system specified by the adhesive manufacturer.
Dry plan the layout
Measure the area and mock the tile widths horizontally and vertically. Adjust the start point so cut tiles at exposed edges are sensible and the pattern works around sockets and corners.
Mark a level datum
Worktops are not always perfectly level. Use a level line as your reference and compensate discreetly where necessary rather than allowing the whole tile field to drift.
Mix or prepare adhesive exactly as specified
Use the correct adhesive for the tile, substrate and environment. Do not make the mix wetter to buy more working time.
Apply manageable sections
Spread only what you can tile within the adhesive open time. Comb it consistently with the correct notched trowel.
Set tiles and control the joints
Press tiles into the adhesive with the movement recommended by the system. Use spacers to keep joint widths consistent and check level as you go.
Make cuts safely and deliberately
Measure twice and keep factory edges on the most visible sides where possible. Around electrical accessories, do not alter wiring; if accessories need removal or repositioning, use an electrician.
Grout after the adhesive has cured
Wait the specified cure time, then work grout into the joints and clean the surface in stages. Keep movement joints free for the correct flexible sealant rather than filling every gap with grout.
Things we’d do
Small choices that make the job better.
- Lay a row out on the worktop with spacers before you commit to the first tile.
- Buy a few extra tiles for cuts, breakage and future repair.
- Use a trim only where it improves the edge; a clean tile edge can be better in some layouts.
- Keep clean water genuinely clean while grouting to reduce haze.
Things we wouldn’t
Common shortcuts that usually cost you later.
- Starting at one end without checking where the final cut lands.
- Using adhesive that is not approved for the tile or substrate.
- Tiling over unstable paint or a damaged background.
- Grouting movement joints that should be flexible.
Before you start
Know where DIY stops.
- Wear eye protection and suitable respiratory protection when cutting tiles, especially with powered cutting methods.
- Keep water and wet adhesive away from live electrical work.
- If electrical accessories or wiring need changing, use an electrician.