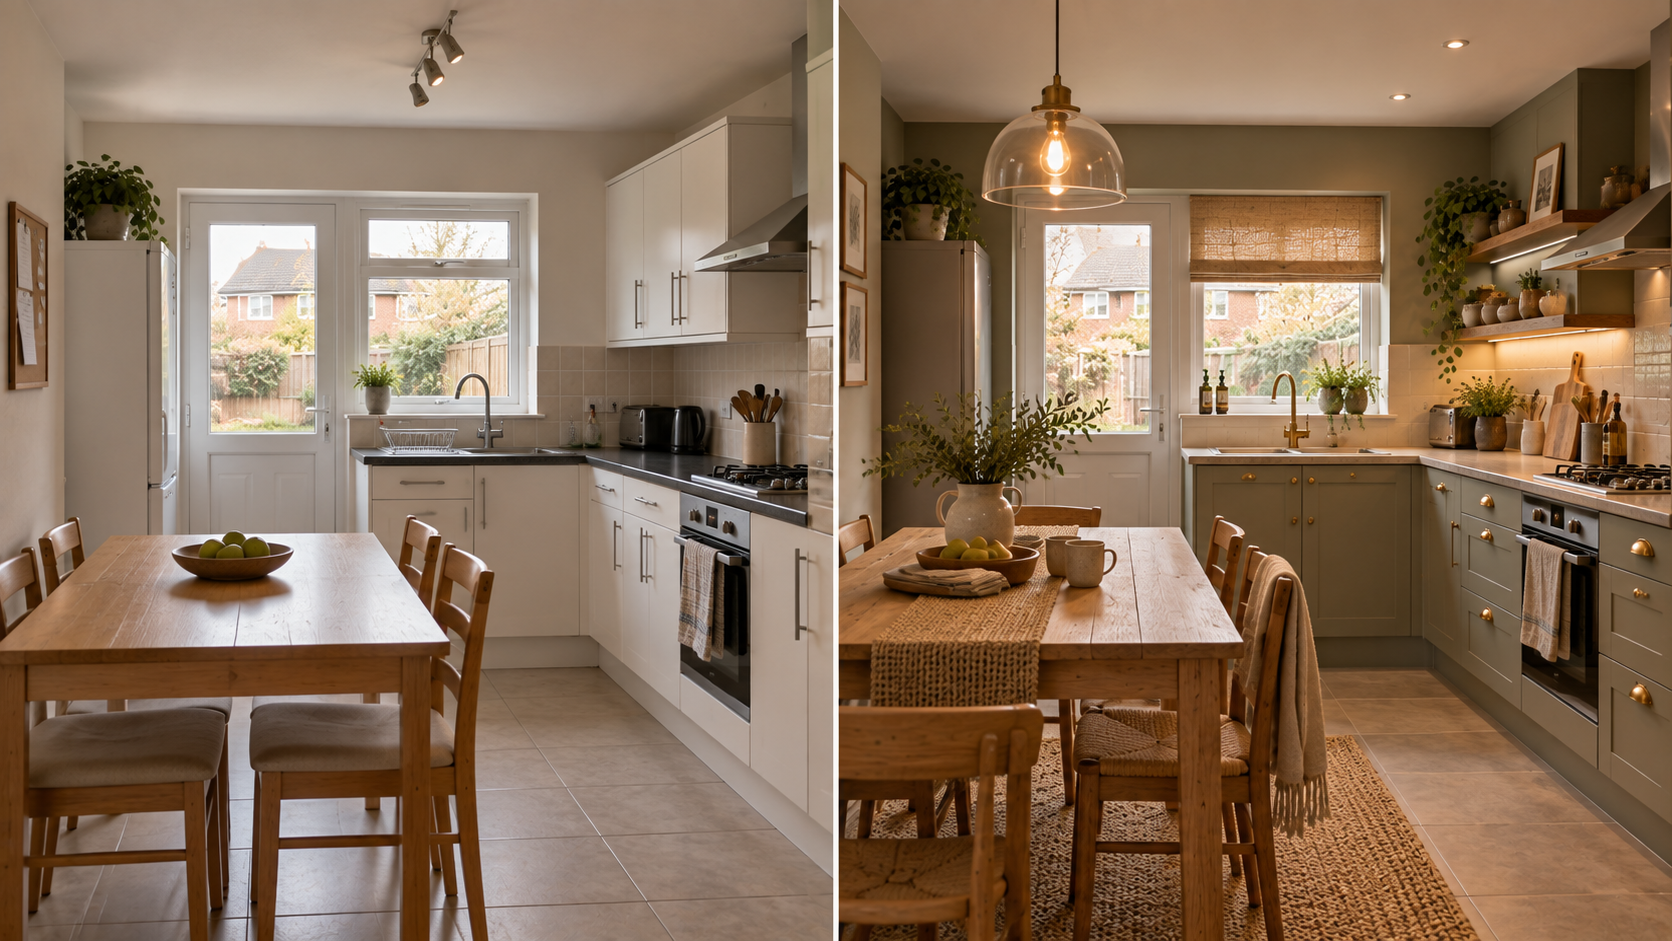
An extractor is not just a decorative appliance above the hob. The cooking position, duct route, external termination and wider room ventilation all need to work together.
Room Studio can reposition the cooking zone, but it cannot see whether there is a practical duct route through the walls, ceiling or roof.
Resolve extraction early, especially where a new layout moves the hob away from an existing external wall or changes the type of appliance being installed.
Tools
What you’ll need to do the job.
- Tape measure
- Kitchen elevation/plan
- Phone camera
- Manufacturer extractor dimensions
- Pencil and masking tape
Materials
What you’ll need to build it.
- Extractor specification
- Hob/cooker specification
- Existing duct or vent information
- Cabinet and ceiling dimensions
- Proposed external termination location
Step by step
Do it in this order.
Confirm the cooking position
Lock the hob/cooker position before selecting the extractor type because width, mounting height and duct direction depend on it.
Identify the existing ventilation route
Check whether there is already ducted extraction, recirculation only, another extract fan or a route to outside. Do not assume an existing grille is suitable for a new appliance.
Read the appliance requirements
Record permitted duct sizes, route limits, mounting clearances and whether recirculation is an available option for that exact product.
Sketch the complete duct route
Show every bend, ceiling zone, cabinet void and external exit point. A route that looks short on plan can become complicated in section.
Check what the route passes through
Walls, floors and ceilings can hide structure, services or areas that need extra care. Get the route checked before cutting any openings.
Coordinate cabinets and lighting
Extractor bodies, ducting, wall units and downlights can all compete for the same ceiling/cabinet space. Resolve these together.
Confirm the ventilation approach
Make sure the finished layout gives the extractor a sensible route and enough ventilation for the room. If you are unsure, get that part checked before work starts.
Keep filters and equipment serviceable
Design access for cleaning, filter replacement and maintenance rather than sealing the extractor into decorative boxing.
Things we’d do
Small choices that make the job better.
- Fewer bends and a sensible duct route generally make the installation easier to execute and maintain.
- Choose the extractor after the layout is known, not before.
- If the new hob is on an island, resolve extraction strategy before ordering the island.
- Keep the exact model number in the project notes because installation limits vary by product.
Things we wouldn’t
Common shortcuts that usually cost you later.
- Moving the hob first and asking where the duct can go later.
- Assuming recirculation and ducted extraction are interchangeable for every project.
- Hiding filters or service points behind fixed trim.
- Cutting through walls or ceilings before the route and construction are understood.
Before you start
Know where DIY stops.
- If the new extractor changes the permanent ventilation or needs a new route through the building, get that part checked before work starts.
- Do not cut into a wall, floor or ceiling if you are not sure what is inside it.
- If the extractor needs fixed wiring changes, bring in an electrician before the kitchen is closed up.