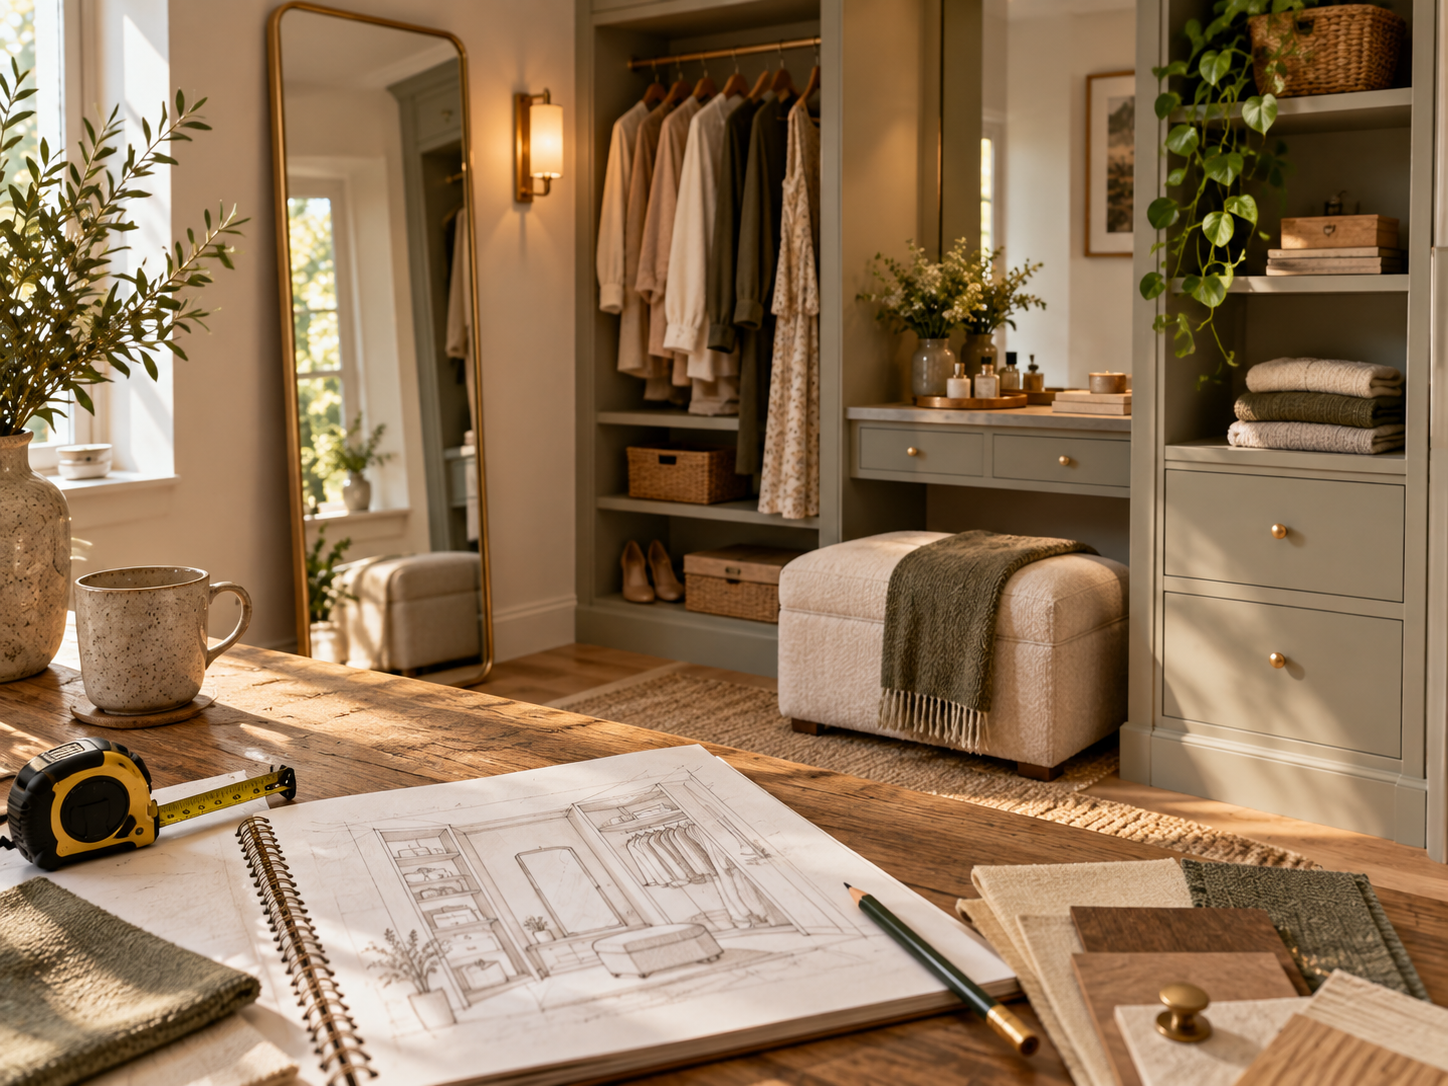
A dressing area works when it makes one daily routine easier: clothes within reach, somewhere to sit or place items, a useful mirror and lighting that lets you actually see.
It does not need a dedicated room. A shallow desk style surface, drawer unit, mirror and focused storage can create a clear zone inside an existing bedroom.
Treat sockets and fixed lighting as fixed points unless an electrician has confirmed they can move. Room Studio can show the idea, while the guide helps turn it into something realistic.
Tools
What you’ll need to do the job.
- Tape measure
- Pencil
- Spirit level
- Pipe and cable detector
- Drill/driver
- Mirror/furniture fixing tools appropriate to the substrate
Materials
What you’ll need to build it.
- Dressing surface or console
- Mirror
- Drawer/storage unit
- Seat or stool
- Appropriate wall fixings/anti tip restraints
- Plug in/task lighting where suitable
Step by step
Do it in this order.
Choose the least disruptive zone
Look for a wall or corner that does not steal the route to the bed, wardrobe, window or doorway.
Measure the furniture in use, not just at rest
Allow space for a drawer to open, a stool to pull out and a person to sit or stand in front of the mirror.
Decide what needs to be stored here
Keep the dressing zone focused on the routine it supports rather than moving an entire wardrobe into a small corner.
Position the mirror for the real user
Test mirror height and sightline before drilling. Consider daylight/glare and whether the mirror needs full length or seated use.
Build in useful lighting
Use existing or plug in lighting first where it gives a good result. If fixed electrical points need changing, plan that separately rather than hiding extension leads inside joinery.
Fix and restrain safely
Check concealed services and wall construction, then use fixings suited to the mirror/furniture weight. Secure tall units where required.
Keep the surface intentionally clear
Use drawers, trays or a shallow shelf for the small objects that otherwise turn the dressing top into permanent clutter.
Test the whole routine
Sit, stand, open every drawer and walk around the zone before adding decorative accessories. Function first, styling second.
Things we’d do
Small choices that make the job better.
- A wall mounted mirror frees more usable surface than a leaning tabletop mirror.
- A stool that tucks fully underneath can preserve circulation in a small room.
- Repeat one material or colour from the wider bedroom so the zone feels intentional.
- Plug in lamps can test lighting position before committing to fixed electrical changes.
Things we wouldn’t
Common shortcuts that usually cost you later.
- Blocking wardrobe doors or the main route around the bed.
- Mounting a heavy mirror with a fixing chosen only by screw size.
- Adding fixed lighting without first planning the cable route and how it will be powered.
- Creating more open display storage than you can realistically keep tidy.
Before you start
Know where DIY stops.
- Use appropriate fixings for mirrors and tall furniture and check hidden services before drilling.
- Keep trailing leads controlled and away from walkways.
- If fixed wiring needs to change, use an electrician.