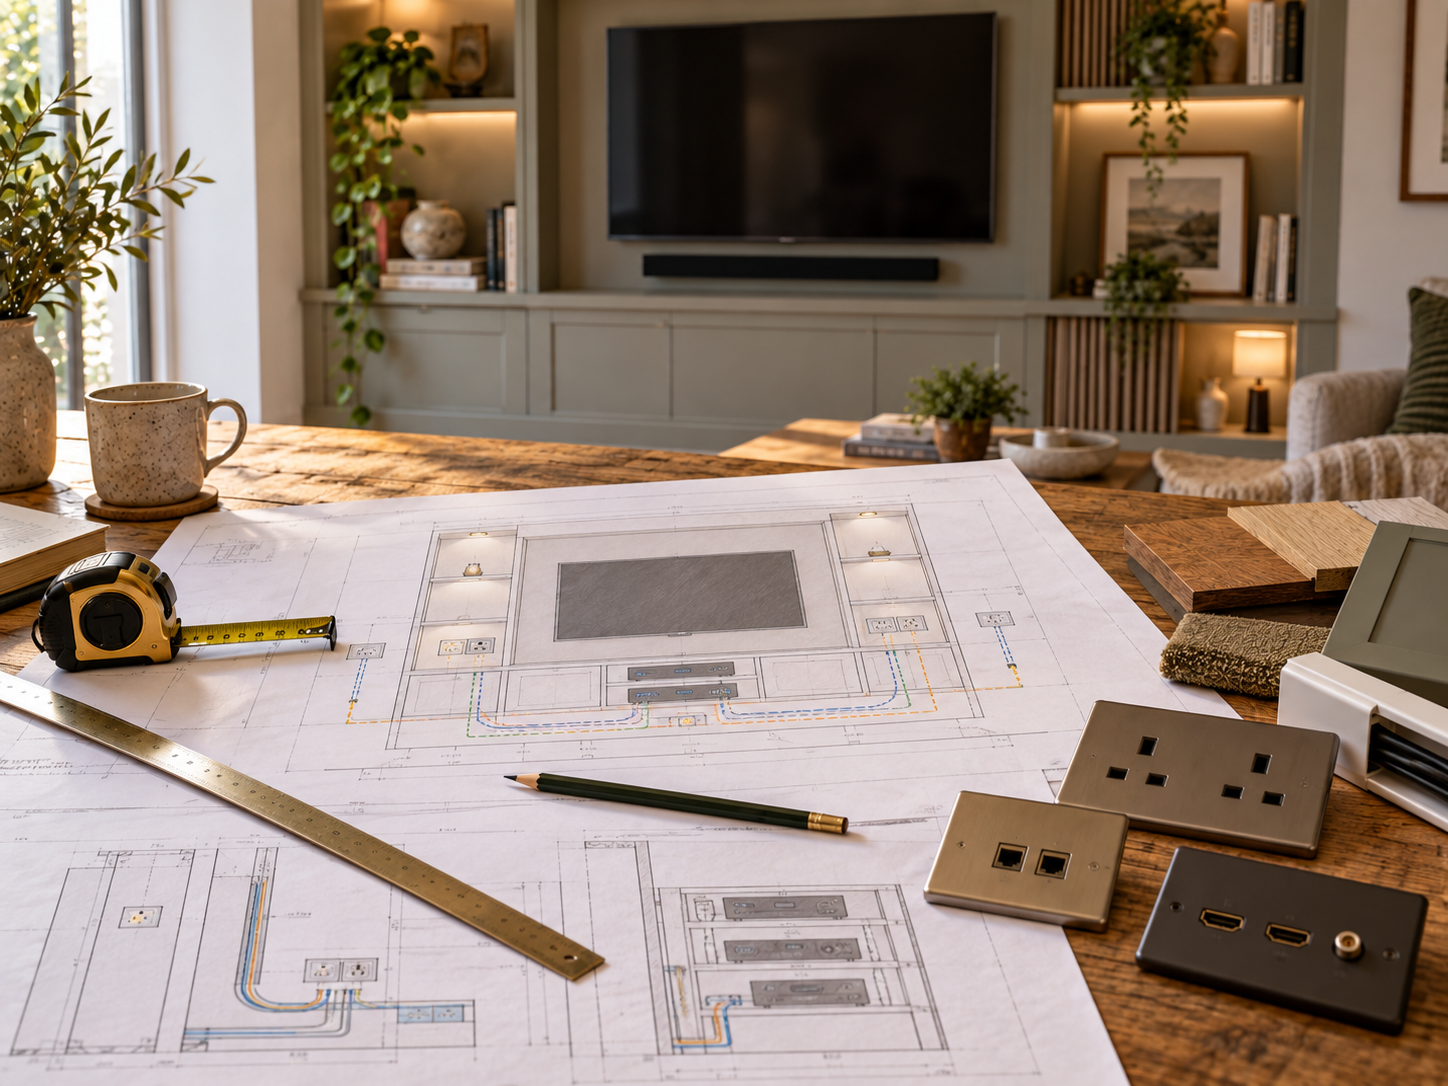
A media wall often fails in the invisible details: the TV fits, but the HDMI route is blocked, the router has no ventilation or the power supply is impossible to reach.
Plan the full equipment list before you build. Keep TV and data cabling easy to access, and use an electrician if the fixed mains power needs to change.
Future proofing does not mean filling the wall with every cable imaginable. It means leaving sensible access, replaceable routes and enough capacity for the equipment you are likely to use.
Tools
What you’ll need to do the job.
- Tape measure
- TV mounting template or dimensions
- Equipment list
- Room elevation sketch
- Masking tape
- Phone camera
Materials
What you’ll need to build it.
- TV dimensions and VESA information
- Soundbar/speaker dimensions
- Console/streamer/router dimensions
- HDMI/network cable plan
- Ventilation and access requirements from equipment manufacturers
Step by step
Do it in this order.
Lock the screen position first
Set the TV size, centreline and viewing height from the real seating position before designing shelves, fire openings or decorative panels around it.
List every connected device
Include games consoles, streaming boxes, soundbars, aerial/satellite, network equipment and anything that may live in a cabinet rather than behind the screen.
Decide what must remain replaceable
HDMI and data cables fail or standards change. Prefer accessible routes or conduit like pathways rather than permanently trapping critical cables.
Separate mains planning from signal planning
Map power points and AV/data routes as different layers. If fixed mains power needs changing, use an electrician.
Protect ventilation
Consoles, amplifiers, routers and power supplies generate heat. Follow product ventilation requirements rather than sealing equipment into a decorative void.
Keep service access
Plan removable panels, accessible cabinets or cable routes so devices can be reset, replaced and reconnected without dismantling the wall.
Coordinate bracket and stud positions
The mounting structure, cable exits and recessed boxes need to work together. Confirm the TV bracket footprint before final stud/noggin positions are fixed.
Photograph and label before closing
Keep a record of confirmed routes and connection points before plasterboard or panels cover them.
Things we’d do
Small choices that make the job better.
- Run more network capacity than you think you need if the route is being opened anyway.
- Keep an accessible pull route for future HDMI replacement.
- A soundbar position can affect both TV height and fireplace spacing, so decide it early.
- Keep device power supplies accessible rather than burying them behind fixed panels.
Things we wouldn’t
Common shortcuts that usually cost you later.
- Placing all equipment behind the TV with no ventilation.
- Trapping HDMI cables permanently inside finished construction.
- Using the TV image position as a substitute for real mounting dimensions.
- Mixing fixed mains changes into DIY AV work without the right electrical competence.
Before you start
Know where DIY stops.
- Keep fixed mains electrical work separate from the TV and data cabling plan.
- Follow TV, bracket and appliance manufacturer requirements for support, access and ventilation.
- Check concealed services before drilling into finished walls or framing.