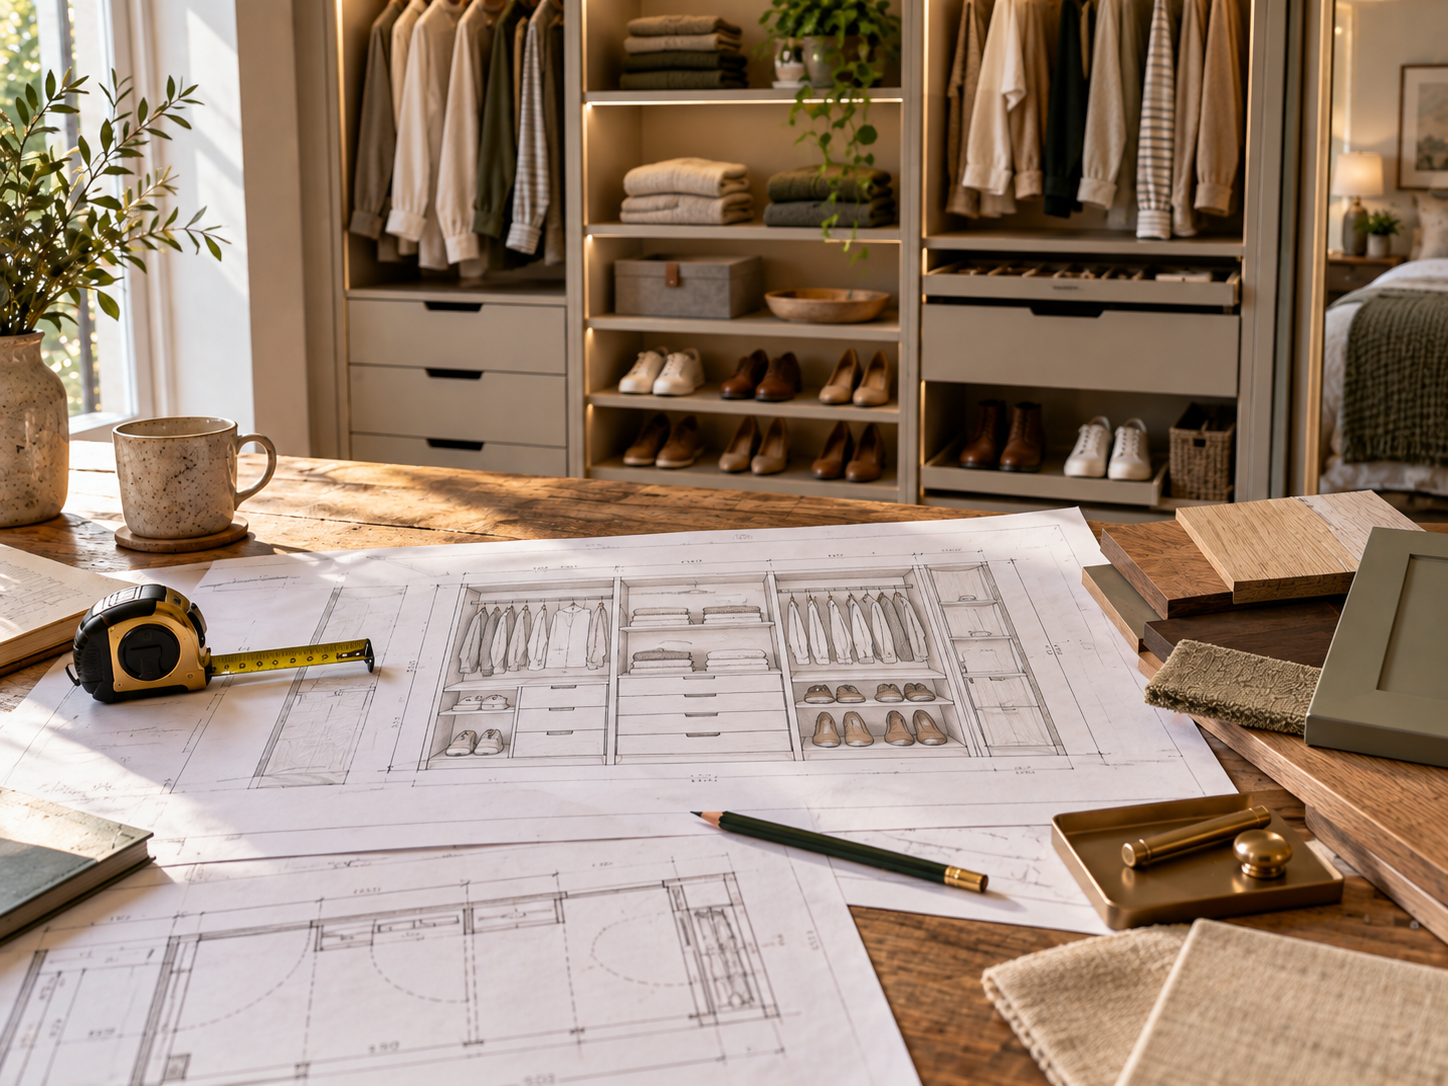
The prettiest wardrobe doors in the world do not compensate for an interior that cannot hold what you own.
Start by grouping clothing into long hanging, short hanging, folded storage, shoes, accessories and things you rarely use. The proportions of those groups should shape the wardrobe.
Use the available height deliberately, but keep everyday items within comfortable reach and avoid creating deep shelves that simply hide a second row of belongings.
Tools
What you’ll need to do the job.
- Tape measure
- Notebook or phone inventory
- Paper/graph paper
- Pencil
- Masking tape for mocking shelf and rail heights
- Spirit level for later fitting
Materials
What you’ll need to build it.
- Hanging rail and supports
- Shelf boards or melamine panels
- Drawer units or baskets where planned
- Shoe shelving or adjustable shelf hardware
- Appropriate fixings for the finished installation
Step by step
Do it in this order.
Inventory what you actually store
Count or estimate long garments, shirts/jackets, folded items, shoes and accessories. Do not copy a showroom interior designed for somebody else's wardrobe.
Separate daily and occasional storage
Reserve the easiest reach zones for everyday clothing and use high shelves for suitcases, bedding or seasonal storage.
Allocate hanging by garment length
Use long hanging only where it is genuinely needed. Double short hanging zones can make much better use of height for shirts, jackets and trousers.
Keep shelf depths usable
Plan shelf spacing and depth around the items stored so folded clothes remain visible and reachable instead of disappearing behind each other.
Place drawers where they can open
Check doors, hinges and adjacent modules do not block drawer travel. Allow hand space and sensible viewing height.
Plan shoes and accessories deliberately
Low adjustable shelves, baskets or narrow drawers can use areas that are poor for hanging without creating clutter.
Consider lighting before construction closes
If you want integrated lighting, plan the routes, switching and access before finishing the carcass. If fixed wiring needs to change, get an electrician involved before the wardrobe is closed in.
Test the layout on the wall
Use masking tape to mark rails/shelves at full scale and check reach, door movement and whether the proportions make sense before cutting material.
Things we’d do
Small choices that make the job better.
- Design for the clothes you own most, not the most photogenic category.
- Adjustable shelves give future flexibility with almost no visual penalty.
- Keep a small vertical zone for awkward items such as ironing boards or tall boots if you actually own them.
- A walk in still needs a clear central movement zone; storage depth should not consume it.
Things we wouldn’t
Common shortcuts that usually cost you later.
- Using equal height bays just because the facade is symmetrical.
- Placing everyday storage above comfortable reach.
- Adding drawers without checking door/hinge interference.
- Planning lighting after the wardrobe is completely boxed in.
Before you start
Know where DIY stops.
- Secure rails, shelves and drawer systems to structure capable of carrying their expected loads.
- Check concealed services before wall fixing.
- Keep required ventilation and electrical access unobstructed.