Shelving either side of a chimney breast can make a room feel deliberately built in, but the two alcoves are rarely identical.
Measure and design each side from its own dimensions. Visual symmetry can come from matching front lines, shelf thicknesses and spacing even when the actual shelf widths differ.
If the chimney, fireplace or flue is active, treat appliance clearances, ventilation and flue safety as a separate technical constraint. A decorative concept is not proof that combustible joinery can go anywhere you like.
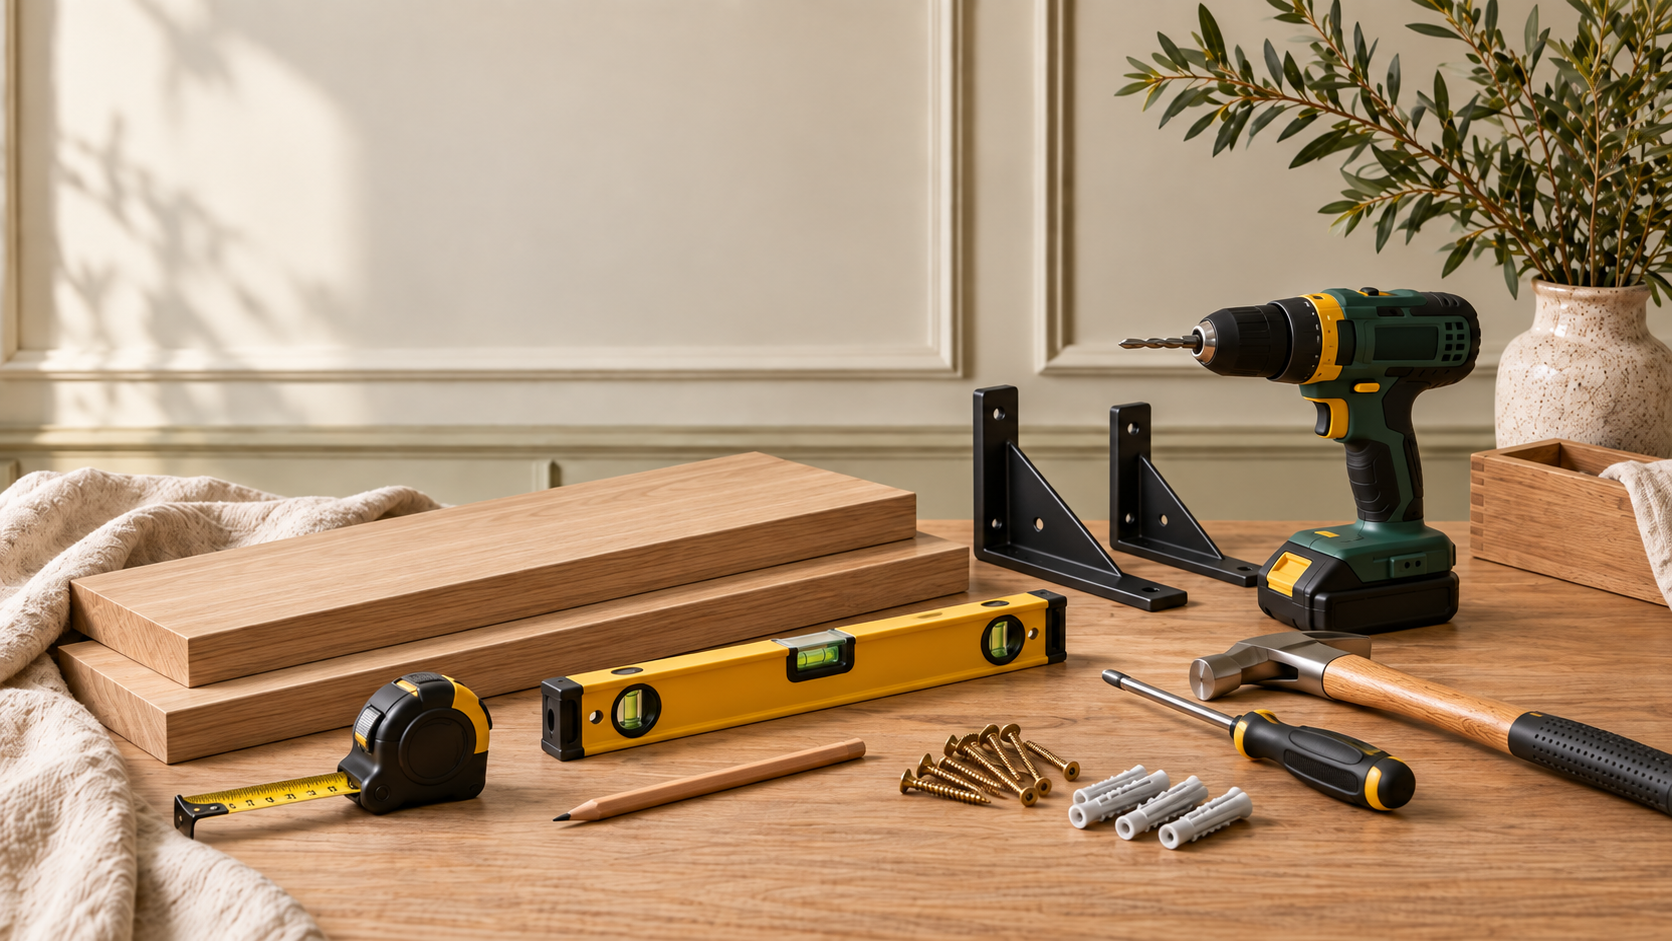
Tools
What you’ll need to do the job.
- Tape measure
- Long spirit level or laser
- Pipe and cable detector
- Drill/driver
- Stud/fixing detector where appropriate
- Square
- Suitable saw or cutting service
- Clamps
Materials
What you’ll need to build it.
- Shelf boards or sheet material
- Battens, cleats or rated shelf supports
- Wall fixings matched to the substrate and load
- Filler/caulk appropriate to the finish
- Primer and paint or chosen finish
Step by step
Do it in this order.
Measure both alcoves independently
Record width at the front and rear, plus depth and wall variation at each intended shelf level. Do not assume the left and right recesses match.
Decide what the shelves will carry
Books and records create much higher loads than small styling pieces. Shelf span, thickness and support strategy should reflect the real load.
Check the chimney/fireplace status
If there is a working fire, stove or flue, check the appliance instructions and get the right installer to confirm the safe clearances before setting the joinery positions. Do not use a Room Studio image as a clearance guide.
Find safe fixing zones
Check for concealed electrical cables and pipes and understand the wall construction before drilling. Choose supports and fixings suitable for that substrate.
Establish repeatable level lines
Use one visual datum so the shelves read consistently across the room, even if the alcoves themselves vary.
Cut or scribe shelves to fit
Template difficult walls where useful and trim gradually. A close scribe looks better than forcing a square shelf into a tapered recess.
Install supports and test
Fix supports into appropriate known structure, fit the shelf and check level and movement before loading it.
Finish without hiding problems
Fill small finish gaps and decorate, but keep required ventilation and service access clear and never seal around an active appliance/flue contrary to its requirements.
Things we’d do
Small choices that make the job better.
- Use matching shelf front thicknesses to create symmetry even when the recesses differ.
- A shallow top shelf can sometimes feel better than repeating one depth all the way up.
- Mock shelf lines with low tack tape before cutting material.
- For heavy books, favour shorter spans and stronger support rather than relying on thicker looking trim alone.
Things we wouldn’t
Common shortcuts that usually cost you later.
- Assuming the chimney breast is safe to drill into without understanding what is behind the surface.
- Copying one alcove's measurements to the other.
- Choosing fixings solely by the screw supplied with the bracket.
- Building combustible joinery tight to an active appliance or flue without checking requirements.
Before you start
Know where DIY stops.
- Check for hidden electrical cables and pipes before drilling.
- If there is a working fire, stove or flue, follow the appliance instructions and get the right installer to confirm the clearances before you build around it.
- Design shelf supports for the real load and substrate, not appearance alone.