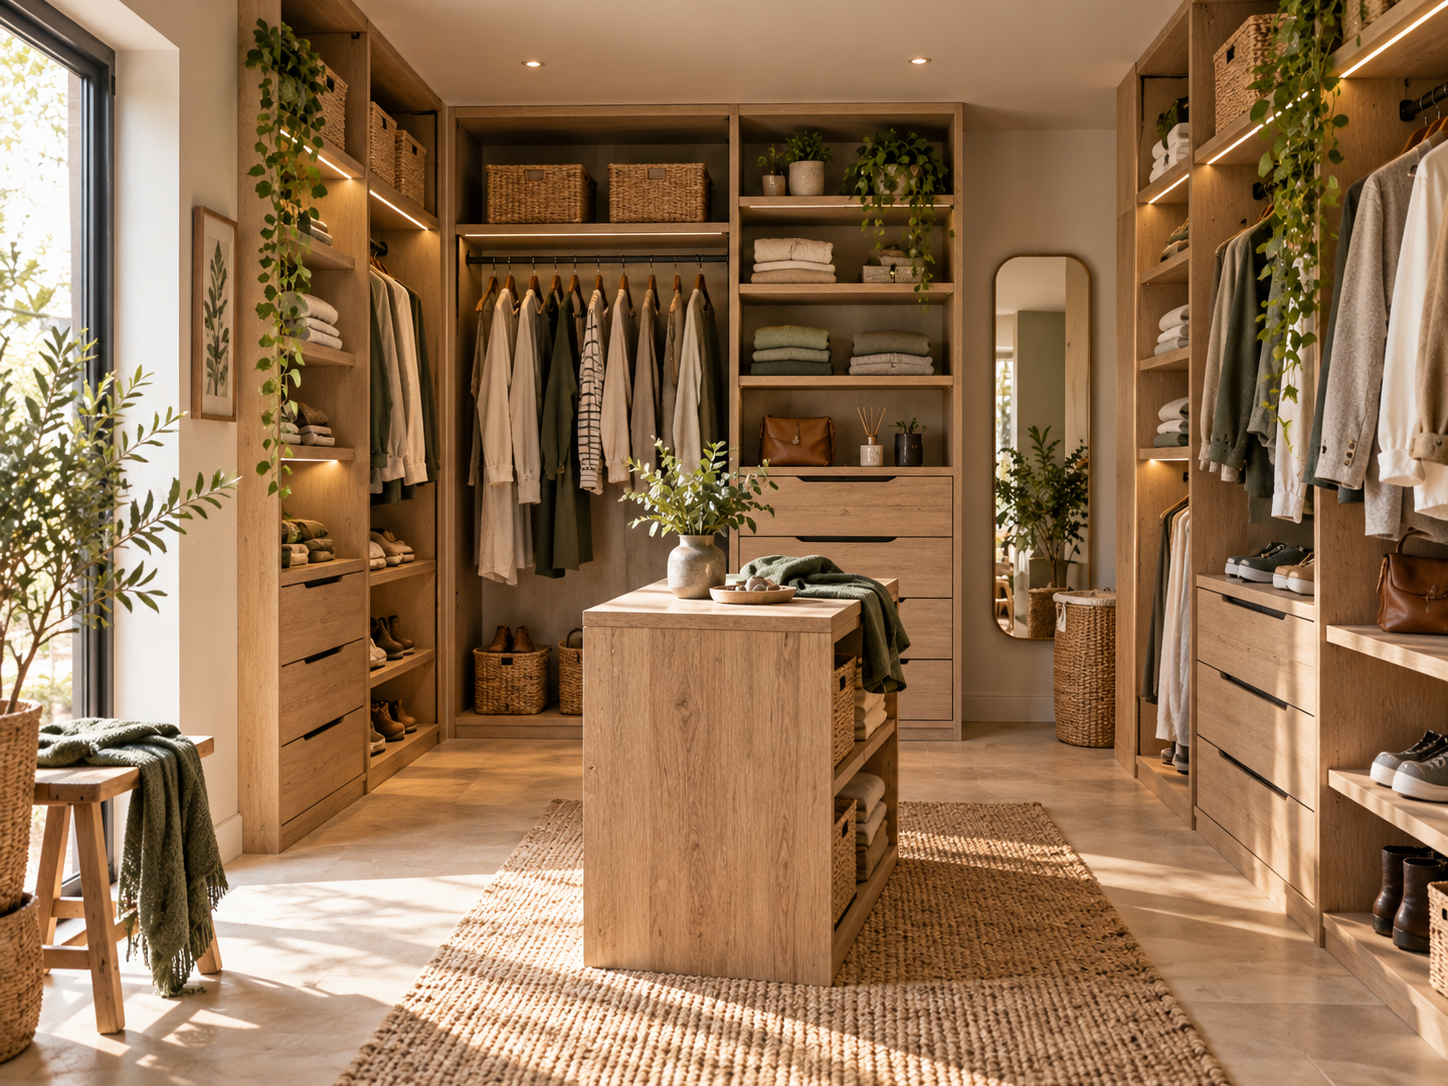
Fitted wardrobes are a bigger project than flat pack furniture, but the underlying logic is familiar: create a level foundation, build square boxes and use trim to make those boxes look native to the room.
Planning matters because doors, hanging rails, drawers, shelves and lighting all compete for the same internal depth and width.
Keep fixed electrics, radiators, vents and access points visible in your plan. Moving a socket or adding permanent wardrobe lighting is not automatically part of the joinery build.
Tools
What you’ll need to do the job.
- Tape measure
- Laser or long spirit level
- Square
- Pipe and cable detector
- Drill/driver
- Suitable saw/track saw or cutting service
- Clamps
- Scribing tool
Materials
What you’ll need to build it.
- Sheet material for carcasses and doors
- Timber or sheet material for a level plinth
- Hinges and door hardware
- Hanging rail and sockets/supports
- Shelf material
- Fillers, scribes and finishing trim
- Appropriate wall fixings/anti tip restraints
Step by step
Do it in this order.
Measure the whole run
Record width, height and depth at several points and note ceiling slope, skirting, sockets, radiators and wall variation. Design to the tightest usable dimensions.
Plan the internals before the doors
Decide what needs long hanging, short hanging, shelves and drawers. Door divisions should follow useful internal modules rather than creating awkward storage bays.
Check services and ventilation
Locate likely hidden cables/pipes and keep existing vents, radiators and required access points out of sealed joinery. Plan professional electrical work separately where necessary.
Build a level plinth
Create a level, supported base across the run. This is where you absorb an uneven floor so the carcasses and door gaps can stay consistent.
Build and join square carcasses
Assemble each module square, then position, pack and join adjacent carcasses while repeatedly checking plumb and level.
Secure the run safely
Anchor the wardrobe to suitable known structure with the correct fixing system. Do not rely on furniture weight alone to prevent tipping.
Fit internals and doors
Install rails, shelves and drawers at useful heights, then hang and adjust doors after the carcasses are in their final position.
Scribe the room facing edges
Use fillers, cornice/plinth details and scribes to close uneven wall and ceiling gaps. Finish, prime and paint as required.
Things we’d do
Small choices that make the job better.
- Make one repeatable carcass module the basis of the run where the room allows it.
- Leave a deliberate filler allowance at walls rather than designing every door tight to the opening.
- Plan handles, hinges and drawer collisions before cutting doors.
- If adding LED or fixed lighting, decide access and electrical responsibility before the carcass closes the wall.
Things we wouldn’t
Common shortcuts that usually cost you later.
- Designing the exterior before knowing the clothes/storage requirements.
- Building carcasses directly onto an unlevel floor.
- Covering sockets or ventilation without a considered solution.
- Leaving a tall wardrobe unsecured because it appears wedged between walls.
Before you start
Know where DIY stops.
- Anchor tall fitted furniture to suitable structure using appropriate fixings.
- Locate concealed electrical cables and pipes before drilling into walls.
- If fixed wiring needs to change, get an electrician involved before the wardrobe is closed in.