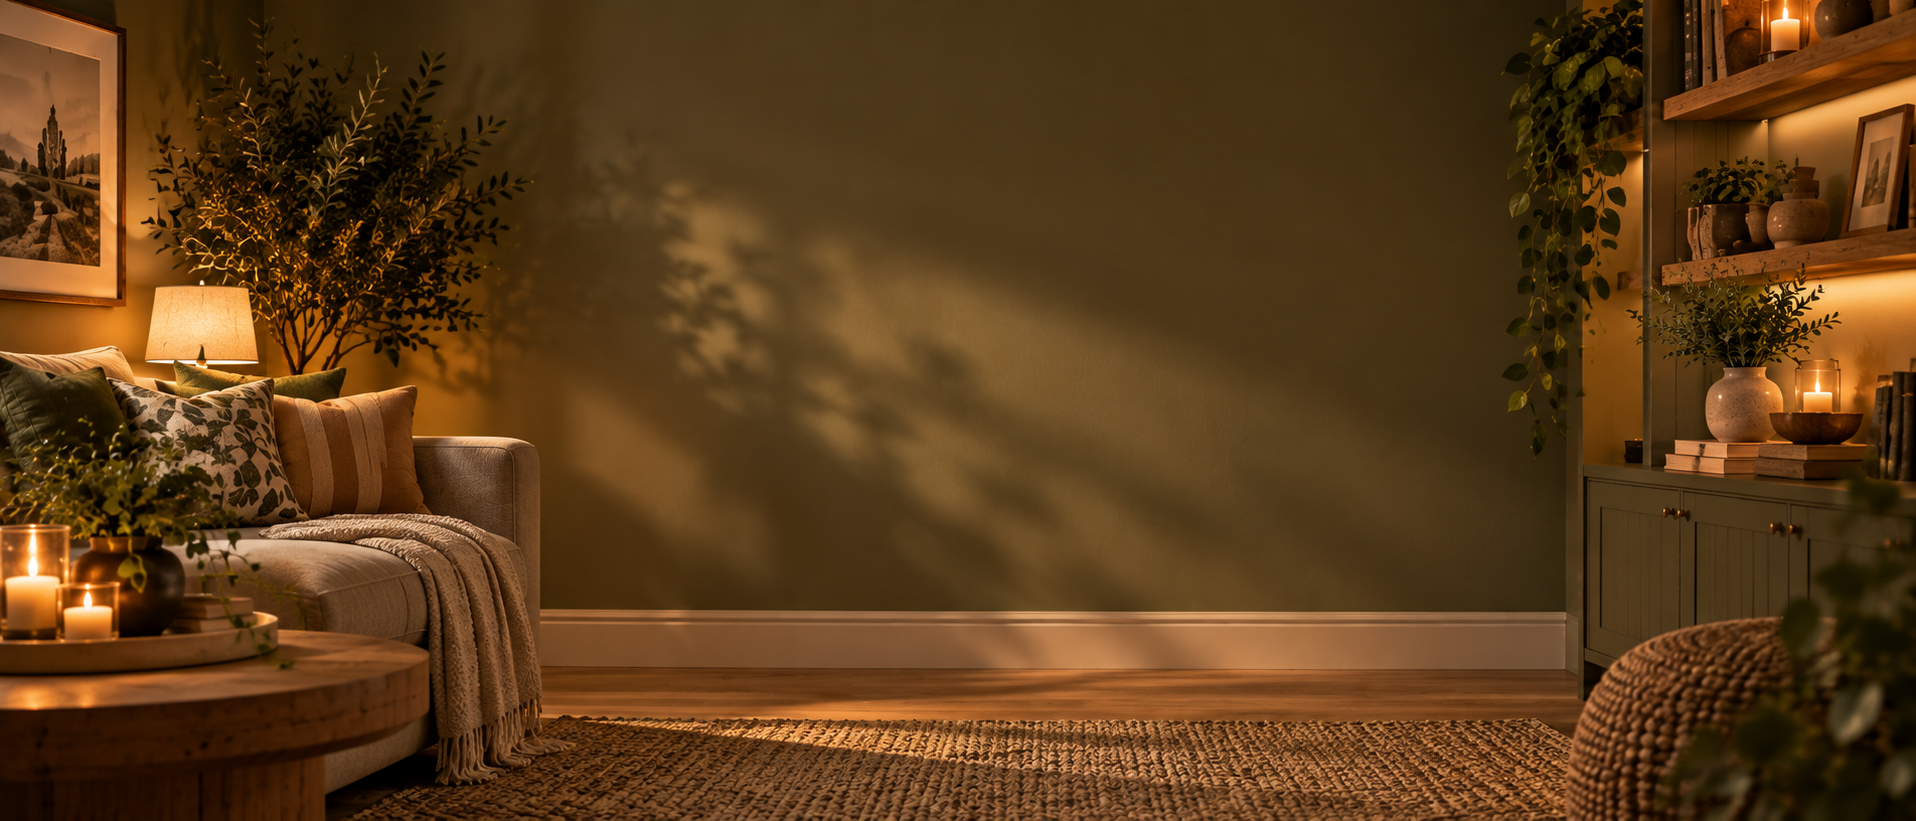
A painted feature works best when it has a reason to exist: frame the bed, strengthen a fireplace wall, define a desk zone or give an open plan area a clearer identity.
The shape and position matter as much as the colour. Before masking anything, look at the furniture, doors, windows and sightlines so the painted area finishes deliberately rather than at an arbitrary point.
Testing the idea at real scale with samples or masking tape is much cheaper than repainting a wall because the proportions felt different once finished.
Tools
What you’ll need to do the job.
- Tape measure
- Pencil
- Long spirit level or laser
- Masking tape
- Brush
- Roller and tray
- Dust sheet
- Chalk line or string where useful
Materials
What you’ll need to build it.
- Wall paint suitable for the surface
- Tester pots or colour samples
- Masking tape appropriate to the existing finish
- Filler and abrasive for preparation
- Separate roller sleeves where using several colours
Step by step
Do it in this order.
Decide what the colour is doing
Choose whether it is creating a focal wall, framing furniture, zoning part of a larger room or adding a graphic detail. That purpose should control the shape.
Test the colour in the actual room
View samples in daylight and artificial light and against the flooring, furniture and adjoining wall colours before committing.
Mock the proportions
Use masking tape or light pencil marks to outline the feature. Stand at the doorway and the main seating position and adjust before painting.
Prepare the wall properly
Clean, fill and sand the surface so the graphic treatment does not make old defects more obvious.
Mark true lines
Use a level, laser or chalk line rather than trusting ceilings and corners to be square.
Seal critical tape edges where needed
On sharp colour block edges, a thin pass of the existing/base colour along the tape can help seal the edge before the contrasting colour goes on.
Paint away from the line first
Cut in carefully, then roll the larger area without repeatedly flooding the taped edge. Apply the number of coats required by the product.
Remove tape at the right stage
Follow the tape and paint guidance. Pull it back on itself carefully so a crisp design is not ruined in the last minute.
Things we’d do
Small choices that make the job better.
- A feature can be a whole wall, an alcove, a half height band or a block behind furniture.
- Repeat the accent colour elsewhere in small amounts so the wall belongs to the room.
- Photograph the taped mock up before painting; it is easier to judge proportions on a phone screen.
- Room Studio is useful for testing bold colour placement before buying paint.
Things we wouldn’t
Common shortcuts that usually cost you later.
- Choosing a feature wall simply because it is the first wall you see.
- Stopping a colour block at a point that clashes with furniture or architectural lines.
- Masking over dusty or unstable paint.
- Assuming one coat marketing applies equally to every colour and background.
Before you start
Know where DIY stops.
- Use a stable platform for high work and avoid overreaching.
- Ventilate the space and follow the paint manufacturer's safety instructions.
- Keep wet paint and tools away from electrical accessories.